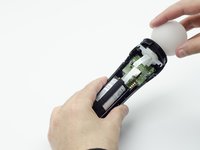
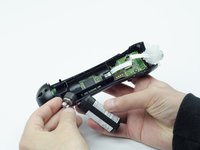
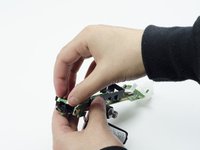
Ana içeriğe geç

PlayStation Move Rumble Motor Replacement

Neye ihtiyacın var

  1. PlayStation Move Rumble Motor Replacement, Case: adım 1, 2 resimden 1. PlayStation Move Rumble Motor Replacement, Case: adım 1, 2 resimden 2.
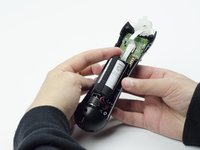
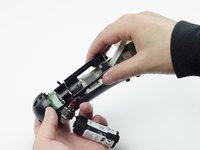
    • Turn the controller over and unscrew the four 10mm screws with a PH #00 screwdriver.

  2. PlayStation Move Rumble Motor Replacement: adım 2, 3 resimden 1. PlayStation Move Rumble Motor Replacement: adım 2, 3 resimden 2. PlayStation Move Rumble Motor Replacement: adım 2, 3 resimden 3.
    • Pinch the sides of the back panel to remove it and set it aside.

  3. PlayStation Move Rumble Motor Replacement: adım 3, 2 resimden 1. PlayStation Move Rumble Motor Replacement: adım 3, 2 resimden 2.
    • Hold the base of the controller with one hand and with the other carefully pull up on the white spherical piece to remove it.

  4. PlayStation Move Rumble Motor Replacement: adım 4, 2 resimden 1. PlayStation Move Rumble Motor Replacement: adım 4, 2 resimden 2.
    • Push the Lithium Ion battery from its slot to remove it.

    • Be mindful not to damage the wires or wired components, as the battery will still be attached via its connector.

  5. PlayStation Move Rumble Motor Replacement: adım 5, 1 resimden 1.
    • Unscrew the 9mm screw in the battery slot with a PH #00 screwdriver.

  6. PlayStation Move Rumble Motor Replacement: adım 6, 2 resimden 1. PlayStation Move Rumble Motor Replacement: adım 6, 2 resimden 2.
    • Using a plastic opening tool, carefully pry the rumble motor free.

  7. PlayStation Move Rumble Motor Replacement: adım 7, 1 resimden 1.
    • Unscrew the 9mm screw behind the rumble motor slot with a PH #00 screwdriver.

  8. PlayStation Move Rumble Motor Replacement: adım 8, 3 resimden 1. PlayStation Move Rumble Motor Replacement: adım 8, 3 resimden 2. PlayStation Move Rumble Motor Replacement: adım 8, 3 resimden 3.
    • Carefully pinch the plastic sides of the battery slot and lift it (along with the circuit board) from the plastic shell of the move controller.

  9. PlayStation Move Rumble Motor Replacement: adım 9, 2 resimden 1. PlayStation Move Rumble Motor Replacement: adım 9, 2 resimden 2.
    • Using your fingers, carefully pry the square green piece beneath the battery slot free.

    • It is attached via white ribbons which need to be kept intact.

  10. PlayStation Move Rumble Motor Replacement: adım 10, 3 resimden 1. PlayStation Move Rumble Motor Replacement: adım 10, 3 resimden 2. PlayStation Move Rumble Motor Replacement: adım 10, 3 resimden 3.
    • Follow the white ribbon attached to the part you just removed to a smaller, more rectangular piece.

    • Lift the rectangular piece from its slot to free it.

  11. PlayStation Move Rumble Motor Replacement: adım 11, 3 resimden 1. PlayStation Move Rumble Motor Replacement: adım 11, 3 resimden 2. PlayStation Move Rumble Motor Replacement: adım 11, 3 resimden 3.
    • Carefully lift the entire circuit board from the black plastic encasing it.

    • Take extra care not to damage any of the wired components.

  12. PlayStation Move Rumble Motor Replacement, Rumble Motor: adım 12, 1 resimden 1.
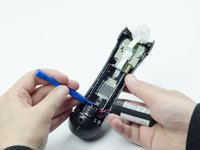
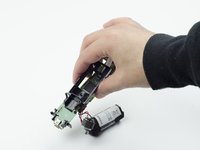
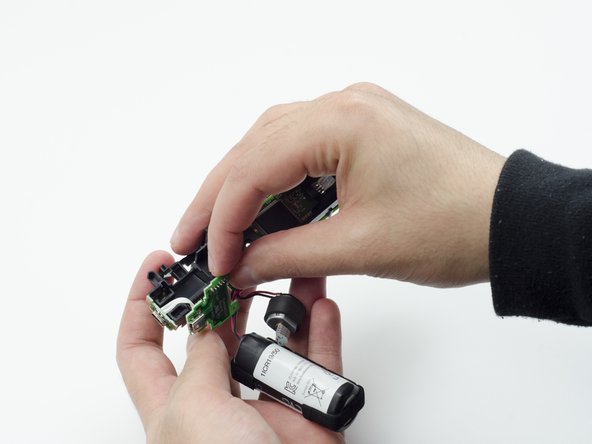
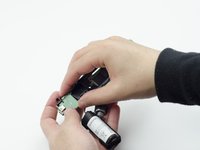
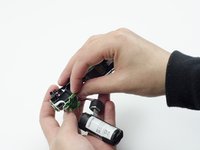
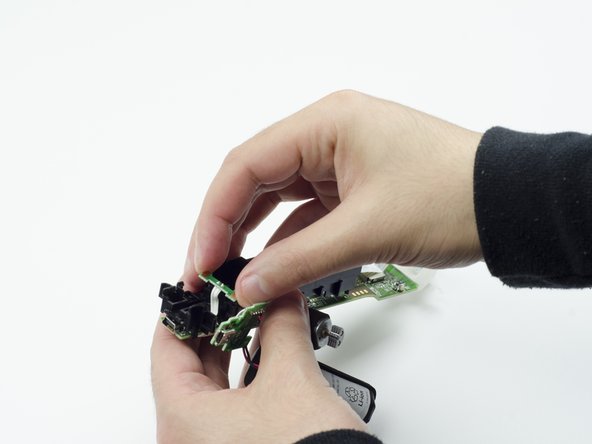
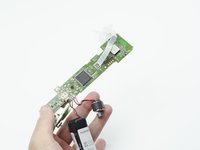
    • Using a soldering iron, carefully desolder the wires from the board. For help with desoldering, please check out this guide: How To Solder and Desolder Connections

    • In order to install the new rumble motor, you must solder the wires of the new motor to the circuit board.

Sonuç

To reassemble your device, follow these instructions in reverse order.

Sarah Shand

Üyelik tarihi: 02/20/17

1.885 İtibar

7 adet Kılavuz yazıldı

Ekip

USF Tampa, Team S3-G1, Sullivan Spring 2017 USF Tampa, Team S3-G1, Sullivan Spring 2017 üyesi

USFT-SULLIVAN-S17S3G1

3 Üyeler

13 adet Kılavuz yazıldı

Bir Yorum

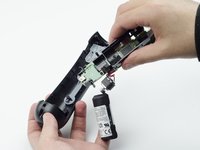
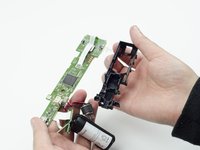
Step 7, there are 2 screws at the top near the white spherical piece holding the PCB on place that also need to be removed before you can lift it out

Steve Massart - Yanıt

Yorum Ekle

İstatistikleri Görüntüle:

Son 24 Saat: 0

Son 7 gün: 2

Son 30 gün: 6

Her zaman: 1,446