
RCA RP3715A Display Replacement
Giriş
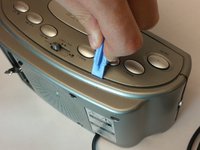
1. adıma gitThis guide will explain in depth how to tear down the clock up until the removal, and replacement of the display. In order to take get to the display the speaker must be removed.
Neye ihtiyacın var


-
-
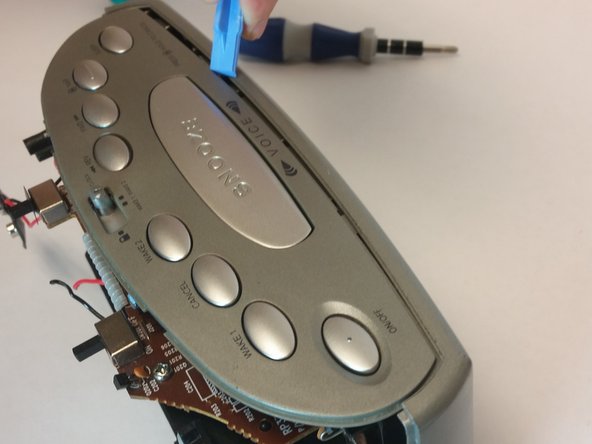
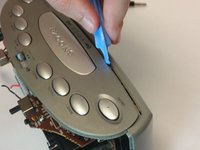
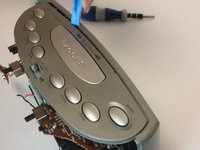
Push down on the clip to release pressure. The pull off the plastic cover.
-
-
-
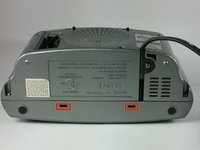
Take out the six screws located on the back of the device.
-
The red screws are 10 mm Phillip's #1. The orange screws are 13 mm Phillips #1.
-
Three screws are located on the back panel. One is located inside the battery carriage.
-
Two screws are located on the on the back panel on the bottom left and right side.
-
-
-
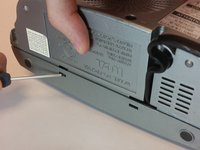
Remove the 10 mm Phillip's #1 screw.
-
Then remove the metal reinforcement.
-
-
-
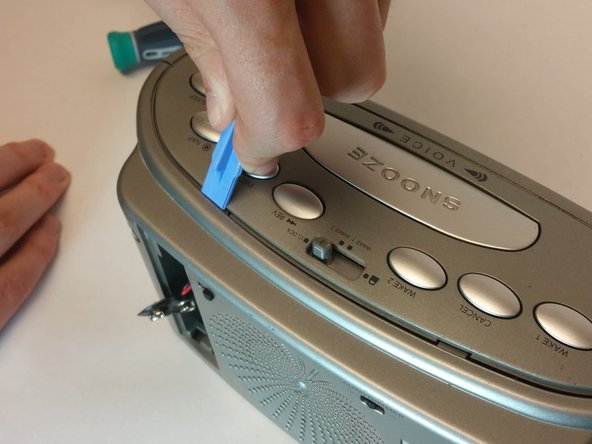
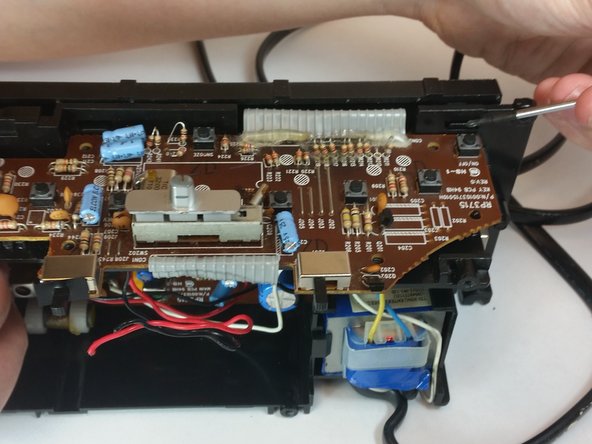
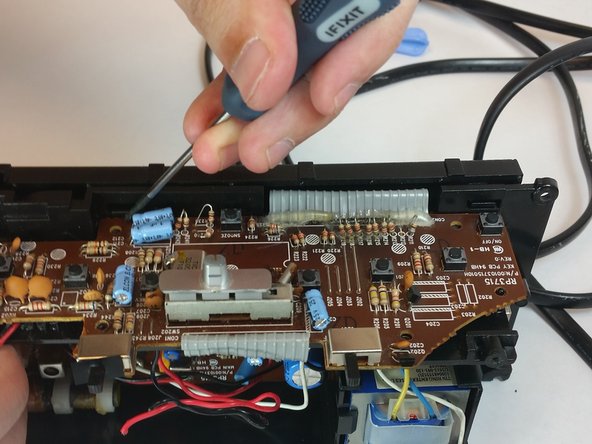
Remove the two 10mm Phillip's #1 screws. Also remove the two reinforcements holding the speaker in place.
-
-
-
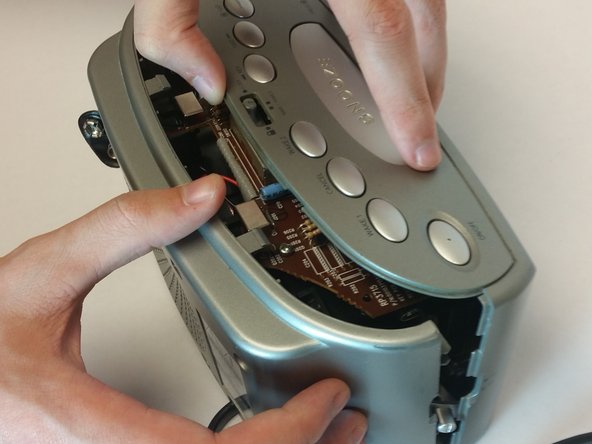
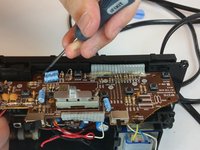
The two latches located in the picture will help take off the display.
-
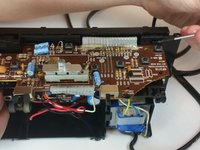
Remove the display.
-


To reassemble your device, follow these instructions in reverse order.
To reassemble your device, follow these instructions in reverse order.
İptal et: Bu kılavuzu tamamlamadım.
Bir başkası bu kılavuzu tamamladı.
Ekip

USF Tampa, Team 10-5, Brown Fall 2014 USF Tampa, Team 10-5, Brown Fall 2014 üyesi
USFT-BROWN-F14S10G5
3 Üyeler
5 adet Kılavuz yazıldı