Ana içeriğe geç
Onarım Topluluğuna Katılın - Hesap Oluşturun

RetroMini Miyoo Mini Plus Button Replacement

Neye ihtiyacın var

  1. RetroMini Miyoo Mini Plus Button Replacement, Battery: adım 1, 2 resimden 1. RetroMini Miyoo Mini Plus Button Replacement, Battery: adım 1, 2 resimden 2.
    • Lay the device face down on a flat surface.

    • You may want to lay the device on a towel or other soft surface to avoid scratching the screen.

    FixBot'a Sor
    Yorum Ekle

  2. RetroMini Miyoo Mini Plus Button Replacement: adım 2, 2 resimden 1. RetroMini Miyoo Mini Plus Button Replacement: adım 2, 2 resimden 2.
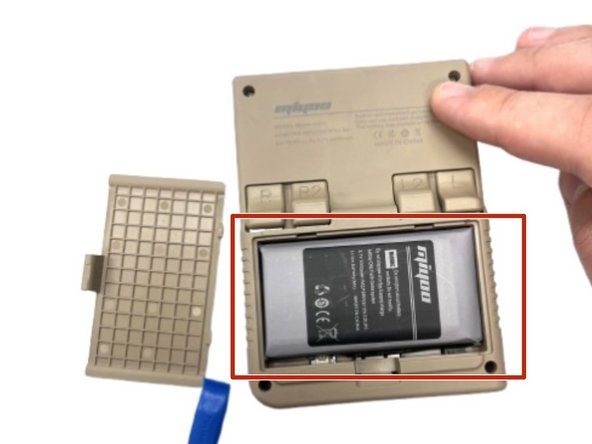
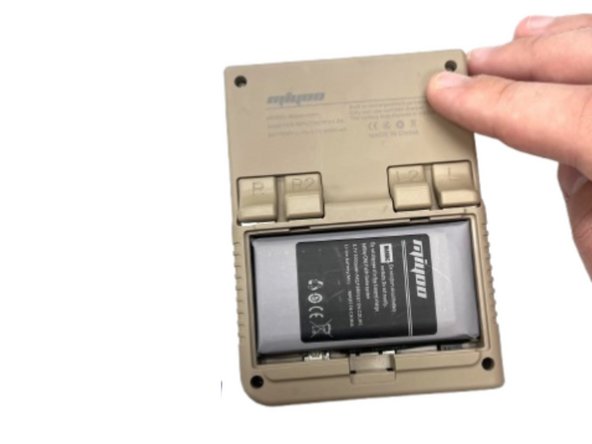
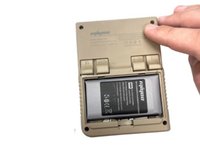
    • Use your fingernail to push in the battery compartment tab.

    • Lift the cover up to expose the battery.

    FixBot'a Sor
    Yorum Ekle

  3. RetroMini Miyoo Mini Plus Button Replacement: adım 3, 1 resimden 1.
    • Use an opening tool to gently lift the the battery from its compartment.

    • Gently pull the battery out and set the battery next to the system, with care not to strain the attached wire.

    FixBot'a Sor

    Yorum Ekle

  4. RetroMini Miyoo Mini Plus Button Replacement: adım 4, 2 resimden 1. RetroMini Miyoo Mini Plus Button Replacement: adım 4, 2 resimden 2.
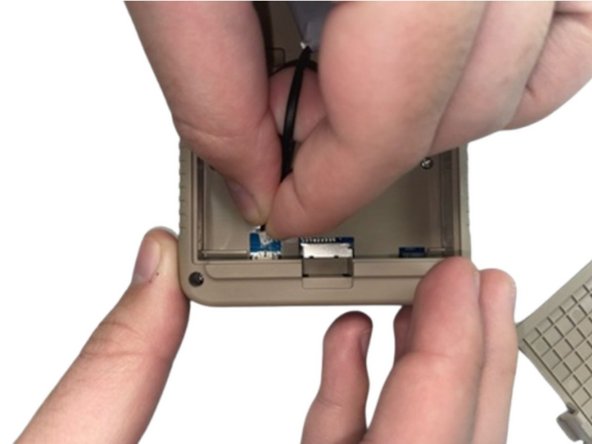
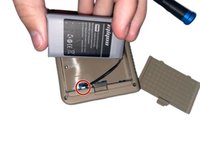
    • Pinch the white battery connector and pull it directly out of its socket.

    • Completely remove the battery.

    FixBot'a Sor

    Yorum Ekle

  5. RetroMini Miyoo Mini Plus Button Replacement: adım 5, 2 resimden 1. RetroMini Miyoo Mini Plus Button Replacement: adım 5, 2 resimden 2.
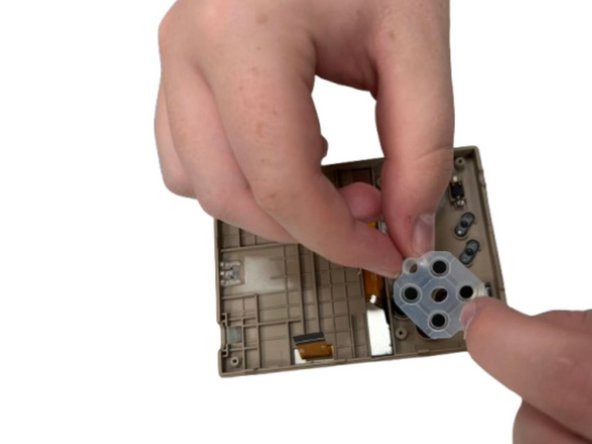
    • When you have the new battery, put the new battery wire into the connecter.

    • Place the battery back into the empty space with the wire at the bottom of the battery.

    FixBot'a Sor
    Yorum Ekle

  6. RetroMini Miyoo Mini Plus Button Replacement, Button: adım 6, 2 resimden 1. RetroMini Miyoo Mini Plus Button Replacement, Button: adım 6, 2 resimden 2.
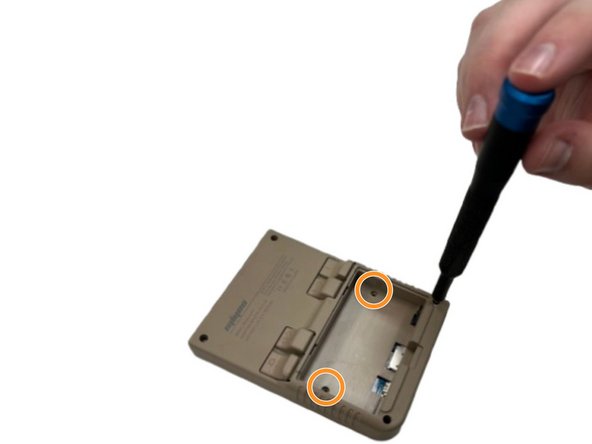
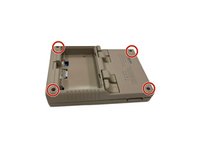
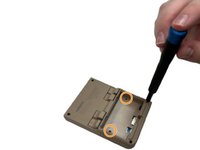
    • Remove the four screws securing the rear case with a Phillips screwdriver.

    • Remove the two Phillips screws inside the battery compartment.

    FixBot'a Sor

    Yorum Ekle

  7. RetroMini Miyoo Mini Plus Button Replacement: adım 7, 2 resimden 1. RetroMini Miyoo Mini Plus Button Replacement: adım 7, 2 resimden 2.
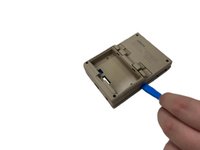
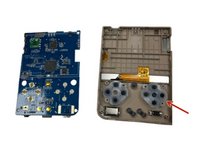
    • Insert an opening tool into the seam between the front and rear case.

    • Pry the front and rear case apart.

    FixBot'a Sor
    Yorum Ekle

  8. RetroMini Miyoo Mini Plus Button Replacement: adım 8, 2 resimden 1. RetroMini Miyoo Mini Plus Button Replacement: adım 8, 2 resimden 2.
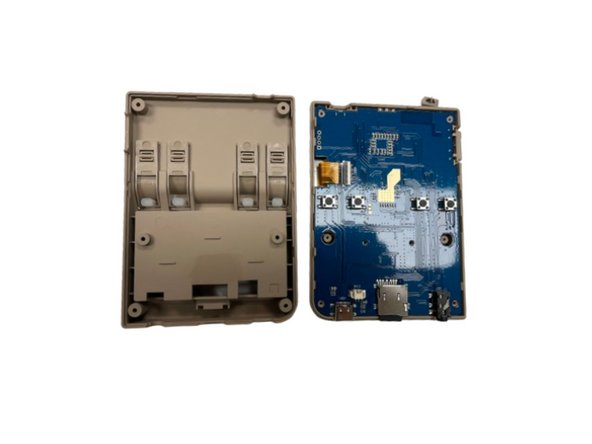
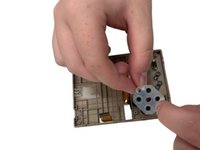
    • Gently set the rear case aside.

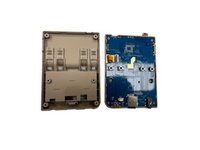
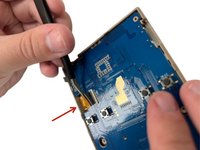
    • Make sure you lift the black tab on the left side of the motherboard and gently remove the ribbon cable as to not damage it when removing the motherboard from the case.

    FixBot'a Sor
    Yorum Ekle

  9. RetroMini Miyoo Mini Plus Button Replacement: adım 9, 2 resimden 1. RetroMini Miyoo Mini Plus Button Replacement: adım 9, 2 resimden 2.
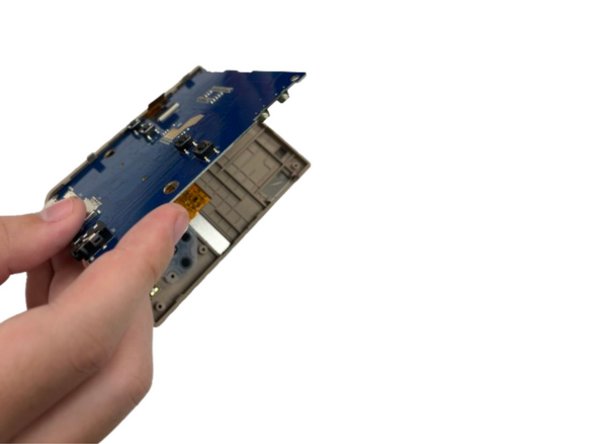
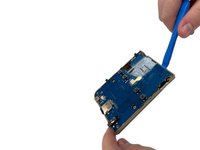
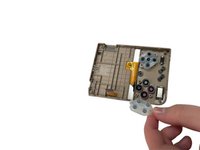
    • Use an opening tool to lift the motherboard from the chassis.

    FixBot'a Sor
    Yorum Ekle

  10. RetroMini Miyoo Mini Plus Button Replacement: adım 10, 3 resimden 1. RetroMini Miyoo Mini Plus Button Replacement: adım 10, 3 resimden 2. RetroMini Miyoo Mini Plus Button Replacement: adım 10, 3 resimden 3.
    • Gently set the motherboard to the side.

    • Remove the rubber button gasket.

    FixBot'a Sor

    Yorum Ekle

  11. RetroMini Miyoo Mini Plus Button Replacement: adım 11, 1 resimden 1.
    • Remove the button(s) you want to replace.

    FixBot'a Sor

    Yorum Ekle

Sonuç

To reassemble your device, follow the above steps in reverse order.

Take your e-waste to an R2 or e-Stewards certified recycler.
Repair didn’t go as planned? Try some basic troubleshooting, or ask our Steam Deck answers community for help.

İptal et: Bu kılavuzu tamamlamadım.

Kaden

Üyelik tarihi: 08/28/24

599 İtibar

4 adet Kılavuz yazıldı

0Kılavuz Yorumları

Yorum Ekle

İstatistikleri Görüntüle:

Son 24 Saat: 1

Son 7 gün: 7

Son 30 gün: 50

Her zaman: 714