Giriş
This guide demonstrates how to replace the laser distance sensor on your Roborock S5 robotic vacuum cleaner. The laser distance sensor is the periscopic orange laser on top of the Roborock S5 that swivels around and allows the robot to tell where it is in the room.
If your robot is reading "Error 1: Laser Distance Sensor" there is a good chance you may need to replace the motor that drives the laser. For additional information, check on the Roborock S5 Troubleshooting page.
Before you begin, power off your robot vacuum.
Neye ihtiyacın var
-
-
Power down your Roborock S5.
-
Place it on a flat work surface with the power buttons facing toward you.
-
Use an opening tool to carefully pry under the section of the top panel with the buttons.
-
Gently pull upward to snap the panel off the top of the vacuum. It is secured in place by five snaps that you will need to release to remove the panel.
 FixBot'a Sor
-
-
-
Use a Phillips #2 screwdriver to remove the six 9 mm screws securing the other half of the top panel that covers the dust bin.
-
Remove the two hinge covers to free the other top panel.
-
Gently lift the other half of the top panel off of the robot vacuum.
-
-
-
Use a spudger to pry off the rubber stoppers covering the three 12 mm screws that secure the Laser Distance Sensor housing cover.
-
-
-
-
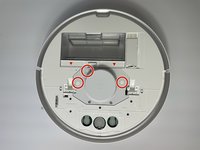
Use a Phillips #2 screwdriver to remove the three 12 mm screws holding the Laser Distance Sensor housing cover in place.
-
Use the same Phillips #2 screwdriver to remove the two 9 mm screws securing the Laser Distance Sensor housing cover.
-
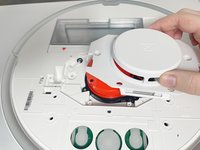
Gently lift the cover off of the sensor.
-
-
-
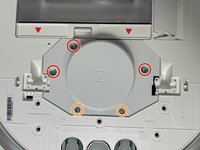
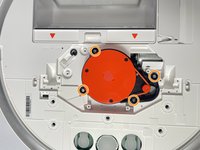
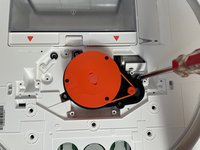
Use a Phillips #2 screwdriver to remove the four 9 mm screws holding the Laser Distance Sensor in place.
-
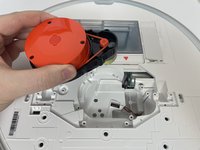
Gently lift it out of the robot vacuum.
-
-
-
Turn the Laser Distance Sensor over so the backside is facing up.
-
Squeeze the tab against the connector, and pull the connector straight up from the socket to disconnect the power cable.
-
-
-
Turn the Laser Distance Sensor housing back over.
-
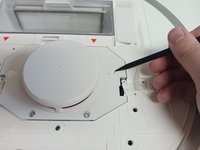
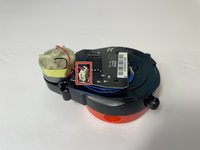
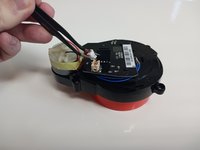
Use a spudger to detach the plastic cord from the motor that connects it to the laser.
-
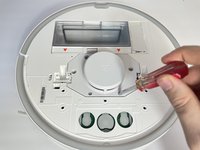
Use a Phillips #1 screwdriver to remove the two 4 mm screws attaching the motor to the housing.
-










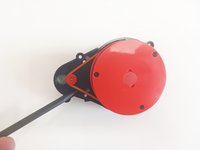
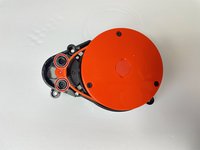
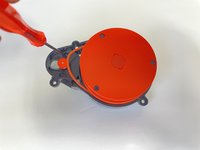

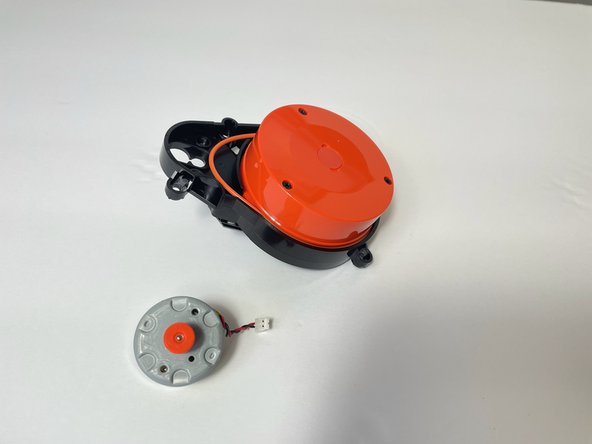
To reassemble your device, follow these instructions in reverse order.
İptal et: Bu kılavuzu tamamlamadım.
7 farklı kişi bu kılavuzu tamamladı.

Ekip

Western Carolina University, Team 1-1, Virtue Fall 2023 Western Carolina University, Team 1-1, Virtue Fall 2023 üyesi
WCU-VIRTUE-F23S1G1
5 Üyeler
17 adet Kılavuz yazıldı
