Giriş
Use this guide to replace the battery in your Samsung Galaxy A5 (2017).
Opening the Samsung Galaxy A5 (2017) will damage the waterproof sealing on the device. If you do not replace the adhesive seals, your phone will function normally, but will loose its water-protection.
If your battery is swollen, take appropriate precautions. Do not heat your phone. Swollen batteries can be very dangerous, so wear eye protection and exercise due caution, or take it to a professional if you're not sure how to proceed.
You’ll need replacement adhesive to reattach the battery and back cover when reassembling the device.
Neye ihtiyacın var
-
-
Power off your phone before beginning disassembly.
-
Use an iOpener to loosen the adhesive beneath the back cover. Apply the iOpener for at least two minutes. You might want to repeat this step several times during the back cover removal.
-
-
-
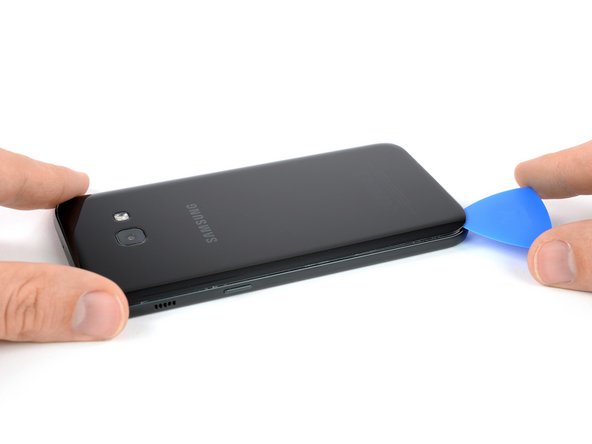
Insert an opening pick at the bottom end of your phone.
-
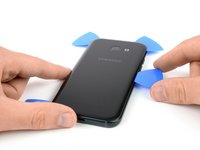
Start to slide the tip of the opening pick to the bottom left corner and cut the adhesive with it.
-
Leave the opening pick in the bottom left corner to prevent the adhesive from resealing. Insert a new opening pick and start to cut the adhesive on the left side of the phone.
-
-
-
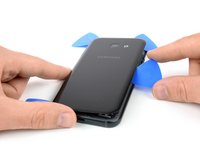
Use an opening pick to cut the adhesive on all sides of the phone. Leave one opening pick in every corner to prevent the adhesive from resealing.
-
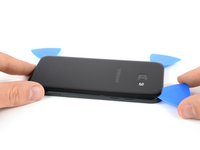
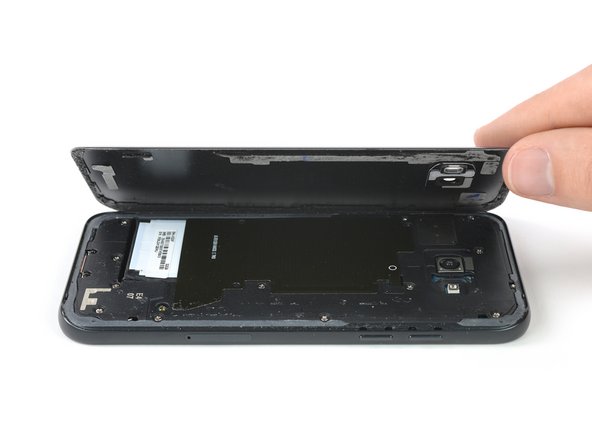
Insert an opening pick on the right side of the phone after you cut the adhesive on all sides. Flip it sideways until you can get a good grip on the back cover.
-
-
-
-
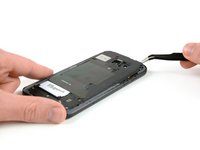
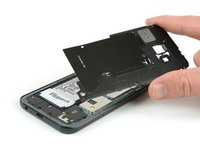
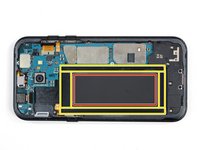
Remove the eight Phillips #00 screws that hold the motherboard cover in its place.
-
-
-
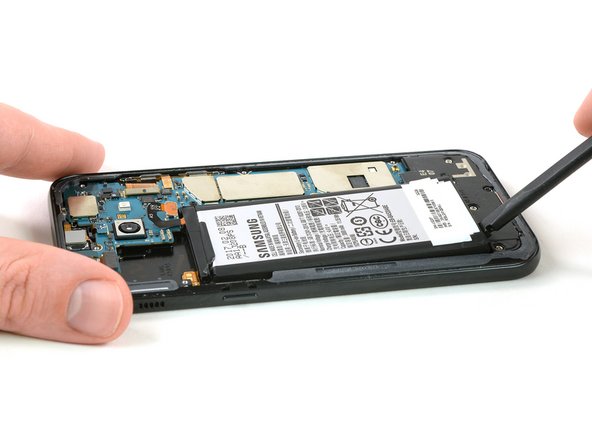
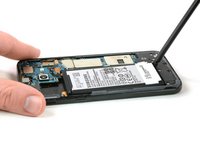
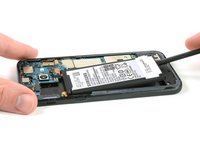
Use the flat end of a spudger to disconnect the battery flex cable.
-


To reassemble your device, follow these instructions in reverse order.
If possible, turn on your phone and test your repair before installing new adhesive and resealing the phone.
Secure the new battery with pre-cut adhesive or double-sided adhesive tape and press it firmly into place for 5-10 seconds.
For optimal performance and to avoid software sided errors, calibrate your newly installed battery: Drain battery below 10%, then charge uninterrupted to 100%.
İptal et: Bu kılavuzu tamamlamadım.
60 farklı kişi bu kılavuzu tamamladı.


4Kılavuz Yorumları
Hallo,
ich kapier einfach nicht wie man das Backcover geöffnet bekommen soll. Ich erhitzt eine Kante mit dem Fön setz den Saugnapf an und es pasiert einfach gar nichts. Ich kann einfach nicht mein Opening Tool unter das Cover kriegen. Was mach ich falsch?
Hallo Salome, je nach alter des Handys kann der Klebstoff schon sehr hartnäckig geworden sein. Ein Fön erzeugt nur langsam die benötigte Hitze (wir wollen auf ca 80°C kommen). Versuche etwas länger die untere Kante und auch die beiden seitlichen Kanten zu erhitzen und dann mit dem Saugnapf anzuheben. Anstatt mit einem Opening Tool (blauer Hebel) kannst du auch ein Opening Pick (Plektrum) verwenden – es ist etwas schlanker und man kann damit besser den Klebstoff trennen. Bleib geduldig und viel Erfolg
Hallo,
wir haben den Akku entsprechend der Anleitung getauscht. Das hat auch Problemlos funktioniert, nur leider sagt das Gerät jetzt beim Einstecken des Ladegerätes, dass die Temperatur zu niedrig ist und der Ladevorgang erst bei normaler Temperatur fortgesetzt wird. Was haben wir falsch gemacht????
Grüße
Ronny
Any reason this guide has different instructions on Battery Calibration than the dedicated iFixit guide on Battery Calibration? I’m gonna do what is says here (because it’s faster and easier) and I followed the rest of the guide (so I might as well do everything it says), but I find it kinda strange that it’s different.