Ana içeriğe geç
Samsung Galaxy A50 Display Assembly with Frame Replacement

Samsung Galaxy A50 Display Assembly with Frame Replacement

ZFix

ZFix ve başka bir katkıda bulunan

En son September 12, 2023 tarihinde güncellendi

45 dakika
Orta
Topluluk-Katkılı Kılavuz

Neye ihtiyacın var

Aletler

Daha fazlasını göster…

Videoya Genel Bakış

  1. Samsung Galaxy A50 Display Assembly with Frame Replacement, LCD Display Assembly replacement: adım 1, 3 resimden 1. Samsung Galaxy A50 Display Assembly with Frame Replacement, LCD Display Assembly replacement: adım 1, 3 resimden 2. Samsung Galaxy A50 Display Assembly with Frame Replacement, LCD Display Assembly replacement: adım 1, 3 resimden 3.
    • Display Touch Screen Digitizer Assembly with Frame for Samsung Galaxy A50

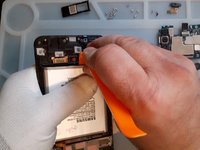
  2. Samsung Galaxy A50 Display Assembly with Frame Replacement, Battery cover removal: adım 2, 3 resimden 1. Samsung Galaxy A50 Display Assembly with Frame Replacement, Battery cover removal: adım 2, 3 resimden 2. Samsung Galaxy A50 Display Assembly with Frame Replacement, Battery cover removal: adım 2, 3 resimden 3.
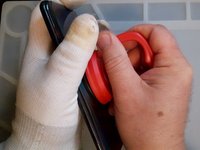
    • Heat up the back cover to loosen the adhesive.

    • To separate the back cover use a Suction Cup and plastic tools.

  3. Samsung Galaxy A50 Display Assembly with Frame Replacement, Middle frame removal: adım 3, 3 resimden 1. Samsung Galaxy A50 Display Assembly with Frame Replacement, Middle frame removal: adım 3, 3 resimden 2. Samsung Galaxy A50 Display Assembly with Frame Replacement, Middle frame removal: adım 3, 3 resimden 3.
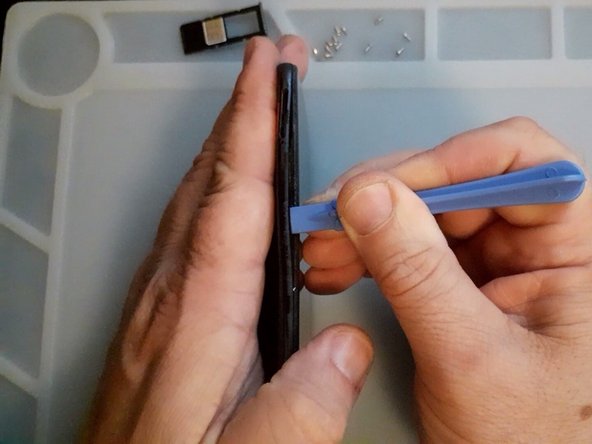
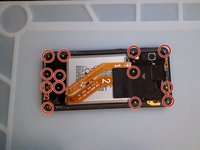
    • Remove the SIM tray.

    • Remove the Philips Screws.

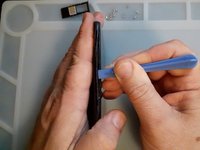
    • Again use plastic tools to separate the middle frame.

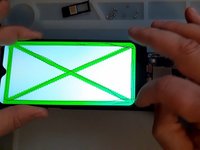
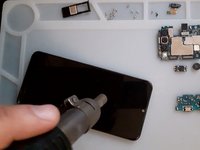
  4. Samsung Galaxy A50 Display Assembly with Frame Replacement, Test the new spare part: adım 4, 3 resimden 1. Samsung Galaxy A50 Display Assembly with Frame Replacement, Test the new spare part: adım 4, 3 resimden 2. Samsung Galaxy A50 Display Assembly with Frame Replacement, Test the new spare part: adım 4, 3 resimden 3.
    • First disconnect the Battery.

    • Test the new spare part before the installation.

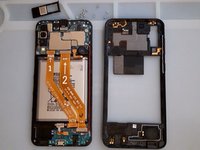
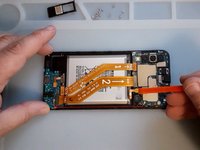
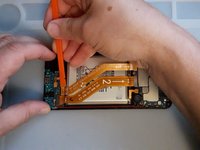
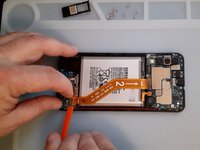
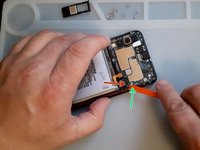
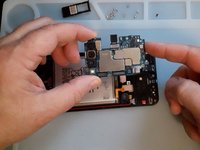
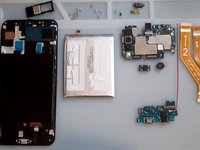
  5. Samsung Galaxy A50 Display Assembly with Frame Replacement, Logic board removal: adım 5, 3 resimden 1. Samsung Galaxy A50 Display Assembly with Frame Replacement, Logic board removal: adım 5, 3 resimden 2. Samsung Galaxy A50 Display Assembly with Frame Replacement, Logic board removal: adım 5, 3 resimden 3.
    • Disconnect and remove the Main Flex Cable.

    • Remove the black Philips screw, it's shorter then the middle frame screws.

    • Disconnect the coaxial antenna cable.

    • Now you can remove the logic board.

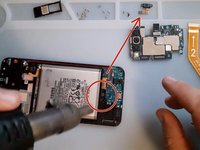
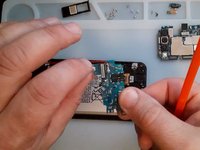
  6. Samsung Galaxy A50 Display Assembly with Frame Replacement, Sub board removal: adım 6, 3 resimden 1. Samsung Galaxy A50 Display Assembly with Frame Replacement, Sub board removal: adım 6, 3 resimden 2. Samsung Galaxy A50 Display Assembly with Frame Replacement, Sub board removal: adım 6, 3 resimden 3.
    • First remove the Fingerprint sensor.

    • The screws for the Fingerprint are shorter.

    • It's better to use hot air before to disassemble the sub-board.

    • Reminder - only plastic tools :)

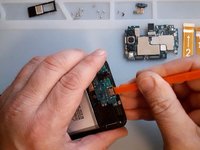
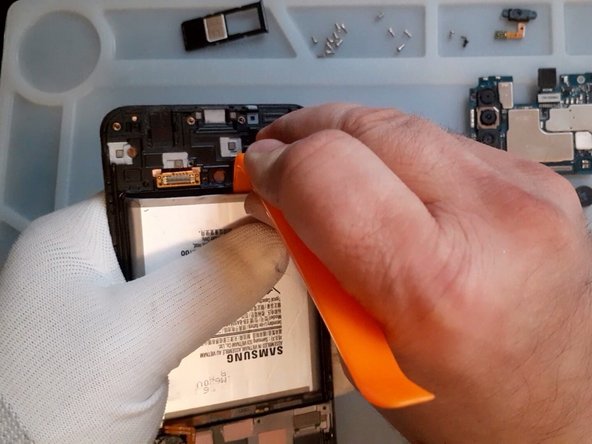
  7. Samsung Galaxy A50 Display Assembly with Frame Replacement, Battery removal: adım 7, 3 resimden 1. Samsung Galaxy A50 Display Assembly with Frame Replacement, Battery removal: adım 7, 3 resimden 2. Samsung Galaxy A50 Display Assembly with Frame Replacement, Battery removal: adım 7, 3 resimden 3.
    • Again, hot air, plastic tools and very slowly remove the battery.

  8. Samsung Galaxy A50 Display Assembly with Frame Replacement: adım 8, 1 resimden 1.
    • All's Well That Ends Well

Sonuç

To reassemble your device, follow these instructions in reverse order.

6 farklı kişi bu kılavuzu tamamladı.

ZFix

Üyelik tarihi: 12/09/13

194.325 İtibar

330 adet Kılavuz yazıldı

Ekip

Master Techs Master Techs üyesi

Community

327 Üyeler

1.677 adet Kılavuz yazıldı

2Kılavuz Yorumları

The frame I bought doesn't have the place for earspeaker surrounded by little "walls", so it's very loose and doesn't have contact with the board. Anyone experienced this?

knezi - Yanıt

You can just use small amount of jelly glue to attach it to the frame it'll work fine as long its stay in a right place the logic board will help it keep it in place

Zent -

Yorum Ekle

İstatistikleri Görüntüle:

Son 24 Saat: 5

Son 7 gün: 42

Son 30 gün: 213

Her zaman: 16,850