Bu kılavuzda güncel değişiklikler var. En son onaylanmamış sürüme geçin.
Giriş
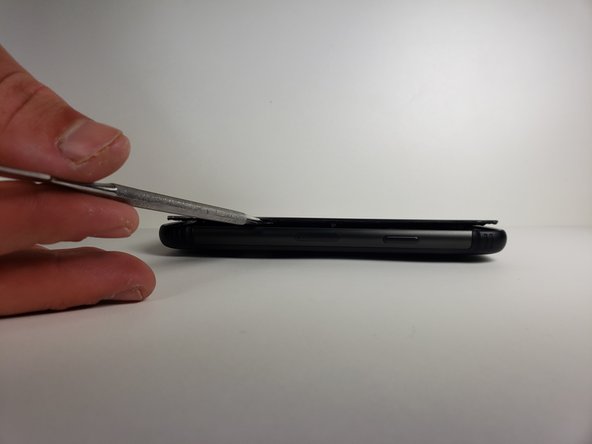
This guide will teach you how to pry open your screen through the front side of the phone.
Neye ihtiyacın var
-
-
Melt the adhesive on the screen by applying a blow dryer directly on the screen.
-
-
-
-
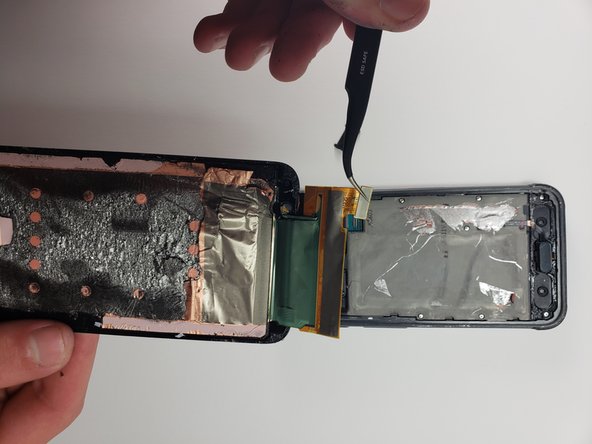
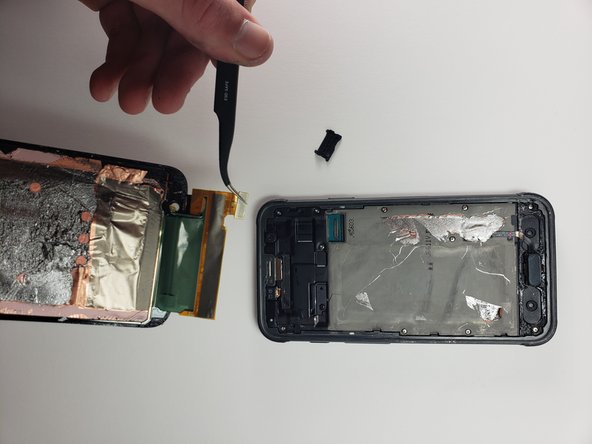
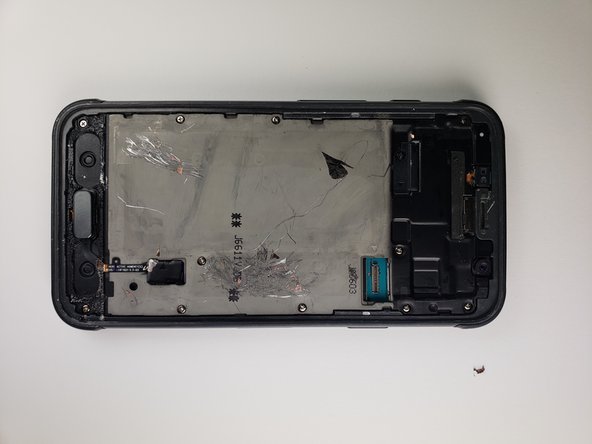
Use the tweezers to disconnect the screen from the phone by detaching the connection.
-


To reassemble your device, follow these instructions in reverse order.
To reassemble your device, follow these instructions in reverse order.
İptal et: Bu kılavuzu tamamlamadım.
3 farklı kişi bu kılavuzu tamamladı.
Ekip

Cal Poly, Team S18-G1, Livingston Spring 2018 Cal Poly, Team S18-G1, Livingston Spring 2018 üyesi
CPSU-LIVINGSTON-S18S18G1
4 Üyeler
15 adet Kılavuz yazıldı
3 Yorum
I bought a digitizer with fog and polarizer and a new front glass, it came with the loca. What else do I need to make the complete LCD screen assembly?