Bu kılavuzda güncel değişiklikler var. En son onaylanmamış sürüme geçin.
Giriş
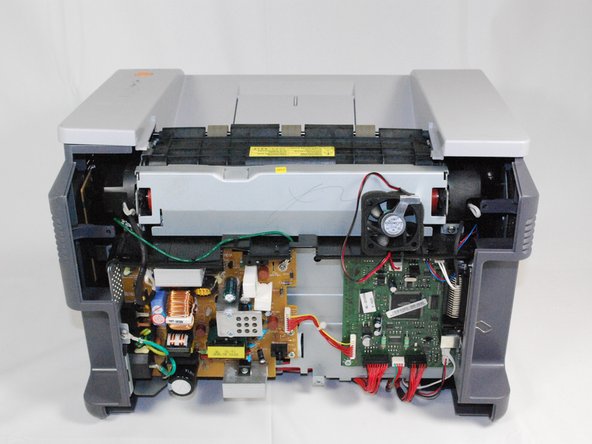
This guide will require you to disassemble the back and side panel of the printer. You will need to refer to the Removing Samsung ML2510 Back Panel guide in order to complete the task.
Neye ihtiyacın var
-
-
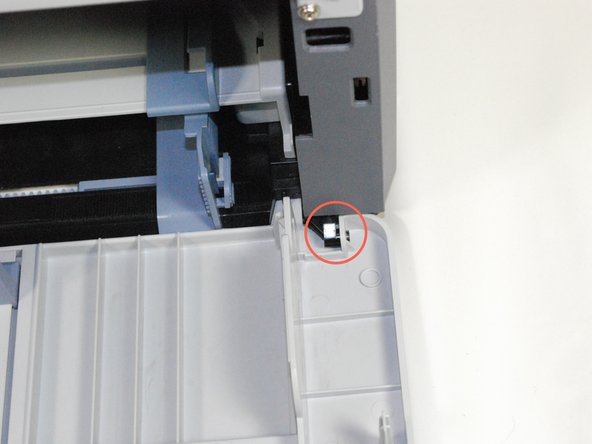
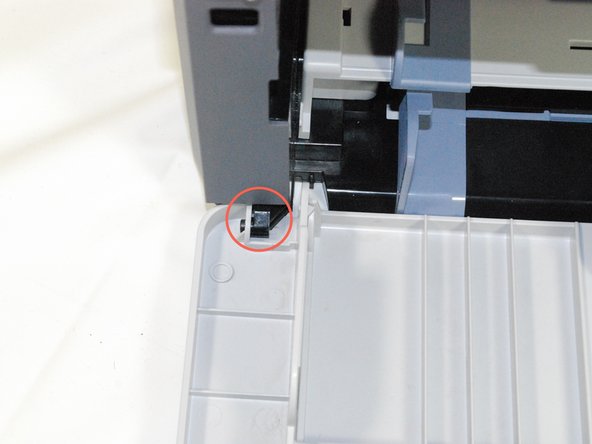
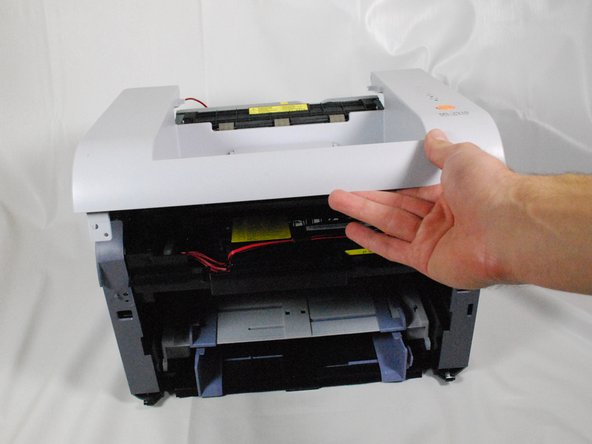
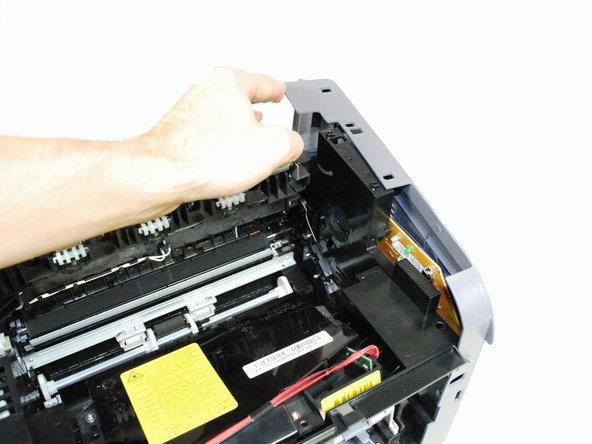
Remove the top hinged panel by taking out the pins at the bottom of this panel.
-
-
-
-
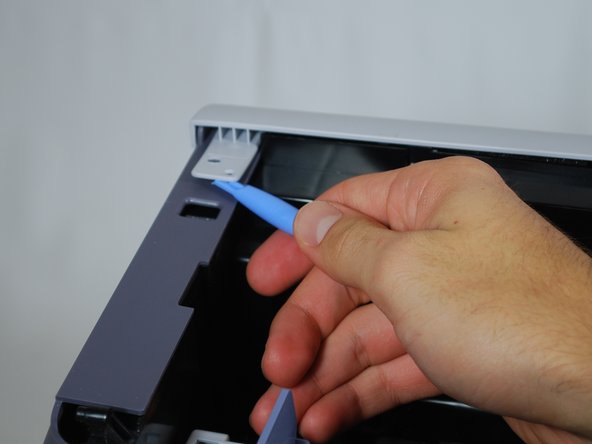
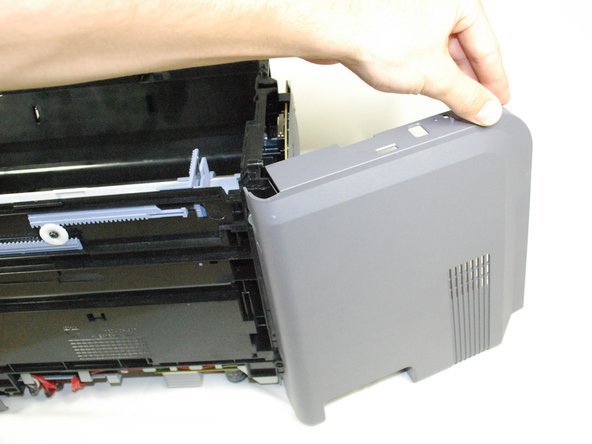
Remove front panel by gently moving the holes on the panel from the pegs attached to the main printer body, one at a time.
-


To reassemble your device, follow these instructions in reverse order.
To reassemble your device, follow these instructions in reverse order.
İptal et: Bu kılavuzu tamamlamadım.
2 farklı kişi bu kılavuzu tamamladı.

Ekip

Cal Poly, Team 17-18, Regan Fall 2011 Cal Poly, Team 17-18, Regan Fall 2011 üyesi
CPSU-REGAN-F11S17G18
4 Üyeler
12 adet Kılavuz yazıldı