Giriş
Replacing a button is one of the most common clothing repairs. Fortunately, it's also one of the easiest. This guide will show you how to reattach a standard four-hole button with a needle and thread. In this guide we're using contrasting thread for visibility, but when it comes time to do your actual project, you'll want to use thread that matches the color of your fabric.
Neye ihtiyacın var
-
-
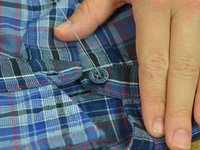
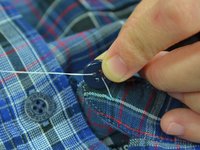
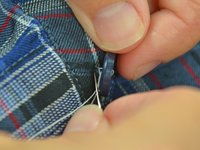
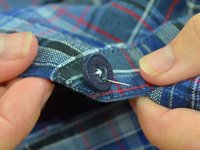
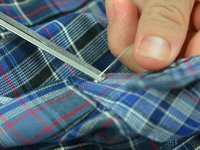
Overlap the buttonhole with where the button should be. Going through the buttonhole, mark the fabric below with tailor's chalk.
-
-
-
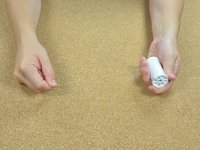
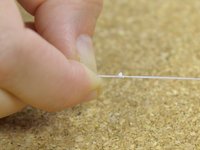
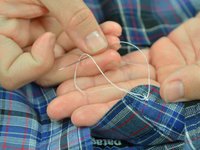
Get a length of thread—about an arms-length should be more than enough.
-
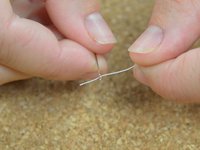
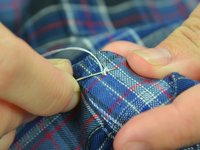
Thread a needle.
-
-
-
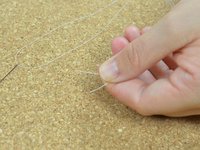
Let the needle slide down the thread until it hangs at the center. You should have two equal lengths of thread on either side of the needle.
-
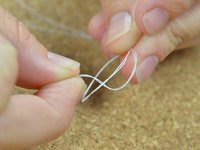
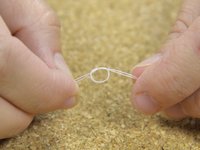
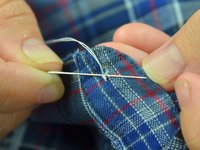
Tie the loose ends of the thread together.
-
-
-
Tie a second regular knot over the first one to make it bigger. You don't want the thread slipping right through the grain of the fabric.
-
-
-
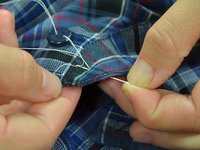
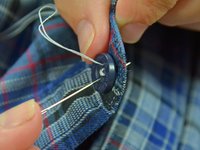
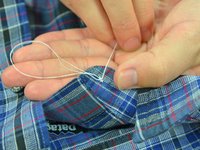
Poke the needle up through the chalk mark from the underside of the fabric.
-
Pull the thread taut, until the knot catches the backside of the fabric.
-
-
-
-
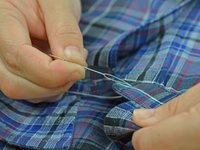
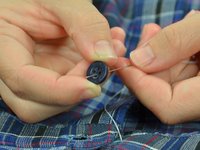
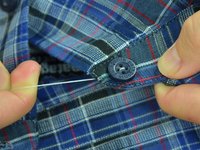
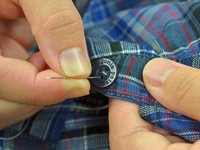
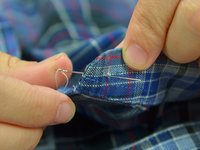
Thread the needle through one hole of the button. You can pick any hole to start with.
-
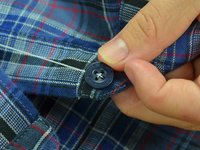
Let the button drop all the way down onto the fabric.
-
-
-
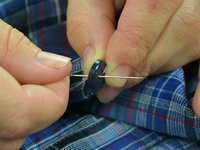
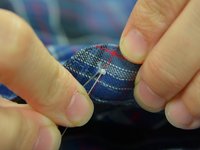
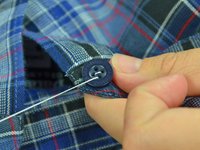
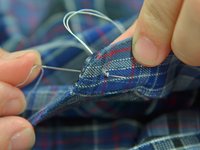
Push the needle through the buttonhole directly opposite the one you have already threaded.
-
Be sure to go through only the button, not the fabric.
-
-
-
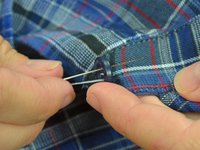
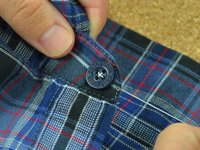
Push the needle back through the fabric directly next to where you initially pushed the needle up.
-
Pull the thread taut, until the button lays flat on the fabric.
-
-
-
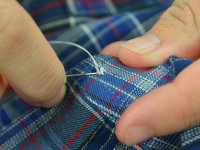
Push the needle back up through the backside of the fabric, directly next to the original knot
-
Work the needle up through one of the two remaining holes without thread.
-
Pull the thread taut.
-
-
-
Go back through the last remaining empty hole on the button.
-
Be sure to go through only the button, not the fabric.
-
Go back down through the fabric, as close as possible to the other two threads.
-
Pull the thread taut.
-
-
-
Drive the needle back up through the underside of the fabric and into the first hole that you threaded.
-
Pull the thread taut.
-
-
-
Go back down through the second hole, directly across from the hole you just came up through.
-
Pull taut.
-
-
-
Push the needle up through the third hole again.
-
Pull it taut.
-
Push the needle down through the fourth hole and pull it taut.
-
-
-
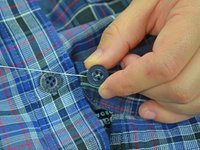
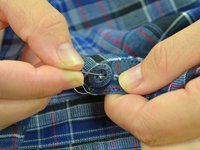
Push the needle through the loops of thread on the underside of the fabric. Be careful not to catch the fabric.
-
-
-
Leave some slack in the thread and draw the needle through the loop created by the slack.
-
Pull the thread taut, forming a knot.
-
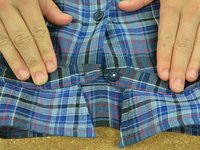
Repeat steps 15 and 16 one more time to add a second knot.
-


İptal et: Bu kılavuzu tamamlamadım.
64 farklı kişi bu kılavuzu tamamladı.


5Kılavuz Yorumları
What helps after the last step 14 is to wrap the thread around and around a few times underneath the button itself (binding all the threads together) and making one last pass through the cloth before the final knot. This makes the repair much more durable.
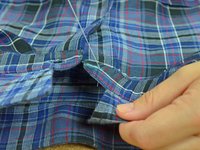
Wrapping the threads underneath the button to create a shank is useful for coat buttons where the fabric is thick and you don’t want the fabric to pucker. As noted, it adds durability to the button attachment. On a shirt collar, as seen here, it would create too much bulk where you need the button to lie quite flat, so this method is quite sufficient.
Thanks Jonathan. Great insight.