Ana içeriğe geç
Shark ION Robot 750 Sensor Replacement

Shark ION Robot 750 Sensor Replacement

Asmitha D

Asmitha D ve başka bir katkıda bulunan

En son June 21, 2024 tarihinde güncellendi

30 - 50 dakika
Orta
İşlem Görüntüleri
Daha Fazla Görsel Gerekli

The Shark ION Robot 750 uses sensors to navigate an area without colliding into nearby furniture, walls, and other objects. This guide demonstrates the process to access and replace the sensors in the robot vacuum. Some symptoms of faulty sensors include: frequently bumping into furniture, irregular robot movement, and flashing error lights.

Before you begin this repair, make sure that your device is turned off.

Neye ihtiyacın var

Aletler

Daha fazlasını göster…

  1. Shark ION Robot 750 Sensor Replacement, Outer Shell: adım 1, 3 resimden 1. Shark ION Robot 750 Sensor Replacement, Outer Shell: adım 1, 3 resimden 2. Shark ION Robot 750 Sensor Replacement, Outer Shell: adım 1, 3 resimden 3.
    • Make sure the device is completely powered off before working.

    • Flip over the vacuum on a flat and uncluttered service with the bottom facing upwards.

    • Remove all seven 9.1mm Torx T15 screws from the device’s front bumper.

    • Remove the nine 9.1mm Torx T6 bolts from outer shell.

  2. Shark ION Robot 750 Sensor Replacement: adım 2, 2 resimden 1. Shark ION Robot 750 Sensor Replacement: adım 2, 2 resimden 2.
    • Slightly pull front bumper to expose internal wiring.

    • Unplug the device’s front bumper wiring and completely remove front bumper.

  3. Shark ION Robot 750 Sensor Replacement: adım 3, 2 resimden 1. Shark ION Robot 750 Sensor Replacement: adım 3, 2 resimden 2.
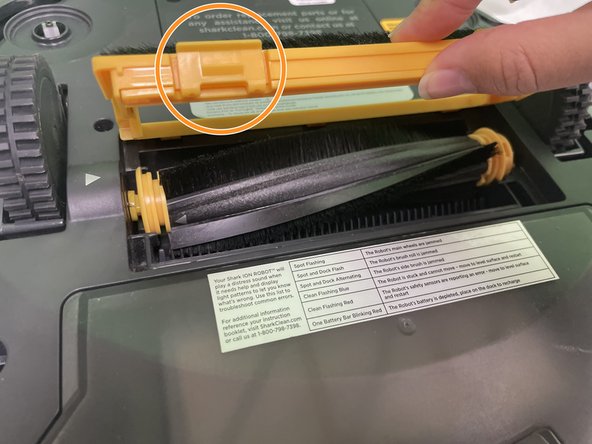
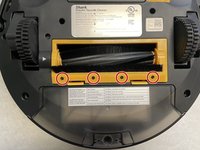
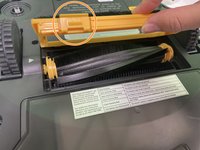
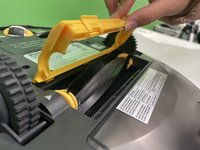
    • Remove the four 9.5mm Torx T6 bolts on the yellow brush frame.

    • Gently depress the two tabs on the frame, then lift the frame to remove it.

  4. Shark ION Robot 750 Sensor Replacement: adım 4, 2 resimden 1. Shark ION Robot 750 Sensor Replacement: adım 4, 2 resimden 2.
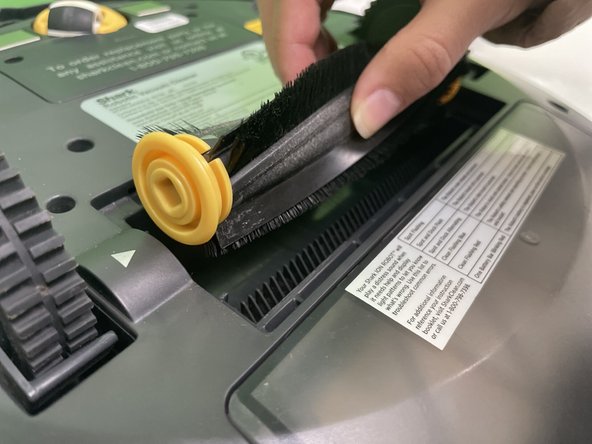
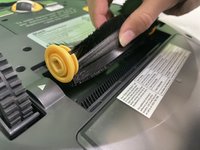
    • Pick up the brush and remove it from the vacuum.

    • Push the brush to your right and lift it.

  5. Shark ION Robot 750 Sensor Replacement: adım 5, 3 resimden 1. Shark ION Robot 750 Sensor Replacement: adım 5, 3 resimden 2. Shark ION Robot 750 Sensor Replacement: adım 5, 3 resimden 3.
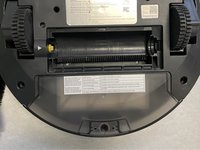
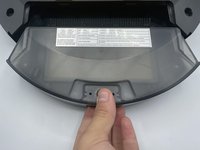
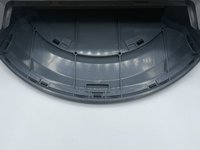
    • Press and hold the dust bin removal button to slide out the dust bin.

  6. Shark ION Robot 750 Sensor Replacement: adım 6, 1 resimden 1.
    • Lift the outer shell to expose the Shark’s interior.

  7. Shark ION Robot 750 Sensor Replacement, Sensors: adım 7, 2 resimden 1. Shark ION Robot 750 Sensor Replacement, Sensors: adım 7, 2 resimden 2.
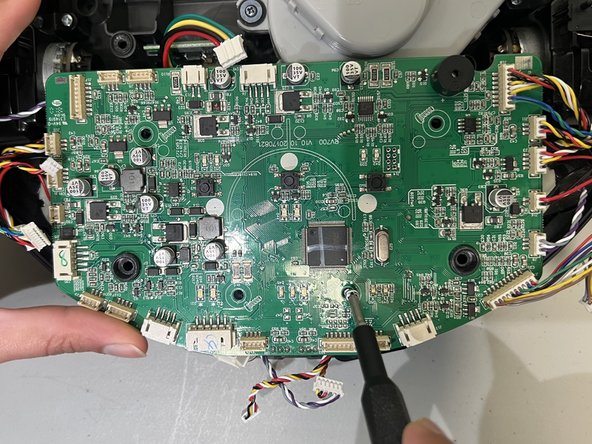
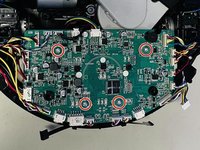
    • Use a Phillips #1 screwdriver to remove the four 11.5 mm screws from the main circuit board.

  8. Shark ION Robot 750 Sensor Replacement: adım 8, 2 resimden 1. Shark ION Robot 750 Sensor Replacement: adım 8, 2 resimden 2.
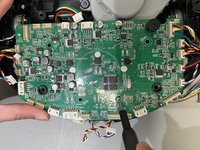
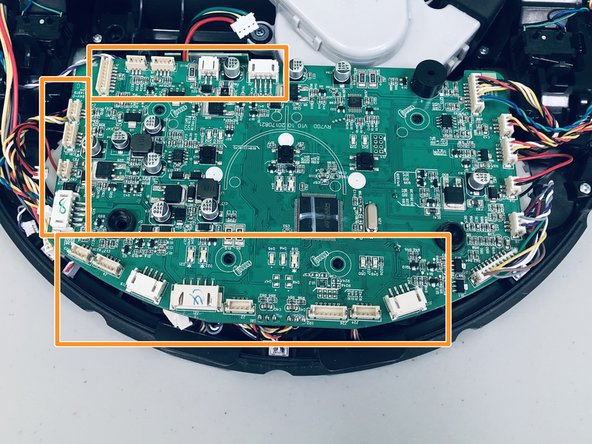
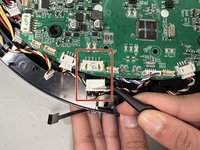
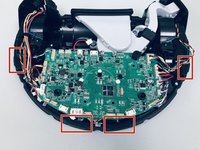
    • Use a spudger or tweezers to disconnect the white cable connector from the socket on the motherboard.

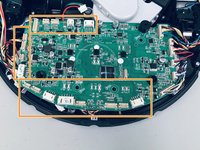
    • Detach the 17 connectors from the motherboard.

    • For helpful details on disconnecting different types of connectors, check out the Recognizing & Disconnecting Cable Connectors guide.

    • Don't pull on the cables as they might get damaged and affect the function of the vacuum.

  9. Shark ION Robot 750 Sensor Replacement: adım 9, 1 resimden 1.
    • Pull the outer case away from the robot vacuum to reveal the sensors.

  10. Shark ION Robot 750 Sensor Replacement: adım 10, 3 resimden 1. Shark ION Robot 750 Sensor Replacement: adım 10, 3 resimden 2. Shark ION Robot 750 Sensor Replacement: adım 10, 3 resimden 3.
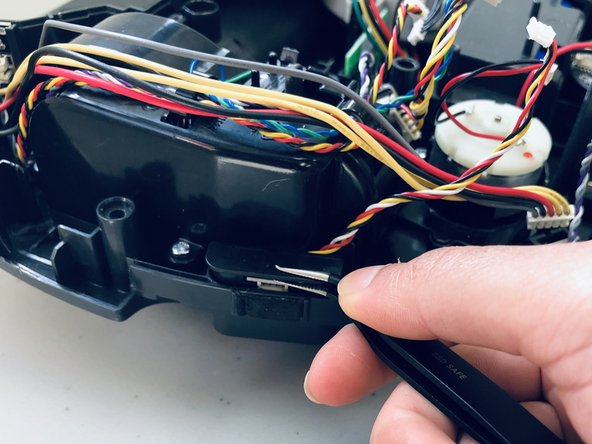
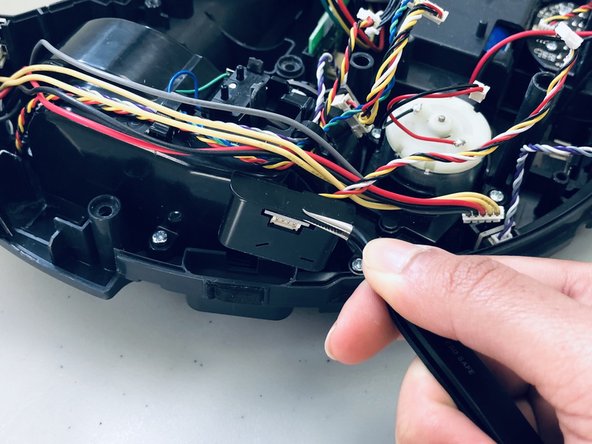
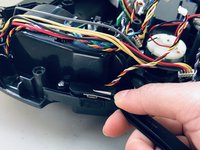
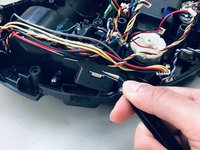
    • Insert the tweezer between the sensor lid and lower shell.

    • Gently lift each sensor up and out using the tweezer.

Sonuç

To reassemble your device, follow these instructions in reverse order. Take your e-waste to an R2 or e-Stewards certified recycler.

Asmitha D

Üyelik tarihi: 02/08/24

109 İtibar

1 Kılavuz yazıldı

0 Yorum

Yorum Ekle

İstatistikleri Görüntüle:

Son 24 Saat: 0

Son 7 gün: 3

Son 30 gün: 14

Her zaman: 152