Ana içeriğe geç

Skullcandy Crusher Wireless Headphone USB Connector Replacement

Neye ihtiyacın var

  1. Skullcandy Crusher Wireless Headphone USB Connector Replacement, Ear Cushion: adım 1, 2 resimden 1. Skullcandy Crusher Wireless Headphone USB Connector Replacement, Ear Cushion: adım 1, 2 resimden 2.
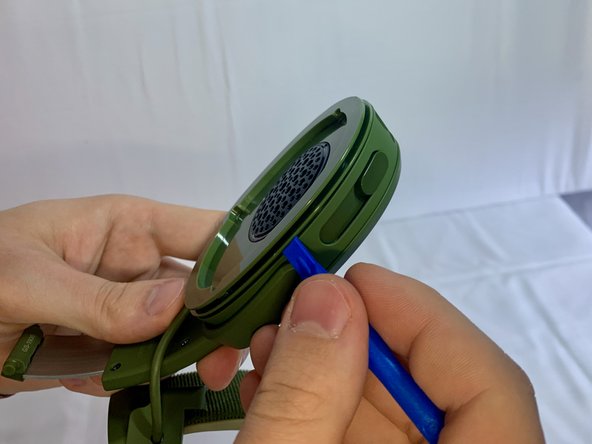
    • Take your headphones and hold them upside down for better control with your hands.

  2. Skullcandy Crusher Wireless Headphone USB Connector Replacement: adım 2, 2 resimden 1. Skullcandy Crusher Wireless Headphone USB Connector Replacement: adım 2, 2 resimden 2.
    • Grab the ear cushion firmly between your thumb and forefinger with a tight grip.

    • Pull the ear cushion away from the plastic, covering the speaker, by sliding the ear cushion down to release it.

  3. Skullcandy Crusher Wireless Headphone USB Connector Replacement: adım 3, 1 resimden 1.
    • Continue pulling it away from the edges of the plastic covering until the cushion is fully removed.

  4. Skullcandy Crusher Wireless Headphone USB Connector Replacement, USB Connector: adım 4, 2 resimden 1. Skullcandy Crusher Wireless Headphone USB Connector Replacement, USB Connector: adım 4, 2 resimden 2.
    • Remove three 12 mm Phillips #1 screws located underneath the left ear cushion.

  5. Skullcandy Crusher Wireless Headphone USB Connector Replacement: adım 5, 3 resimden 1. Skullcandy Crusher Wireless Headphone USB Connector Replacement: adım 5, 3 resimden 2. Skullcandy Crusher Wireless Headphone USB Connector Replacement: adım 5, 3 resimden 3.
    • Slide a plastic opening tool between the plastic frame and speaker assembly of the headphones.

    • Gently pry the speaker away from the frame of the headphones.

  6. Skullcandy Crusher Wireless Headphone USB Connector Replacement: adım 6, 2 resimden 1. Skullcandy Crusher Wireless Headphone USB Connector Replacement: adım 6, 2 resimden 2.
    • Separate the headphone speaker assembly from headphone speaker frame.

  7. Skullcandy Crusher Wireless Headphone USB Connector Replacement: adım 7, 1 resimden 1.
    • Inspect the USB port and ensure that it is connected correctly. If necessary, desolder the USB port and replace it with the new port.

    • For more information on soldering, please, use this Solder and Desolder Connections guide.

Sonuç

To reassemble your device, follow these instructions in reverse order.

Val

Üyelik tarihi: 03/31/22

1.080 İtibar

6 adet Kılavuz yazıldı

Ekip

UMass Dartmouth, Team 1-33, Gurgel Spring 2022 UMass Dartmouth, Team 1-33, Gurgel Spring 2022 üyesi

UMASSD-GURGEL-S22S1G33

1 Üye

12 adet Kılavuz yazıldı

0 Yorum

Yorum Ekle

İstatistikleri Görüntüle:

Son 24 Saat: 3

Son 7 gün: 10

Son 30 gün: 40

Her zaman: 956