Giriş
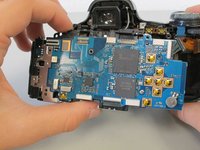
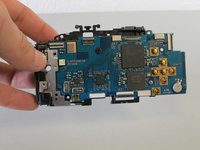
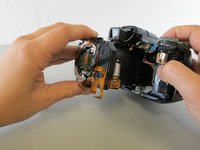
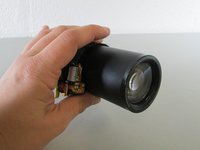
To take out and replace the lens assembly, you must first completely remove the central motherboard and all other internal components.
Neye ihtiyacın var
-
-
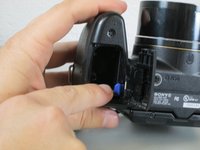
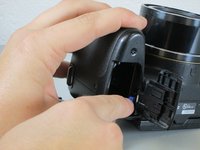
Push the blue tab towards the camera body to the right, while simultaneously pulling out the battery.
I want to know which typa of battery used in DSC -H1 don't cyber shot
Which type of battery used in DSC H1
Batterie pour DSC-H1 référence: NP-FH50
Where can we get it's battery
-
-
-
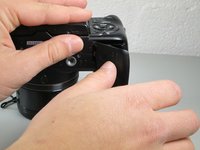
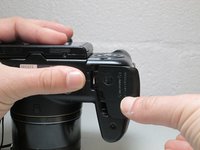
Close the battery cover by pushing the cover inwards and sliding it to the left to allow more maneuverability when disassembling other parts of the camera.
-
-
-
-
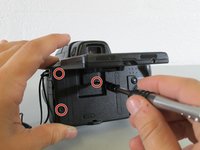
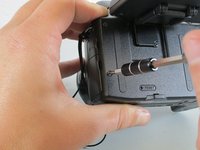
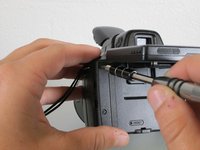
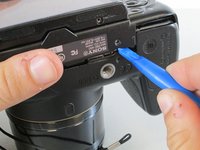
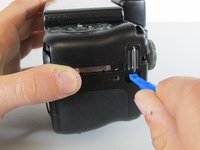
Using the plastic opening tool, pry apart the bottom of the camera at the line between the four removed screws.
-
Place the camera on its lens and use the plastic opening tool to pry at the crack in the case on all four sides of the camera.
-
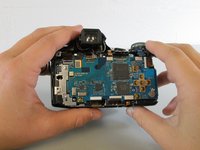
Apply moderate force to the backside of the camera enclosure until the two pieces separate.
-
-
-
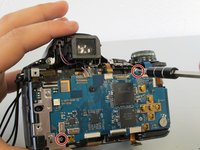
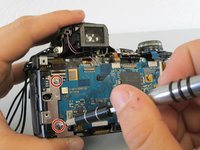
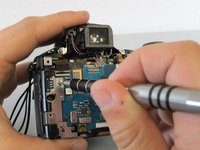
Remove the #00 4.0 mm Phillips screw and the #00 6.0 mm Phillips screw holding the motherboard to the front enclosure.
-
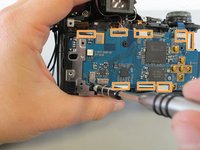
Disconnect the eight ribbon cables from their ports on the motherboard.
There's one more screw to remove under the ribbon cable top left.
-
-
-
Unscrew the #00 6.0 mm Phillips screw on the left side of the lens.
There's two more screws to remove on the top right and bottom right corners.
-
To reassemble your device, follow these instructions in reverse order.
To reassemble your device, follow these instructions in reverse order.
İptal et: Bu kılavuzu tamamlamadım.
4 farklı kişi bu kılavuzu tamamladı.
2 Yorum
Hi!
Very good tutorial, thanks a lot.
I have a question : after reassembling the device, do you need to do some kind of adjustment or is it "simply plug-and-play"?
Best regards,
Marin
Muy bueno el tutorial felicitaciones, sin embargo faltaron tornillos por nombrar, saludos


