
Sony Cyber-shot DSC-T9 Motherboard Replacement
Giriş
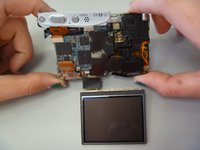
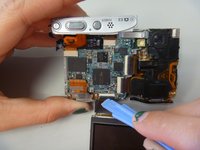
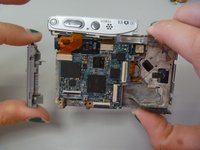
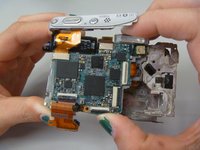
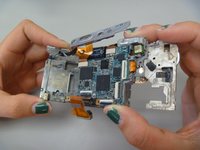
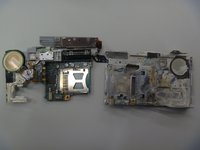
1. adıma gitThis guide will allow the user to access the motherboard for installation, replacement, or removal.
Neye ihtiyacın var
Aletler


Daha fazlasını göster…
-
-
The battery cover is located on the right side of the camera.
-
Slide the cover to expose the battery.
-
-
-
Remove screws from outside of camera. There are 6 screws total.
-
3 screws on underside.
-
1 screw on right side, near battery cover.
-
2 screws on left side.
-
-
-
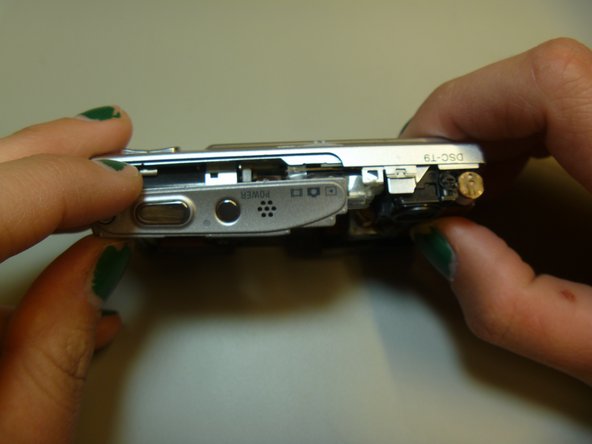
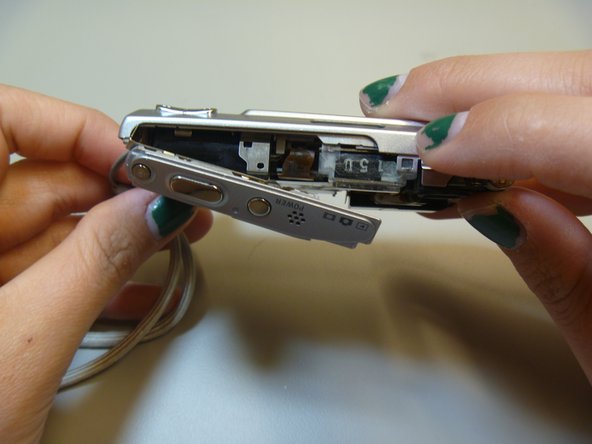
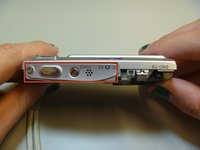
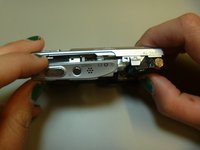
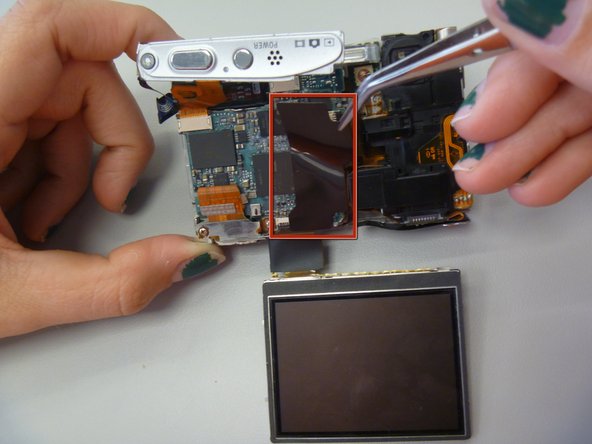
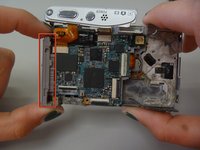
These two screws hold in the AV port.
-
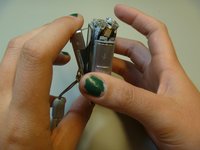
Use Phillips screwdriver to remove screws.
-


To reassemble your device, follow these instructions in reverse order.
To reassemble your device, follow these instructions in reverse order.
İptal et: Bu kılavuzu tamamlamadım.
3 farklı kişi bu kılavuzu tamamladı.
Ekip

Clemson, Team 13-1, Benson Spring 2013 Clemson, Team 13-1, Benson Spring 2013 üyesi
CLEM-BENSON-S13S13G1
4 Üyeler
22 adet Kılavuz yazıldı