Ana içeriğe geç

Sony Cyber-shot DSC-W510 LCD Screen Replacement

Neye ihtiyacın var

  1. Sony Cyber-shot DSC-W510 LCD Screen Replacement, LCD Screen: adım 1, 1 resimden 1.
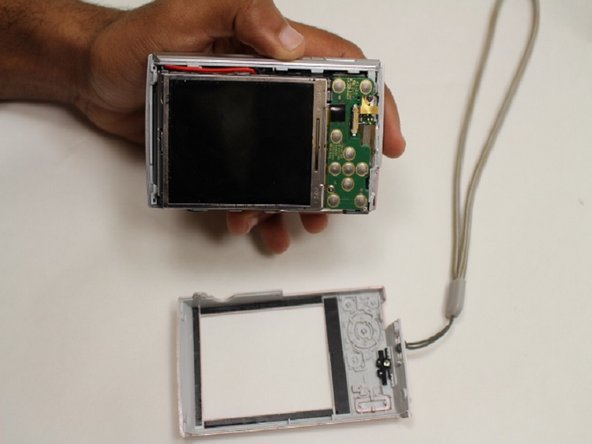
    • Place the Sony Cyber-shot DSC-W510 on the magnetic project mat. This will help keep the small screws organized.

  2. Sony Cyber-shot DSC-W510 LCD Screen Replacement, Unscrew: adım 2, 2 resimden 1. Sony Cyber-shot DSC-W510 LCD Screen Replacement, Unscrew: adım 2, 2 resimden 2.
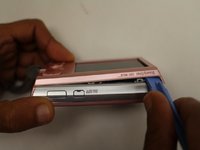
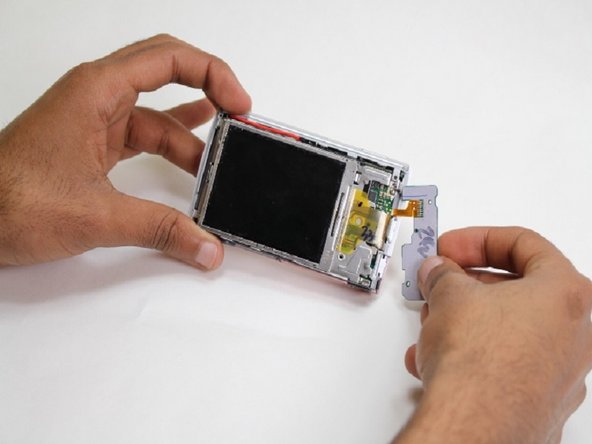
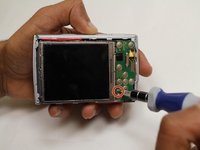
    • Using the Phillips #00 screwdriver, unscrew the outside screws from the frame of the camera.

    • There are five screws on the bottom of the camera and two on the side.

    • If the screws are stripped, visit the Removing a Stripped Screw Guide.

  3. Sony Cyber-shot DSC-W510 LCD Screen Replacement: adım 3, 2 resimden 1. Sony Cyber-shot DSC-W510 LCD Screen Replacement: adım 3, 2 resimden 2.
    • Pry open the screen frame using a plastic opening tool.

    • It may be necessary to start by prying at one end of the screen and moving around the edge of the screen frame, until it pops out.

  4. Sony Cyber-shot DSC-W510 LCD Screen Replacement: adım 4, 2 resimden 1. Sony Cyber-shot DSC-W510 LCD Screen Replacement: adım 4, 2 resimden 2.
    • Using the screw driver, unscrew the one screw on the control panel board.

  5. Sony Cyber-shot DSC-W510 LCD Screen Replacement: adım 5, 1 resimden 1.
    • Gently unplug the control panel from the motherboard outlet.

  6. Sony Cyber-shot DSC-W510 LCD Screen Replacement: adım 6, 2 resimden 1. Sony Cyber-shot DSC-W510 LCD Screen Replacement: adım 6, 2 resimden 2.
    • Using your hands, pry open the LCD screen from the metal board.

    • Gently unplug the LCD screen from the motherboard.

Sonuç

To reassemble your device, follow these instructions in reverse order.

3 farklı kişi bu kılavuzu tamamladı.

kyle

Üyelik tarihi: 02/05/15

424 İtibar

3 adet Kılavuz yazıldı

0 Yorum

Yorum Ekle

İstatistikleri Görüntüle:

Son 24 Saat: 1

Son 7 gün: 8

Son 30 gün: 17

Her zaman: 1,465