
Sony Cyber-shot DSC-W570 Lens Replacement
Giriş
1. adıma gitIf your camera Lens is not moving, damaged, or producing blurry images, use this guide to safely remove and replace the camera lens of the Sony Cyber-shot DSC-W570.
This version of the camera is an upgraded version of the DSC-W350.
Before starting the replacement process, use compressed air to clean out any dirt and remove your SD card to clean that compartment as well.
An alternative solution may be to press and hold the shutter button down, and at the same time press the power-on button. If the lens still will not open, retract or extend, reset your device and follow the instructions carefully to ensure a successful replacement and restore your camera's functionality.
Neye ihtiyacın var


-
-
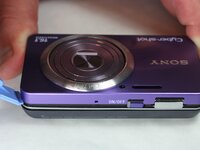
Begin by facing the camera bottom side up to reveal the two 2.93 mm long screws
-
Remove these two screws using a Philips #00 screwdriver
-
-
-
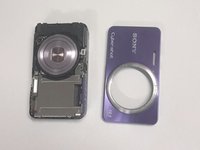
Taking off the previous cover will reveal the two cables connecting the LCD screen to the motherboard below the screen.
-
-
Bu adımda kullanılan alet:Tweezers$4.99
-
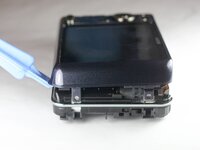
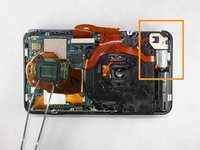
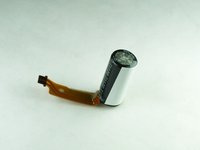
After camera is disassembled the capacitor will need to be removed. Use tweezers to gently pull away the ribbon from the connector.
-


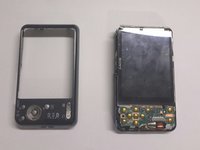


To reassemble your device, follow these instructions in reverse order.
To reassemble your device, follow these instructions in reverse order.
İptal et: Bu kılavuzu tamamlamadım.
4 farklı kişi bu kılavuzu tamamladı.
Ekip

USF Tampa, Team 9-1, Brown Winter 2015 USF Tampa, Team 9-1, Brown Winter 2015 üyesi
USFT-BROWN-W15S9G1
5 Üyeler
10 adet Kılavuz yazıldı