Bu çeviri bir makine tarafından oluşturulmuştur ve henüz bir kişi tarafından incelenmemiştir. Bu dili konuşuyor musunuz? İnceleme için.
Giriş
Ses kontrol tekerleği düzgün dönmüyorsa veya sesi ayarlamıyorsa, tekerlek mekanizmasına erişmek ve onu değiştirmek için bu kılavuzu izleyin.
Neye ihtiyacın var
-
-
-
Yastığın kenarını kaldırın ve hafifçe dışarı çekin.
-
Yastık tamamen çıkana kadar kenarları boyunca ilerleyin.
-
Aynı işlemi diğer yastık için de tekrarlayın.
 FixBot'a Sor
-
-
-
-
-
Mikrofonun bulunduğu kulaklıktaki üç adet 5 mm'lik vidayı Yıldız/Phillips standardı #0 tornavida ucuyla çıkarın.
-
-
-
Devre kartını açığa çıkarmak için hoparlörü kulaklıktan ayırarak kaldırın.
-
-
-
-
-
-
5 mm'lik vidayı Yıldız/Phillips #000 tornavida ucu kullanarak çıkarın.
-
-
-
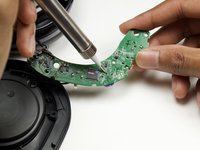
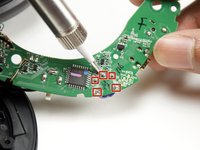
Devre kartını ters çevirin ve tekerlek mekanizmasını devre kartından ayırmak için beş pimin lehimini sökün.
-
-


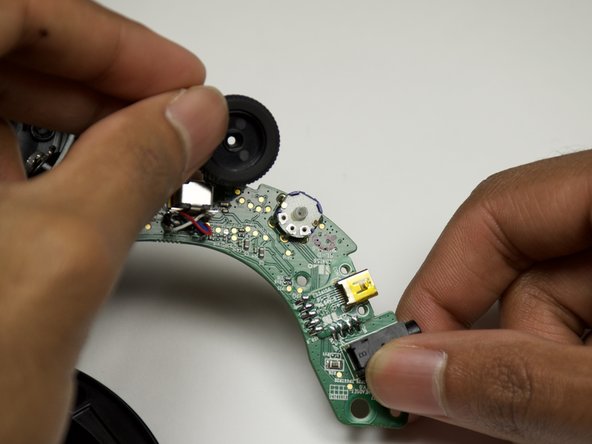
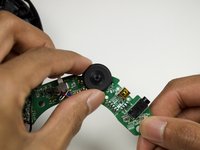


Cihazınızı yeniden toplamak için bu talimatları ters sırayla uygulayın.
İptal et: Bu kılavuzu tamamlamadım.
6 farklı kişi bu kılavuzu tamamladı.

Ekip

Cal Poly, Team S18-G1, White Winter 2019 Cal Poly, Team S18-G1, White Winter 2019 üyesi
CPSU-WHITE-W19S18G1
4 Üyeler
43 adet Kılavuz yazıldı
7Kılavuz Yorumları
What is the part number of the replacement potentiometer?
What is the part/model number of the potentiometer? I want to replace mine since it’s having issues.
For anyone having static noise or discontinuity when you’re moving the volume wheel, it might be due to oxidation inside the potentiometer.
I managed to fix mine with some electrical contact cleaner (such as DeOxit, I used something available locally though). First make sure your headphones are turned off!
What you can do is, get a cleaner with a fine tip nozzle and point it at the sides of the potentiometer (see step 7 pic 2) that is the joint between the metal and the top plastic. Once that is done, out on the scroll wheel and move it around to make sure the solution spreads. Then take off the scroll wheel again (and keep it somewhere safe!), let everything completely dry up.
Once it’s dry you can put everything back together again, or if there’s some residue on the PCB, you can clean it up using some 90% isopropyl alcohol. Once you make sure that everything is completely dry you can try turning it on again and check if your problem has been fixed.
For anybody who did this, I’m curious about the wheel. From the pictures it seems that the inside of the wheel is some rigid plastic, and it locks onto the potentiometer with those straights sides. The outside of the wheel seems like some kind of rubber enclosing the inner wheel. On my headset, I keep accidentally forcing the wheel when handling the headset, and at one point I turned the wheel ‘up’ beyond its max position. Since I see here that the inner plastic locks onto the potentiometer, I don’t think I managed to turn that (since it would probably break the thing), and instead I turned the outer flexible rubber around the inner rigid plastic. I’m a little apprehensive about this, it really doesn’t inspire high build quality because of this, I’m afraid I can accidentally break it. So what do you guys think about simply setting the potentiometer to the max position, and removing the wheel altogether. Do you think this poses a risk, leaving that wheel hole empty like that?
I was able to follow the instructions and used it to tighten the potentiometer as it was loose. The circuit board is slightly a pain to get out and in.
