
Surface Studio Power Supply Unit Replacement
Giriş
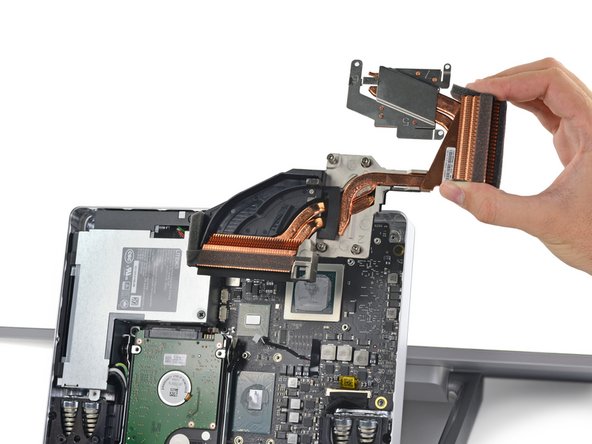
1. adıma gitFollow this guide to replace your power supply unit


-
-
Lay the Surface face down on a padded surface
-
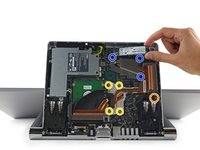
Remove the four rubber feet at each corner concealing the Torx screws
-
Remove the four Torx screws under the rubber feet.
-
Two screws on the upper corners are longer than two screws on the lower corners.
-
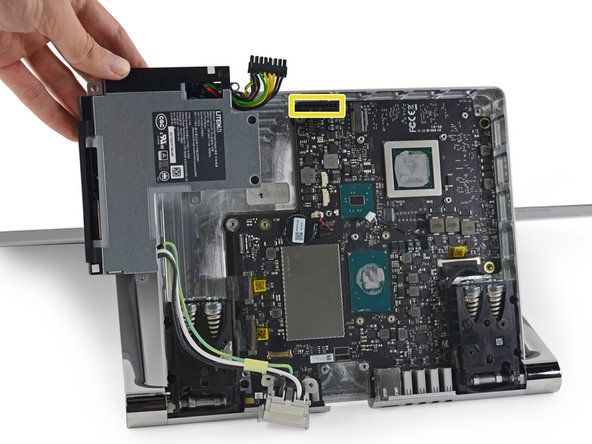
Attach suction cups to the bottom cover and then pull on the suction cups to free the bottom cover.
-


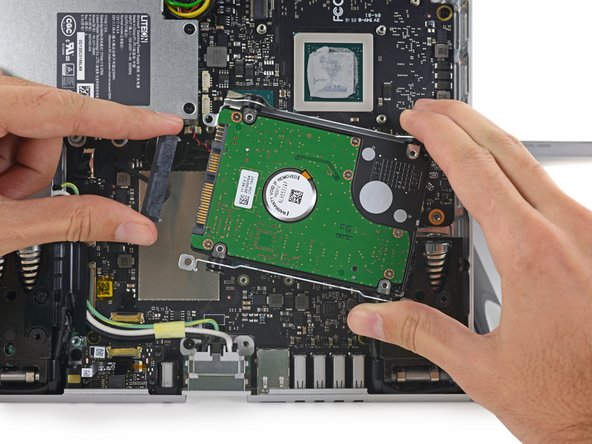


To reassemble your device, follow these instructions in reverse order.
To reassemble your device, follow these instructions in reverse order.
İptal et: Bu kılavuzu tamamlamadım.
5 farklı kişi bu kılavuzu tamamladı.
3Kılavuz Yorumları
Does anyone have a source for a new power supply?