Giriş
Use this guide to replace the door switch on your Whirlpool dryer. It includes steps to test the switch as well.
The door switch makes sure your dryer motor won't start turning the drum if the door is open and stops it if the door is opened in the middle of a cycle. When your dryer won't start, the door switch can be the cause.
This guide will work for most Whirlpool dryers. This guide is written with a model WED87HED dryer. If you have a different model, you may encounter some minor disassembly differences, but the overall repair process will be the same.
Neye ihtiyacın var
-
Bu adımda kullanılan alet:FixMat$31.41
-
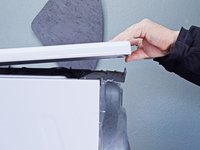
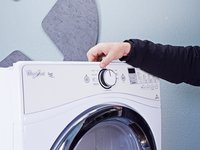
Use a nut driver to remove the screws securing the top panel to the rear panel bracket.
-
-
-
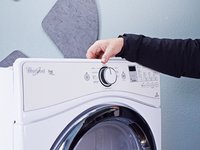
Grasp the top and slide it 1/2 to 1 inch toward the rear of the machine.
-
-
-
-
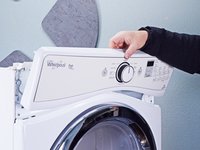
Lift the control panel up and tilt it away from the chassis to remove it.
-
-
-
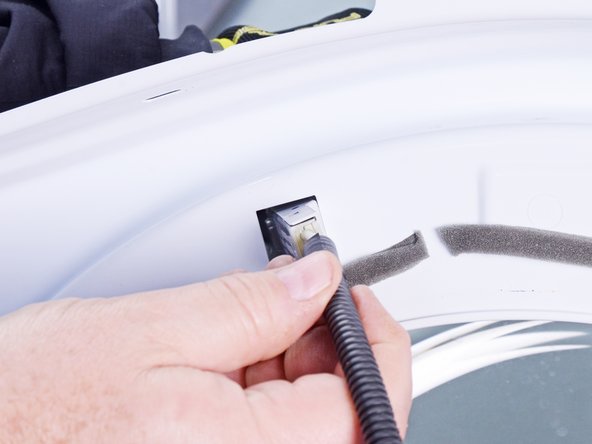
Use a small flat blade screwdriver or a spudger to unlatch both sides of the door switch connector.
-
Unplug the connector.
-
-
-
Remove the upper front panel sheet metal screws.
-
Tilt the machine backwards and prop it securely, or have a friend hold it.
-
Remove the sheet metal screws on the bottom edge of the panel.
-
-
-
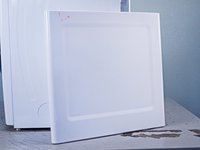
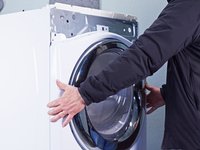
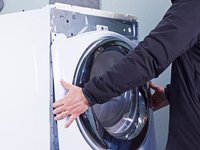
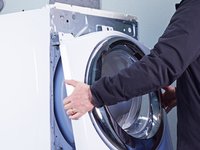
Pull the bottom of the panel away from the chassis about two to three inches.
-
Lift the front panel off the small tabs on the chassis near the top of the panel and remove it.
-
-
-
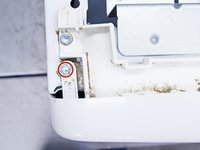
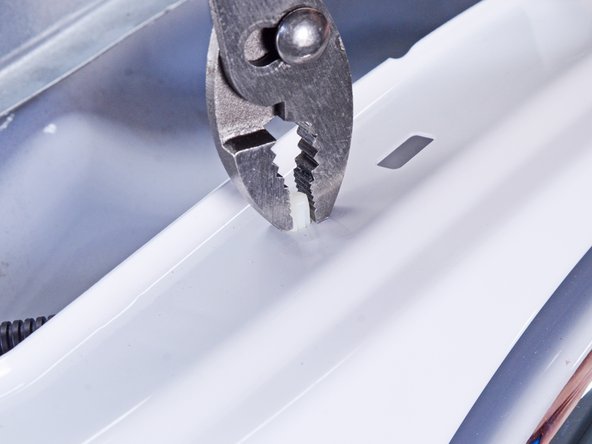
Use slip joint pliers to pinch the tabs of the harness clip.
-
Push the clip through the mounting hole to release the door switch harness.
-
-
-
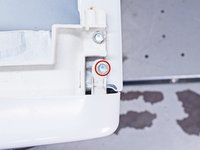
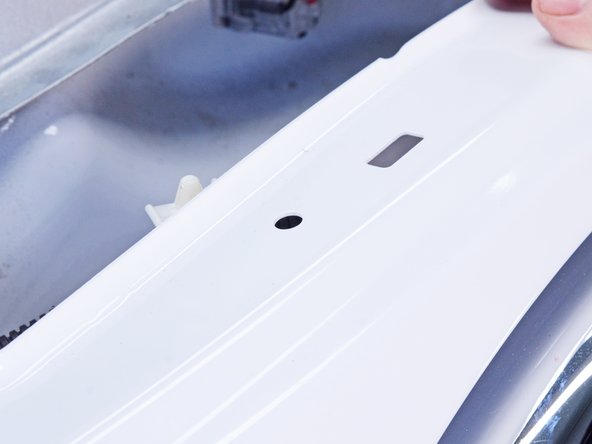
Working from the rear of the front panel, pinch the tabs on the end of the switch toward the switch body to release it.
-
Push the switch through the mounting hole toward the front of the panel.
-
-
-
Insert the multimeter's probes into the two outermost sockets on the switch connector and test continuity and open on the door switch.
-
If either of these readings is wrong, especially with the button pressed, replace the switch.
-


To reassemble your device, follow these instructions in reverse order.
Take your e-waste to an R2 or e-Stewards certified recycler.
Repair didn’t go as planned? Ask our Answers community for help.

