Ana içeriğe geç

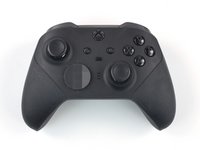
Xbox Elite Wireless Controller Series 2 Top Housing Replacement

Neye ihtiyacın var

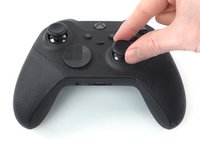
  1. Xbox Elite Wireless Controller Series 2 Top Housing Replacement, Remove the thumbstick toppers: adım 1, 3 resimden 1. Xbox Elite Wireless Controller Series 2 Top Housing Replacement, Remove the thumbstick toppers: adım 1, 3 resimden 2. Xbox Elite Wireless Controller Series 2 Top Housing Replacement, Remove the thumbstick toppers: adım 1, 3 resimden 3.
    • Use your fingers to remove the thumbstick toppers.

  2. Xbox Elite Wireless Controller Series 2 Top Housing Replacement, Remove the D-pad cover: adım 2, 2 resimden 1. Xbox Elite Wireless Controller Series 2 Top Housing Replacement, Remove the D-pad cover: adım 2, 2 resimden 2.
    • Use your fingers to remove the D-pad cover.

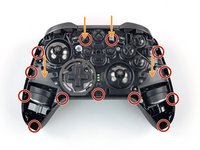
  3. Xbox Elite Wireless Controller Series 2 Top Housing Replacement, Disassembly information: adım 3, 2 resimden 1. Xbox Elite Wireless Controller Series 2 Top Housing Replacement, Disassembly information: adım 3, 2 resimden 2.
    • The top housing is secured in two ways:

    • 13 tight plastic clips

    • Several strips of adhesive tape

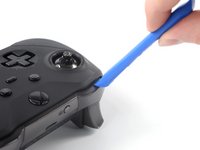
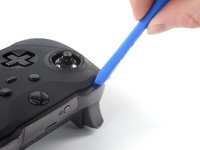
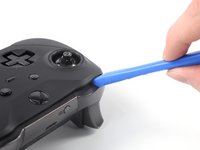
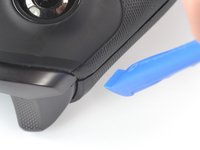
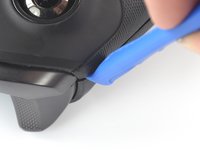
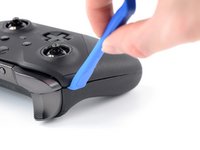
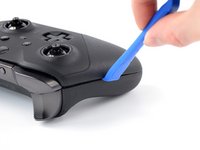
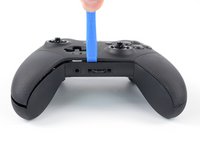
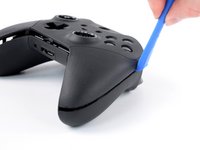
  4. Xbox Elite Wireless Controller Series 2 Top Housing Replacement, Release the top housing clips: adım 4, 3 resimden 1. Xbox Elite Wireless Controller Series 2 Top Housing Replacement, Release the top housing clips: adım 4, 3 resimden 2. Xbox Elite Wireless Controller Series 2 Top Housing Replacement, Release the top housing clips: adım 4, 3 resimden 3.
    • Releasing the plastic clips requires significant force. Take your time to avoid damaging your controller.

    • Insert an opening tool between the left bumper and the top housing.

    • Pry up the top housing to release the top left clip.

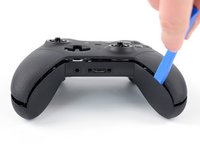
  5. Xbox Elite Wireless Controller Series 2 Top Housing Replacement: adım 5, 2 resimden 1. Xbox Elite Wireless Controller Series 2 Top Housing Replacement: adım 5, 2 resimden 2.
    • Insert an opening tool into the seam between the two housings on the controller’s left edge.

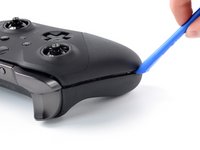
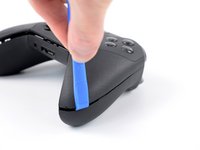
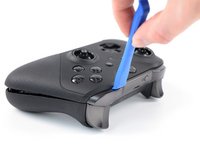
  6. Xbox Elite Wireless Controller Series 2 Top Housing Replacement: adım 6, 3 resimden 1. Xbox Elite Wireless Controller Series 2 Top Housing Replacement: adım 6, 3 resimden 2. Xbox Elite Wireless Controller Series 2 Top Housing Replacement: adım 6, 3 resimden 3.
    • Slide the opening tool along the left edge and pry up intermittently to release the plastic clips.

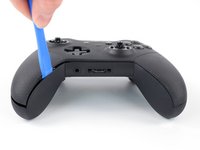
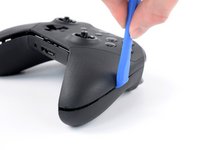
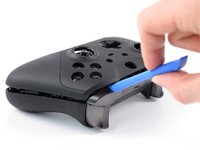
  7. Xbox Elite Wireless Controller Series 2 Top Housing Replacement: adım 7, 3 resimden 1. Xbox Elite Wireless Controller Series 2 Top Housing Replacement: adım 7, 3 resimden 2. Xbox Elite Wireless Controller Series 2 Top Housing Replacement: adım 7, 3 resimden 3.
    • Insert your opening tool into the seam between the two housings on the inner left edge.

    • Slide the opening tool along the bottom edge and pry up intermittently to release the plastic clips.

  8. Xbox Elite Wireless Controller Series 2 Top Housing Replacement: adım 8, 3 resimden 1. Xbox Elite Wireless Controller Series 2 Top Housing Replacement: adım 8, 3 resimden 2. Xbox Elite Wireless Controller Series 2 Top Housing Replacement: adım 8, 3 resimden 3.
    • Insert your opening tool into the seam between the two housings on the controller’s right edge.

    • Slide the opening tool along the right edge and pry up intermittently to release the plastic clips.

  9. Xbox Elite Wireless Controller Series 2 Top Housing Replacement: adım 9, 2 resimden 1. Xbox Elite Wireless Controller Series 2 Top Housing Replacement: adım 9, 2 resimden 2.
    • Insert your opening tool between the right bumper and the top housing.

    • Pry up the top housing to release the remaining plastic clips.

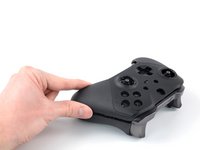
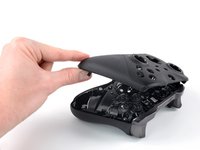
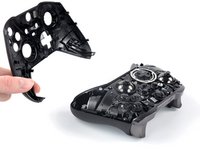
  10. Xbox Elite Wireless Controller Series 2 Top Housing Replacement, Remove the top housing: adım 10, 3 resimden 1. Xbox Elite Wireless Controller Series 2 Top Housing Replacement, Remove the top housing: adım 10, 3 resimden 2. Xbox Elite Wireless Controller Series 2 Top Housing Replacement, Remove the top housing: adım 10, 3 resimden 3.
    • Remove the top housing.

    • To reinstall the top housing, position it on the midframe assembly and press down firmly along the edges to engage all of the clips.

Sonuç

To reassemble your device, follow these instructions in reverse order.

Take your e-waste to an R2 or e-Stewards certified recycler.

Repair didn’t go as planned? Check out our Answers community for troubleshooting help.

11 farklı kişi bu kılavuzu tamamladı.

Manuel Haeussermann

Üyelik tarihi: 07/13/22

16.286 İtibar

71 adet Kılavuz yazıldı

Ekip

iFixit iFixit üyesi

Staff

140 Üyeler

18.077 adet Kılavuz yazıldı

0 Yorum

Yorum Ekle

İstatistikleri Görüntüle:

Son 24 Saat: 13

Son 7 gün: 83

Son 30 gün: 421

Her zaman: 9,061