Giriş
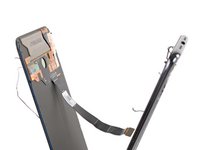
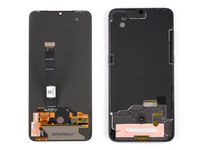
Use this guide to replace a broken or defective AMOLED & Digitizer in your Xiaomi Mi 9.
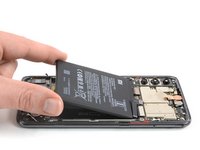
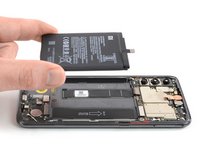
Due to the phone’s design, you must remove the lithium-ion battery to access the display cables. Reusing a deformed or bent battery after it has forcefully been removed, is a potential safety hazard. Replace it with a new battery in this case.
Before disassembling your phone, discharge the battery below 25%. The battery can catch fire and/or explode if accidentally punctured, but the chances of that happening are much lower if discharged.
Note: This guide instructs you to replace only the screen while leaving the original frame and motherboard in place. However, some replacement screens for this phone come pre-installed in a new frame (a.k.a. chassis), which requires a very different procedure. Make sure you have the correct part before starting this guide.
You’ll need replacement adhesive to reattach components when reassembling the device.
Neye ihtiyacın var
-
-
Before you begin, switch off your phone.
-
Apply a heated iOpener to the rear glass to loosen the adhesive beneath the edges. Apply the iOpener for at least two minutes.
-
-
-
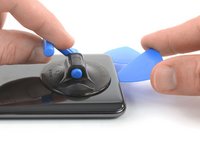
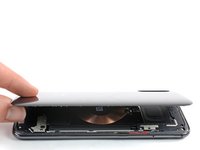
Secure a suction handle to the lower edge of the rear glass, as close to the edge as possible.
-
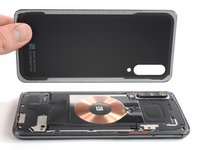
Lift the rear glass with the suction handle to create a gap between the glass and the frame.
-
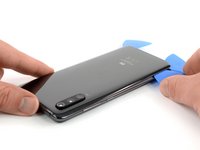
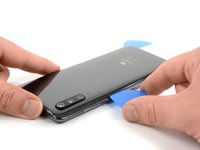
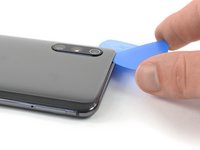
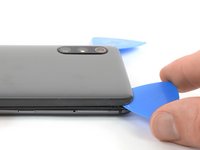
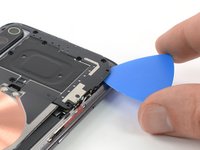
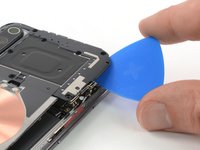
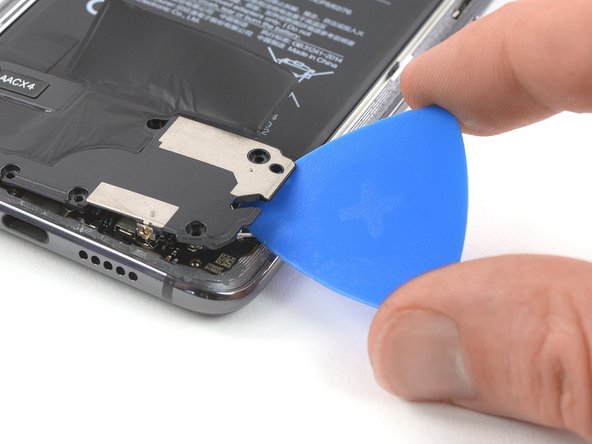
Insert an opening pick into the gap.
-
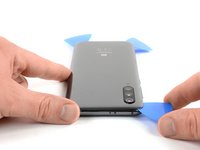
Slide the opening pick to the bottom right corner of the phone.
-
-
-
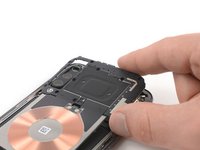
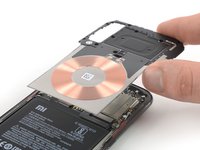
Remove the ten Phillips #00 screws (3 mm length) that secure the motherboard cover.
-
-
-
-
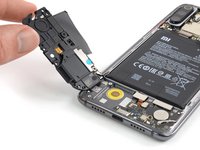
Remove the seven Phillips #00 screws securing the loudspeaker unit:
-
Four silver 3.2 mm long screws
-
Two yellowish 3.8 mm long screws
-
One black 2.8 mm long screw
-
-
Bu adımda kullanılan alet:Tweezers$4.99
-
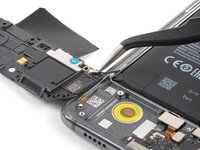
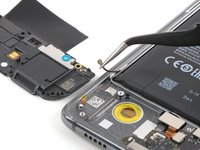
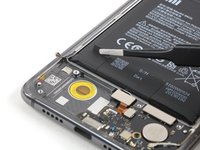
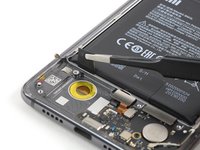
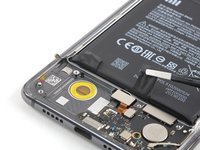
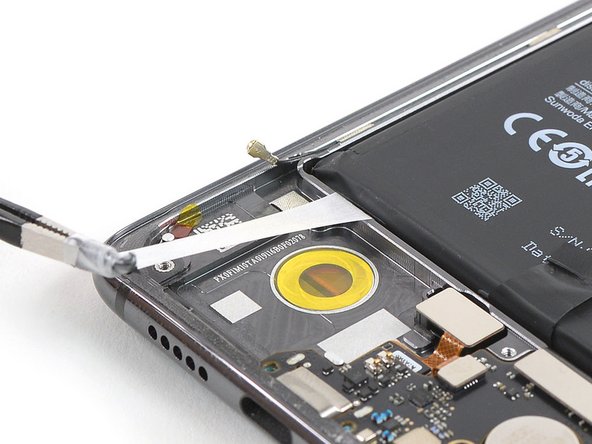
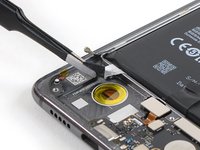
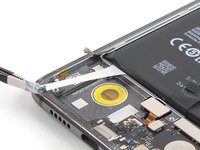
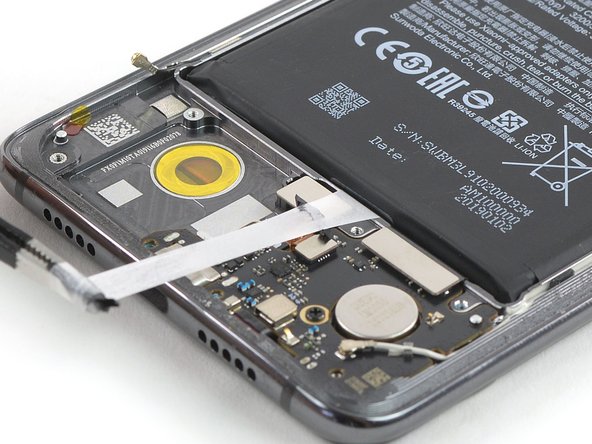
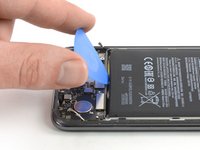
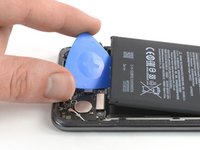
Use a pair of tweezers to peel the black ends of the adhesive tabs off the battery.
-
-
Bu adımda kullanılan alet:Tweezers$4.99
-
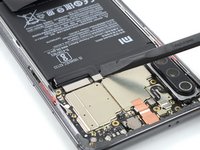
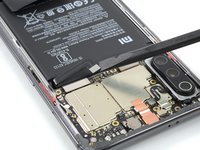
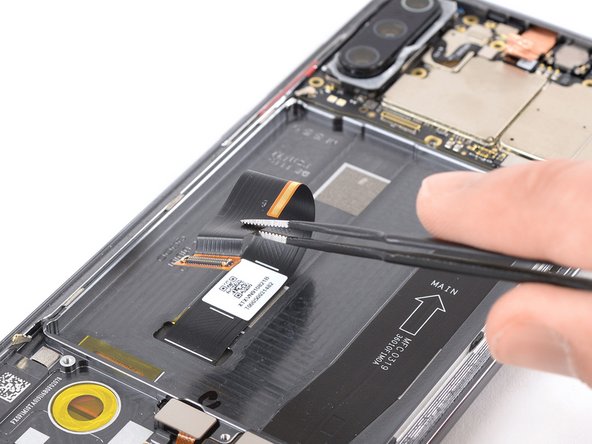
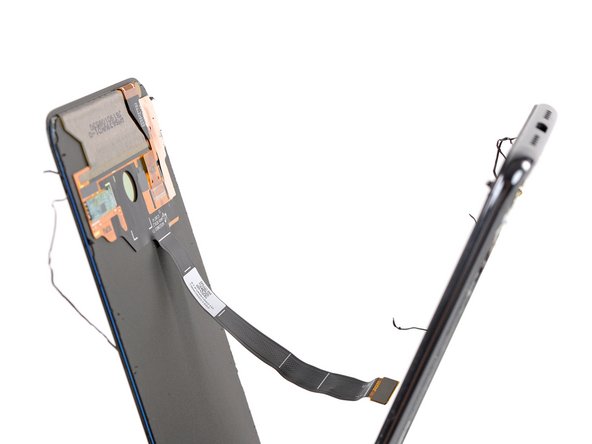
Use a spudger to pry up and disconnect the display flex cable.
-
Use a pair of tweezers to peel the display flex cable off the midframe. It is attached with mild adhesive.
-
-
-
Apply a heated iOpener to the display for two minutes to loosen the adhesive beneath.
-
-
-
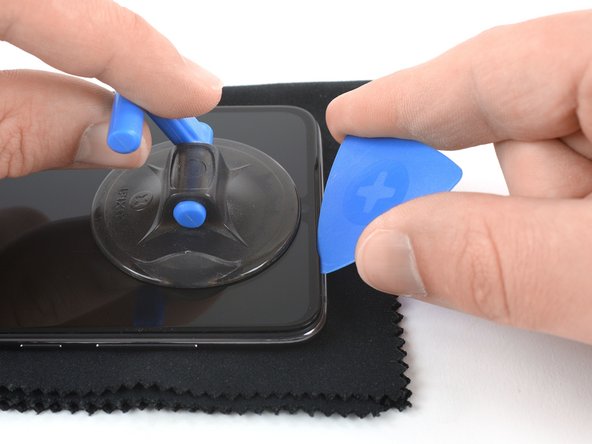
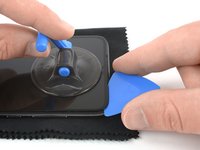
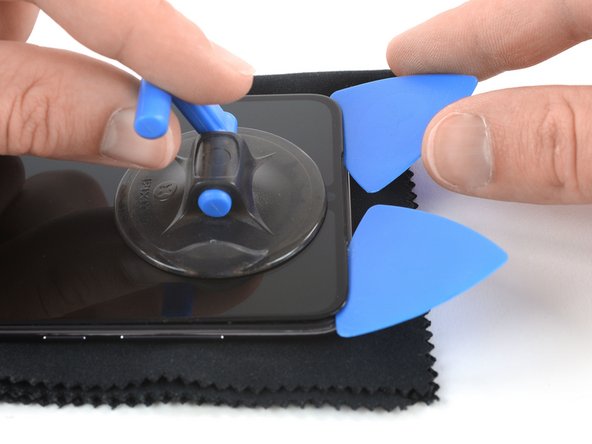
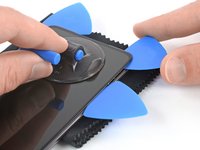
Apply a suction handle near the top edge of the phone right under the earpiece speaker.
-
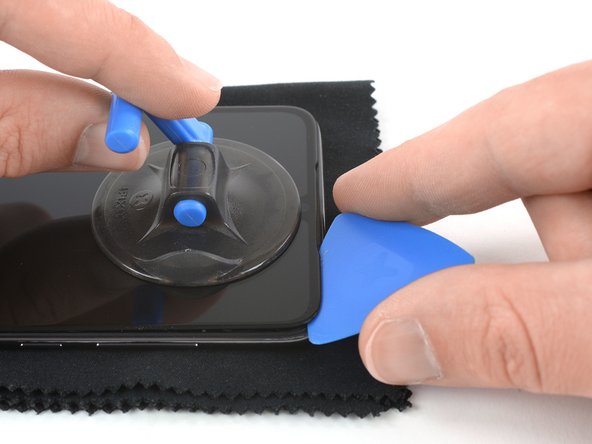
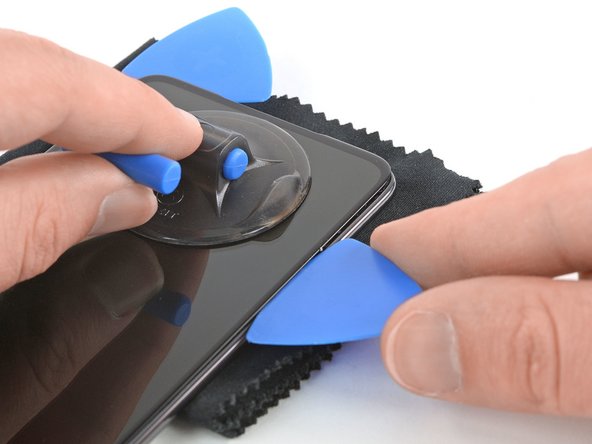
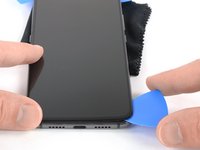
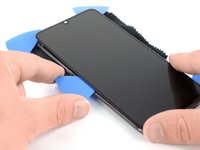
Use the suction handle to pull up the screen and insert just the tip of an opening pick under the right edge of the speaker recess.
-
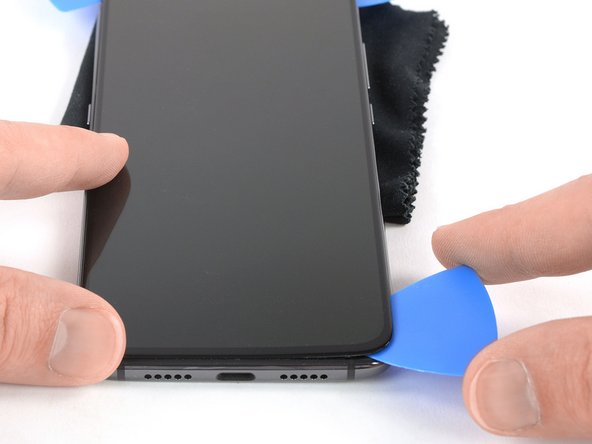
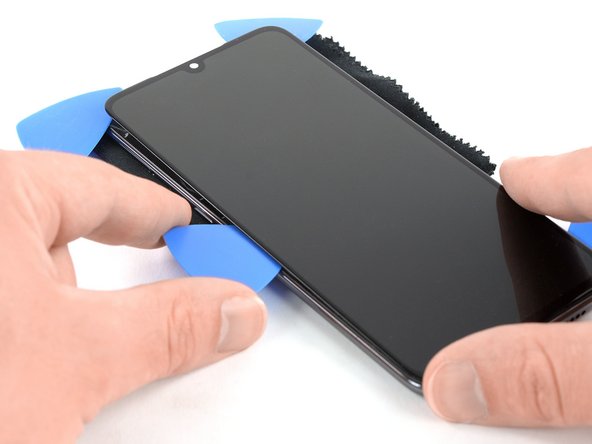
Rotate the opening pick sideways to bring the long edge of the pick under the display glass and slide it to the top right corner. Leave it there to prevent the adhesive from resealing.
-
-
-
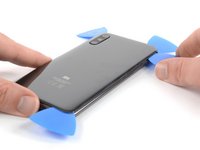
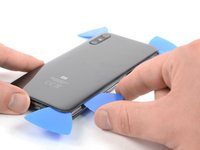
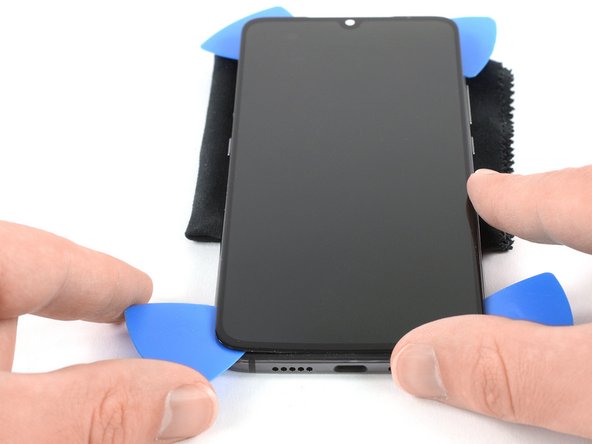
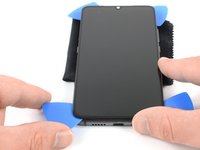
Slide the long edge of the first opening pick around the top right corner and along the right edge of the phone.
-
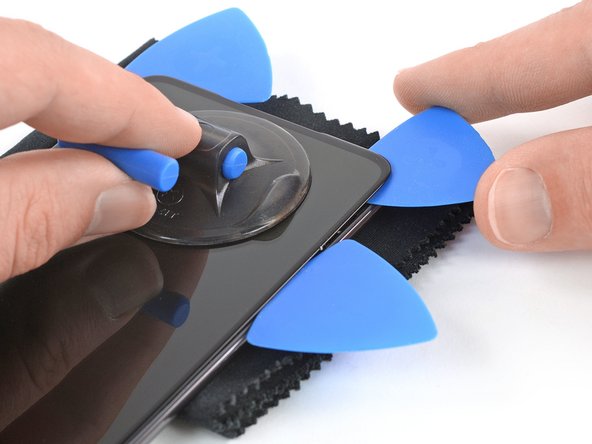
Leave the opening pick where the power and volume buttons are located to generate a bigger gap between the midframe and display glass.
-
Insert a third opening pick at the top right edge of the screen. Make sure to slide it underneath the AMOLED and not between the the display glass and panel.
-
If possible, turn on your phone and test your repair before installing new adhesive and resealing the phone.
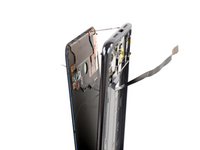
The best way to secure the new screen is with a sheet of custom-cut double-sided tape. Apply the tape to the back of the screen, then carefully feed the display cable through the frame. Align the screen and press it into place.
To reassemble your device, follow these instructions in reverse order.
Take your e-waste to an R2 or e-Stewards certified recycler.
Repair didn’t go as planned? Check out our Answers community for troubleshooting help.
İptal et: Bu kılavuzu tamamlamadım.
22 farklı kişi bu kılavuzu tamamladı.
14Kılavuz Yorumları
Doppeltes Klebeband. Gibts auch amazon passgenau oder du bastelt dir selbst wad
il manque la partie ou on enlève la batterie (via les petit scotch. de plus la première étape devait être d’enlever le tiroir pour la carte sim
Bonjour Mathieu, merci de votre attention et de votre remarque. La partie du retrait de la batterie a été ajoutée. Par contre, la carte SIM qui se trouve derrière la carte mère ne dérange pas la procédure. Il n’est donc pas nécessaire de commencer par la retirer. J’espère que vous avez à présent toutes les infos pour effectuer la réparation. Bonne continuation !


