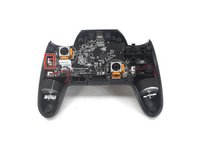
Giriş
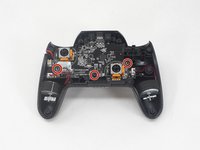
If your YCCTEAM YCC-SW4001 is not powering on or not charging, you can follow this guide to replace its battery. This requires removing most components from the back half of the controller, including the adhesive securing it in place.
The battery is important for providing power to the controller while the controller is not plugged in. Without the battery, your controller wont turn on. Before replacing the battery, check and make sure that whatever problem your having is caused by the status of the battery. This is important because the battery is attached to the controller using an adhesive. If you replace the battery, you should also replace the adhesive, as the battery is smaller than its designated compartment.
Neye ihtiyacın var
-
-
Use a Phillips screwdriver to remove the eight 9.15 mm screws that secure the rear case.
 FixBot'a Sor
-
-
-
Use a Phillips screwdriver to remove the three 9.15 mm screws from the back of the controller.
-
-
-
On some models there are two more Phillips head screws on the sides that need to be removed before the front and back panels can be separated.
-
-
-
-
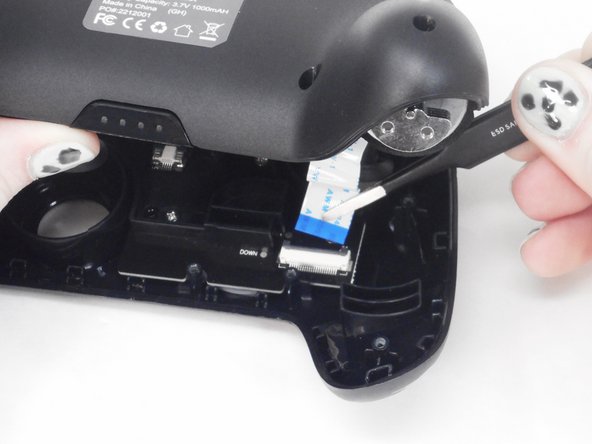
Use the tip of the opening pick to flip up the black locking flap of the ZIF connector.
-
-
-
Use tweezers to disconnect the white ribbon cable from the ZIF connector.
-
-
-
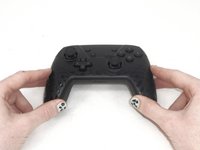
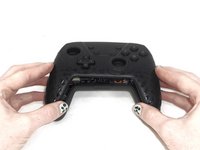
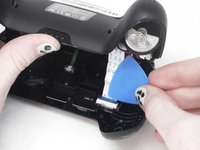
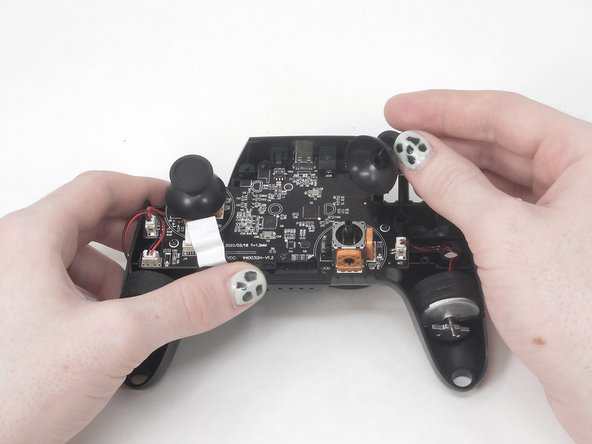
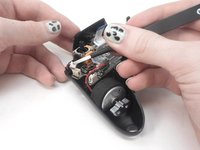
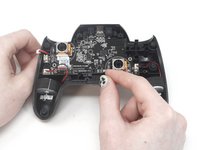
Remove the two joystick covers by gripping them and pulling them straight upward with moderate force.
-
-
-
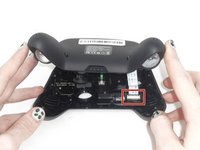
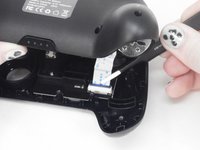
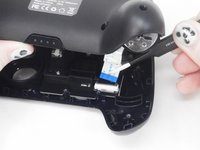
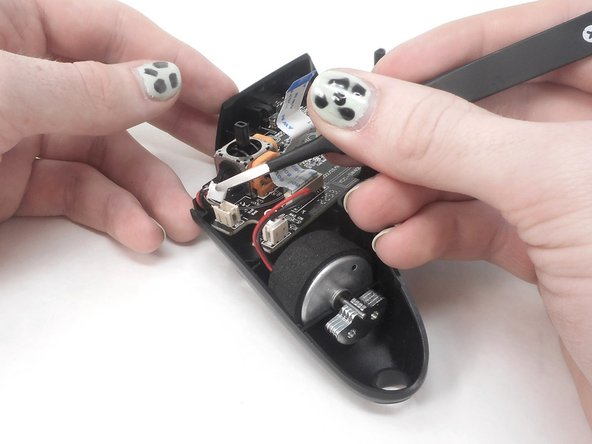
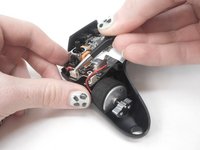
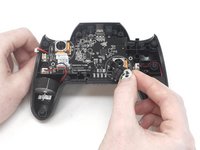
Use tweezers to grip the white plastic battery connector. Lift it directly it up and out of its socket.
-
-
-
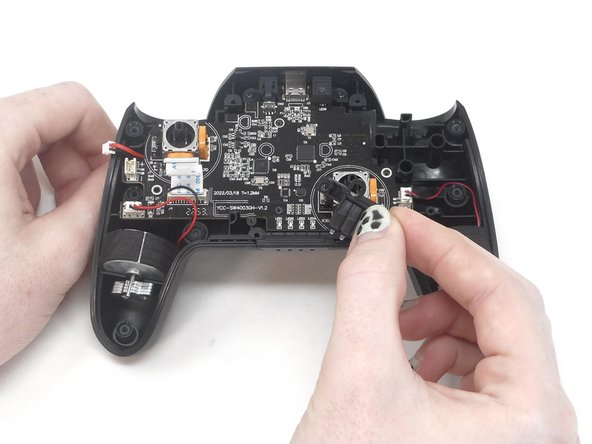
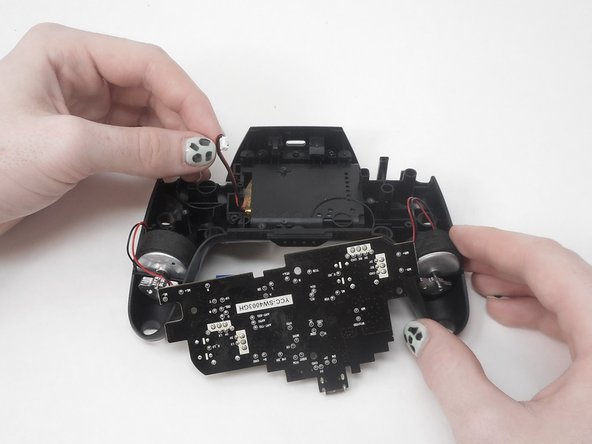
Use a Phillips screwdriver to remove the three 7.5 mm screws that secure the motherboard.
-
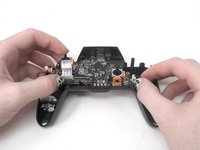
Remove the player LEDs from the motherboard.
-
-
-
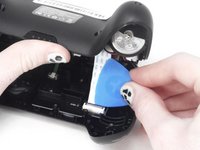
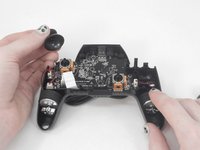
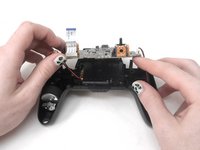
Gently lift the motherboard up and out of the controller and set it directly between the grips.
-


To reassemble your device, follow these instructions in reverse order.
Ekip

University of Memphis, Team 1-1, Sneed Spring 2024 University of Memphis, Team 1-1, Sneed Spring 2024 üyesi
UM-SNEED-S24S1G1
3 Üyeler
6 adet Kılavuz yazıldı