Ana içeriğe geç
Onarım Topluluğuna Katılın - Hesap Oluşturun

dreamGEAR Quad Dock Pro LEDs Replacement

Neye ihtiyacın var

    1. dreamGEAR Quad Dock Pro LEDs Replacement, Prerequisite Guide to Accessing Interior: adım 1, 2 resimden 1. dreamGEAR Quad Dock Pro LEDs Replacement, Prerequisite Guide to Accessing Interior: adım 1, 2 resimden 2.
      • Remove the rubber foot pads on the bottom of the device using a plastic opening tool.

      FixBot'a Sor

      Yorum Ekle

    2. dreamGEAR Quad Dock Pro LEDs Replacement: adım 2, 2 resimden 1. dreamGEAR Quad Dock Pro LEDs Replacement: adım 2, 2 resimden 2.
      • Remove the six 2 mm PH0 screws on the bottom of the device.

      • Four of those screws are located under the foot pads.

      FixBot'a Sor

      Yorum Ekle

    3. dreamGEAR Quad Dock Pro LEDs Replacement: adım 3, 1 resimden 1.
      • Gently remove the bottom of the device.

      FixBot'a Sor

      Yorum Ekle

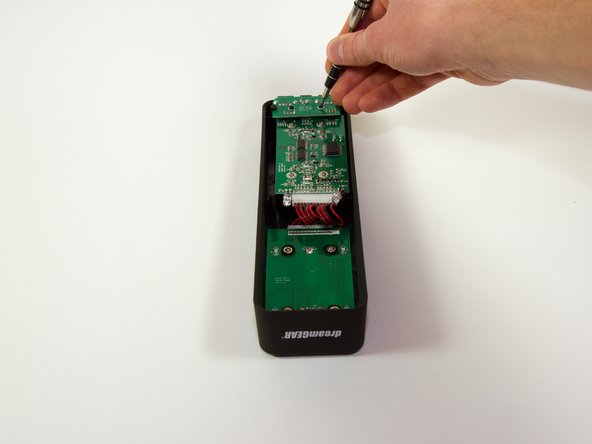
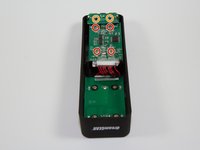
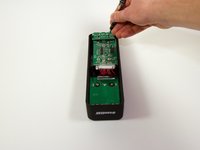
    1. dreamGEAR Quad Dock Pro LEDs Replacement, Mother Board: adım 4, 2 resimden 1. dreamGEAR Quad Dock Pro LEDs Replacement, Mother Board: adım 4, 2 resimden 2.
      • Remove the four 1.8 mm J1 screws.

      • Remove the two 2mm PH0 screws.

      FixBot'a Sor

      Yorum Ekle

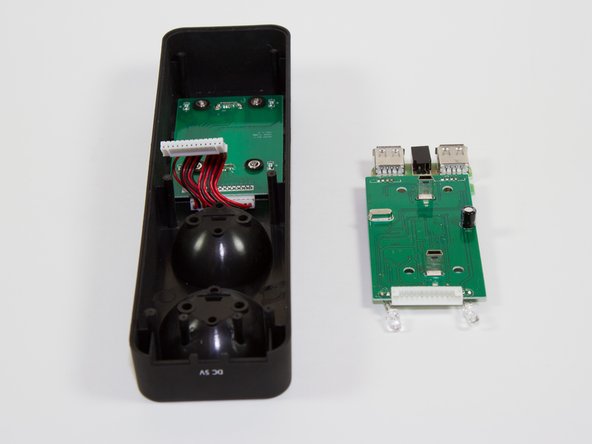
    2. dreamGEAR Quad Dock Pro LEDs Replacement: adım 5, 1 resimden 1.
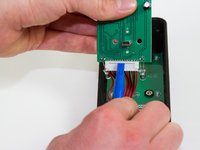
      • Gently pick up the mother board

      • Pick the mother board straight up or you may risk damaging the mini-USB charging ports.

      FixBot'a Sor

      Yorum Ekle

    3. dreamGEAR Quad Dock Pro LEDs Replacement: adım 6, 2 resimden 1. dreamGEAR Quad Dock Pro LEDs Replacement: adım 6, 2 resimden 2.
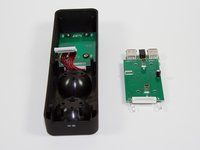
      • Use a plastic opening tool or similar tool to gently pry the power ribbon cord out of its port.

      FixBot'a Sor

      Yorum Ekle

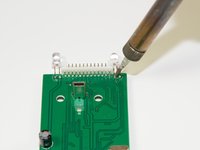
    1. dreamGEAR Quad Dock Pro LEDs Replacement, LEDs: adım 7, 2 resimden 1. dreamGEAR Quad Dock Pro LEDs Replacement, LEDs: adım 7, 2 resimden 2.
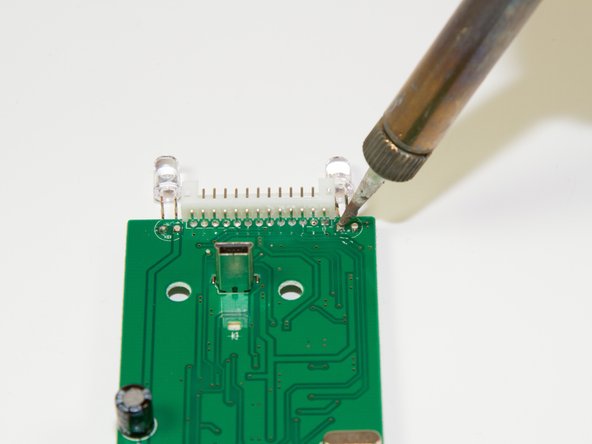
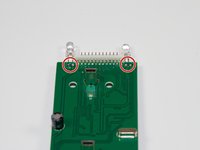
      • Desolder the two points following the instructions included in your soldering kit as you remove the light.

      • FIRE HAZARD! BURN DANGER! Follow all the safety precautions included with your soldering kit.

      • You can follow iFixit's guide to soldering here.

      FixBot'a Sor

      Yorum Ekle

Sonuç

To reassemble your device, follow these instructions in reverse order.

İptal et: Bu kılavuzu tamamlamadım.

Bir başkası bu kılavuzu tamamladı.

Jacob

Üyelik tarihi: 03/11/15

757 İtibar

6 adet Kılavuz yazıldı

Ekip

Colorado Springs, Team 4-4, Panko Spring 2015 Colorado Springs, Team 4-4, Panko Spring 2015 üyesi

UCCS-PANKO-S15S4G4

3 Üyeler

12 adet Kılavuz yazıldı

0Kılavuz Yorumları

Yorum Ekle

İstatistikleri Görüntüle:

Son 24 Saat: 1

Son 7 gün: 9

Son 30 gün: 32

Her zaman: 485