
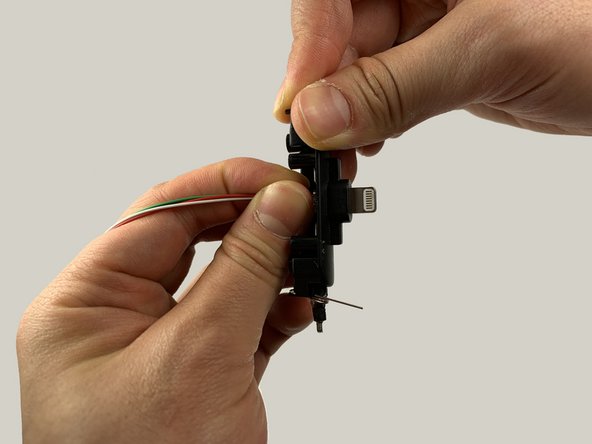
iHome iPL8 Lightning Connector Replacement
Giriş
1. adıma gitThis guide instructs you to replace the lightning connector in an iHome iPL8. The process includes using two sizes of screwdrivers.
Neye ihtiyacın var
Aletler


Daha fazlasını göster…
-
-
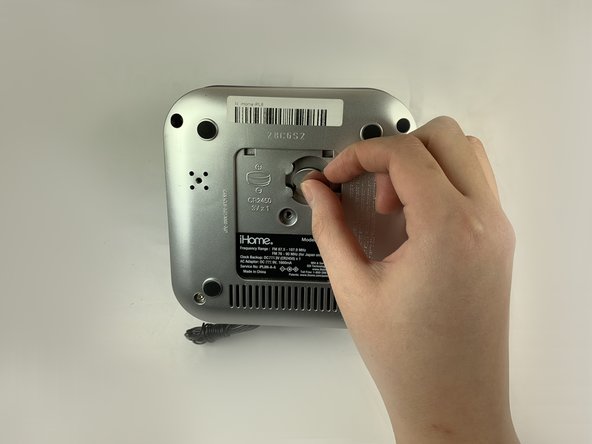
Turn the device over to access the bottom panel.
-
Locate the 6mm Phillips #2 screw under the label "unscrew to open door."
-
-
-
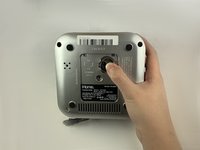
Keeping your device upside-down, locate the four 6mm Phillips #2 screws near each corner.
-
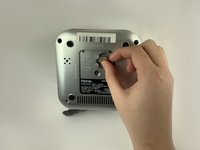
Remove the four 6mm Phillips #2 screws.
-
-
-
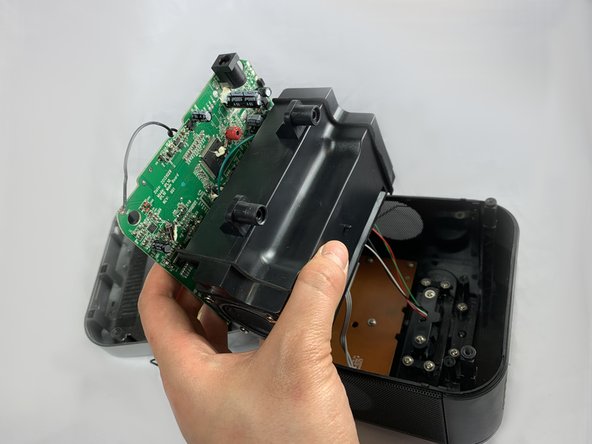
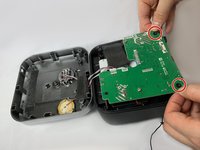
Locate the green circuit board. This panel is clipped onto two black, circular-shaped columns at two corners.
-
Pull out the green circuit board on the two corners.
-
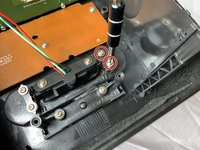
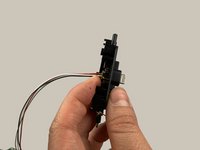
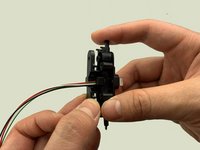
The green circuit board is attached to a black box at the bottom. Flip the panel and the black box together to open the device.
-


To reassemble your device, follow these instructions in reverse order.
To reassemble your device, follow these instructions in reverse order.
Ekip

UC Davis, Team S18-G5, Lore Winter 2019 UC Davis, Team S18-G5, Lore Winter 2019 üyesi
UCD-LORE-W19S18G5
3 Üyeler
4 adet Kılavuz yazıldı
3Kılavuz Yorumları
where can I find the replacement lightning connector?
Greetings, did you ever find the connector replacement? I am asking so that I can purchase. Thank you in advance for your reply.