Giriş
Use this guide to replace the heat sink.
Neye ihtiyacın var
-
Bu adımda kullanılan alet:Plastic Cards$2.99
-
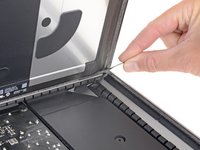
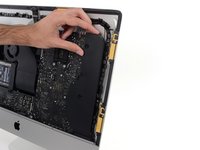
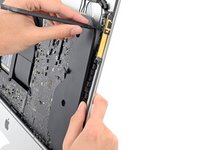
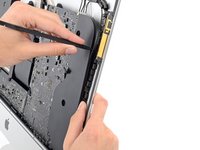
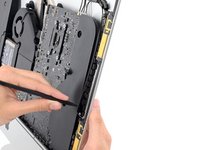
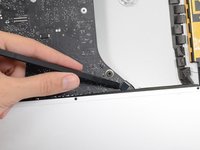
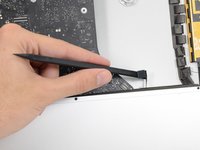
Starting from the top right corner of the iMac, wedge a plastic card between the display and frame.
-
-
-
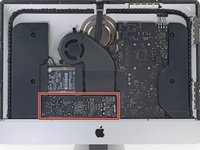
Remove the following five Phillips screws holding the lower support bracket in place:
-
Four 3.2 mm screws
-
One 1.7 mm screw
-
-
-
-
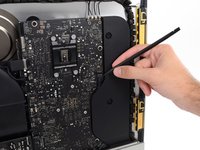
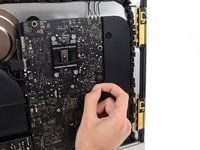
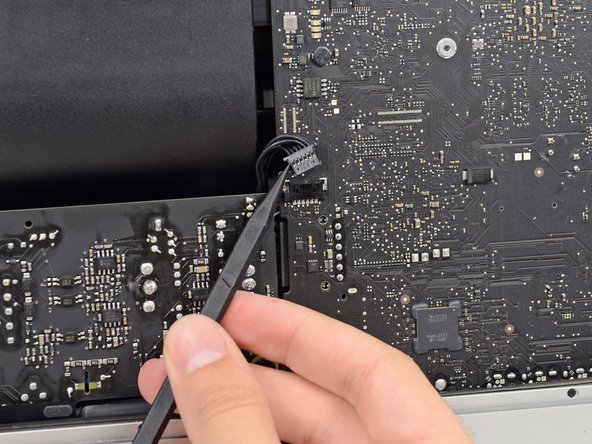
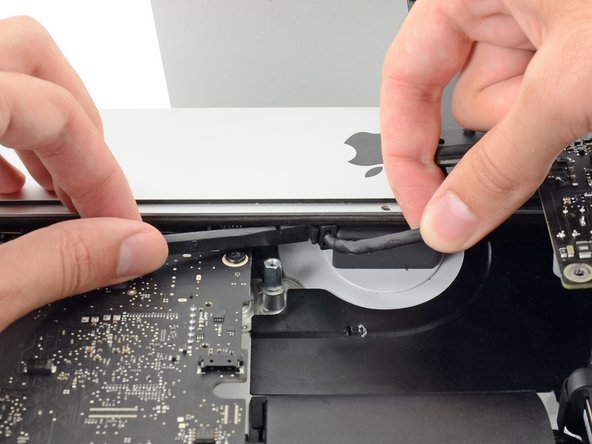
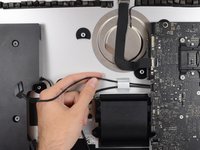
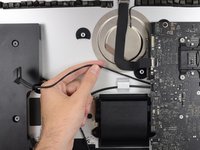
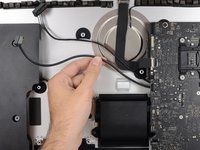
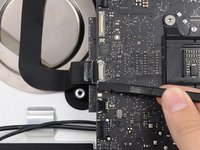
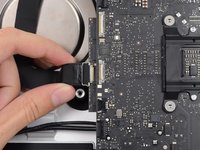
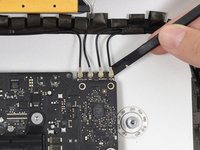
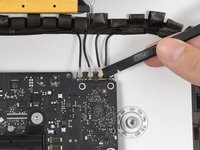
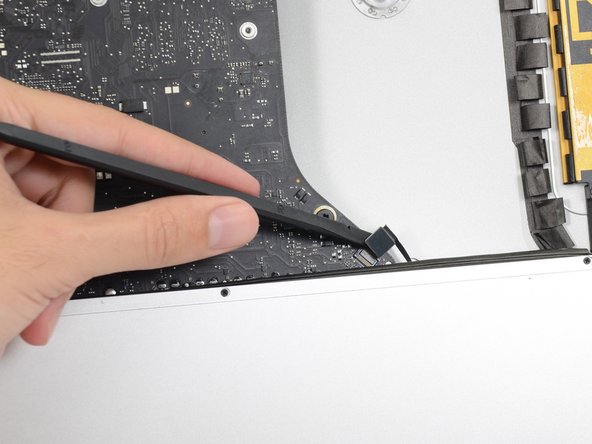
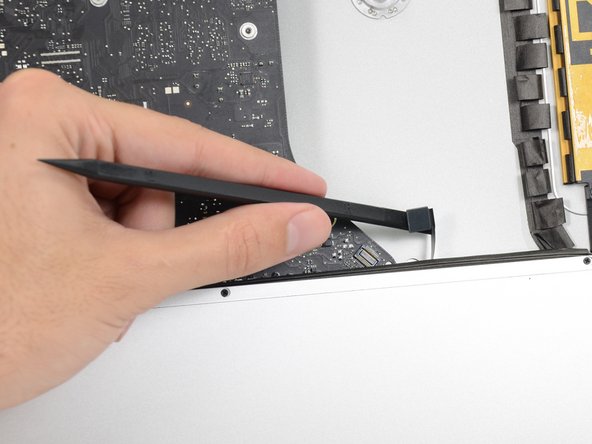
Use a spudger to loosen the right speaker cable's connector from its socket on the logic board.
-
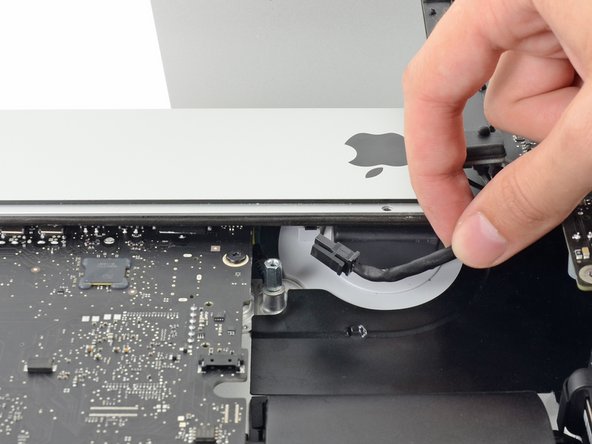
Pull the connector downwards to remove it from its socket.
-
-
-
Remove the following screws securing the hard drive bracket to the rear enclosure:
-
Two 21 mm T10 Torx screws from the left-hand hard drive bracket.
-
One 9 mm T10 Torx screw.
-
One 27 mm T10 Torx screw.
-
-
-
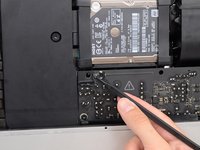
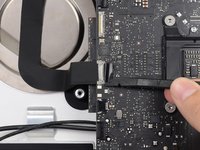
Use the tip of a spudger to push each side of the power button cable connector and gently "walk" it out of its socket.
-
-
-
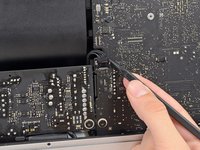
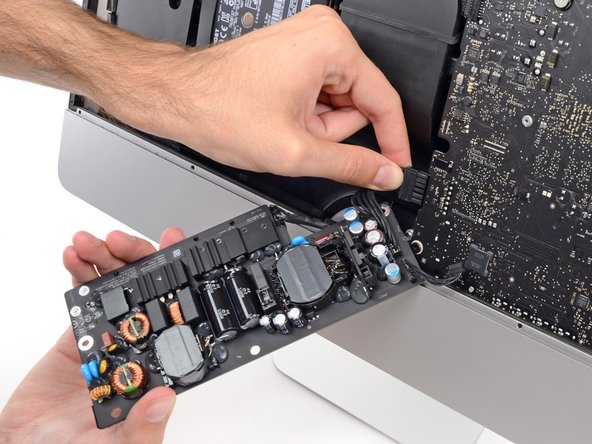
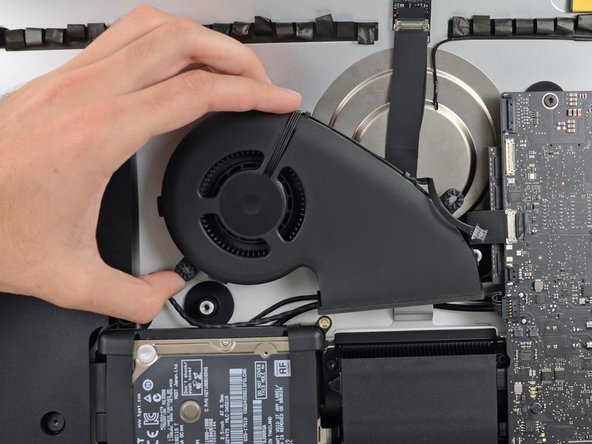
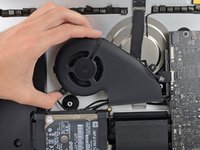
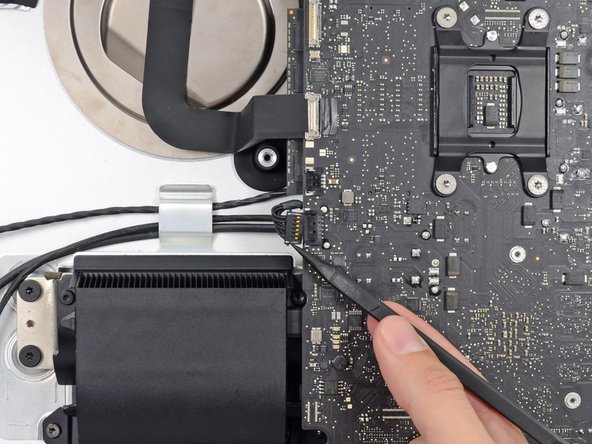
Gently pull the fan cable connector straight away from its socket on the logic board.
-
-
-
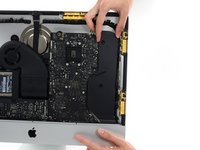
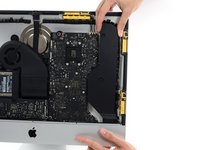
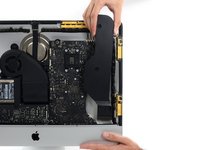
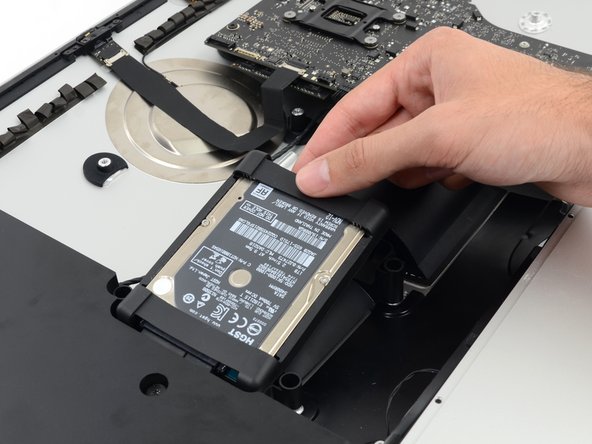
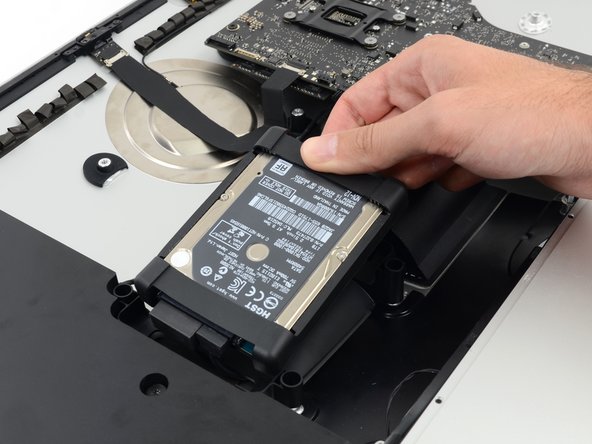
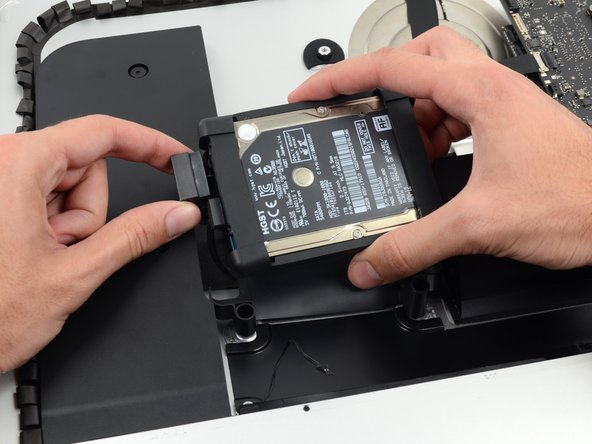
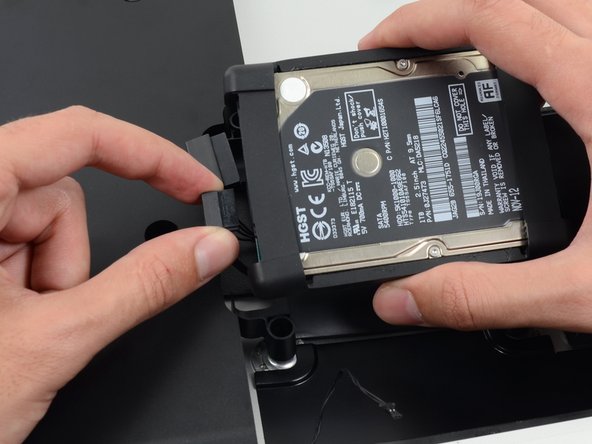
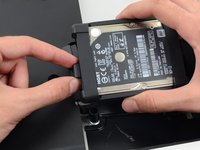
Lift the hard drive from the edge nearest the logic board and pull it slightly out of its recess.
-
-
-
Remove the single 7.2 mm T10 screw securing the hard drive tray to the rear enclosure.
-
-
-
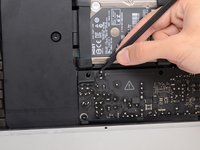
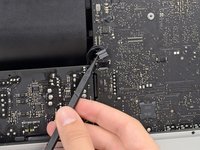
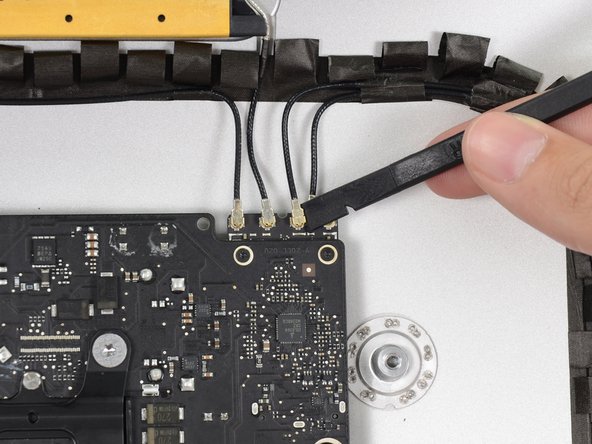
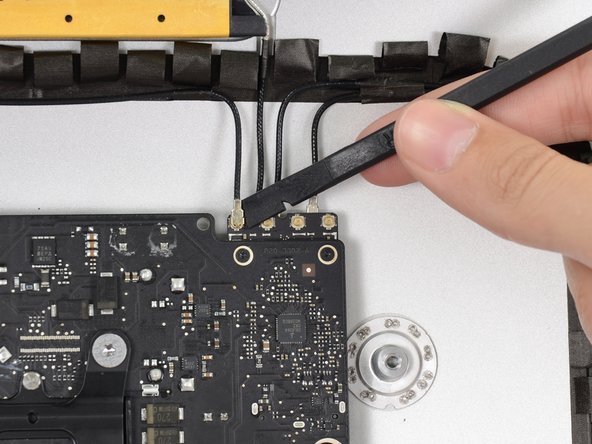
Push on each side of the left speaker cable connector with the tip of a spudger and gently "walk" it out of its socket.
-
-
-
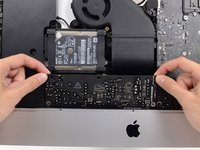
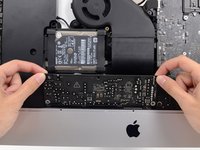
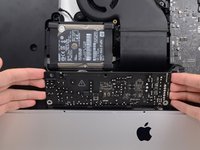
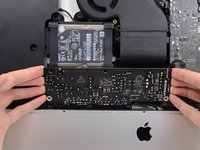
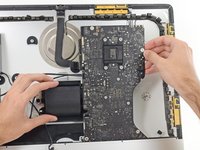
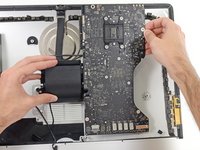
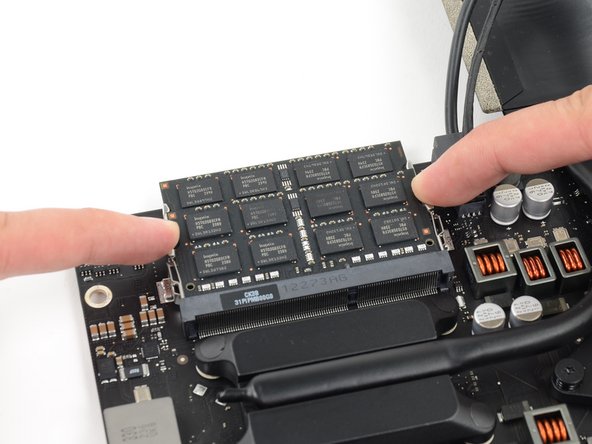
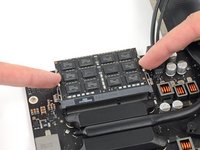
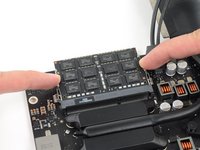
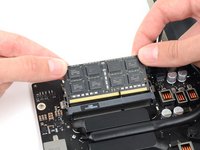
Release the tabs on each side of the RAM module by simultaneously pushing each tab away.
-
Grab the top left and right corners of the RAM module and carefully pull it straight out of its socket.
-
-
-
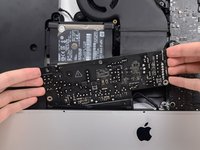
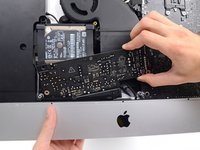
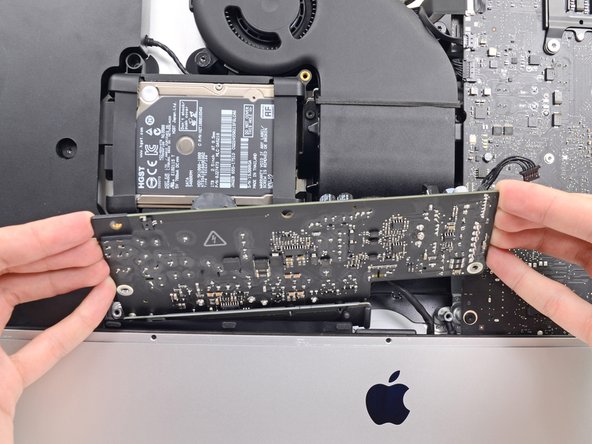
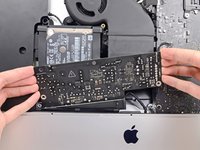
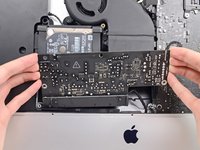
Disconnect and remove the SATA data and power cables from the logic board.
-
-
-
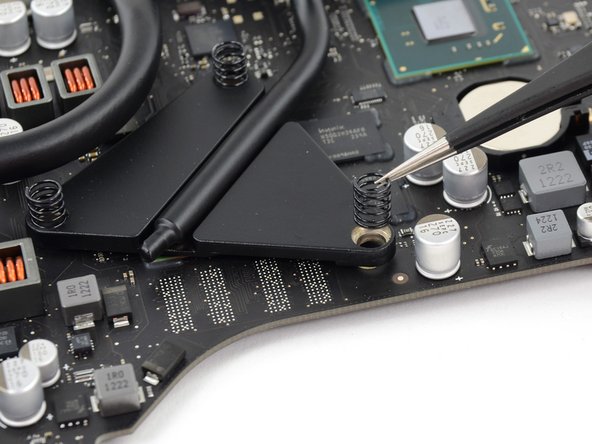
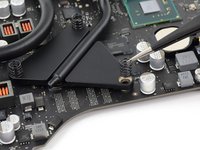
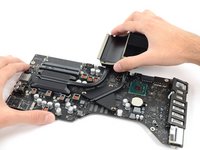
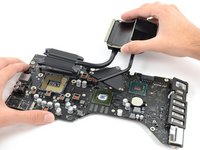
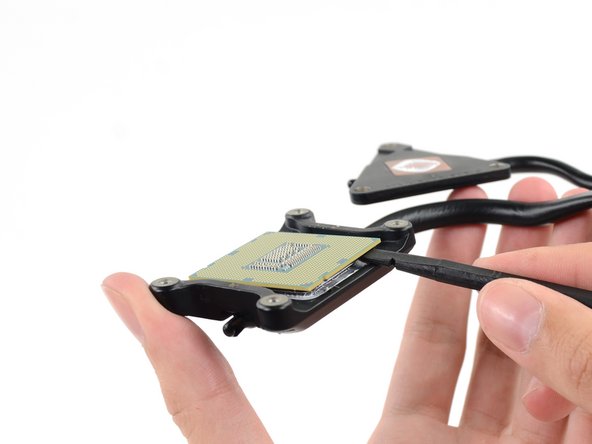
Insert the flat edge of a spudger between the CPU and heat sink.
-
Gently pry the CPU off the heat sink by slightly twisting the spudger upwards.
-


To reassemble your device, follow these instructions in reverse and use our Adhesive Strips Guide to reattach the display glass.
To reassemble your device, follow these instructions in reverse and use our Adhesive Strips Guide to reattach the display glass.
İptal et: Bu kılavuzu tamamlamadım.
5 farklı kişi bu kılavuzu tamamladı.

