iMac Intel 21.5" EMC 2889 Hard Drive Replacement
Giriş
1. adıma gitFollow the steps in this guide to upgrade or replace the hard drive in the iMac Intel 21.5" EMC 2889. Note that if you are upgrading your drive, you will need to clone your existing hard drive onto the replacement prior to performing this upgrade to keep your files and operating system.
Neye ihtiyacın var
Tamir Seti
Bu kit, bu kılavuzu tamamlamak için gereken tüm parçaları ve araçları içerir.
Parçalar
Aletler
Daha fazlasını göster…
-
Bu adımda kullanılan alet:iMac Intel 21.5" Cardboard Service Wedge$4.99
-
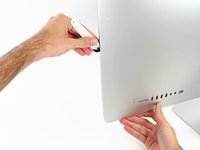
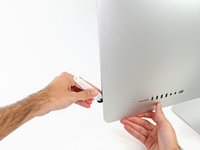
Before beginning any work on your iMac: Unplug the computer and press and hold the power button for ten seconds to discharge the power supply's capacitors.
-
-
Bu adımda kullanılan alet:Plastic Cards$2.99
-
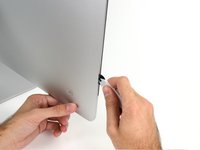
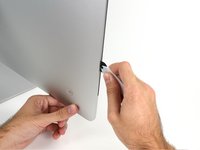
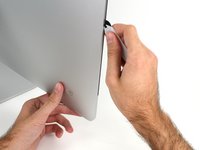
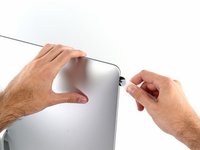
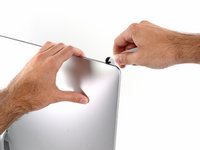
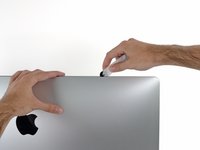
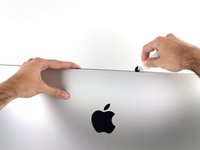
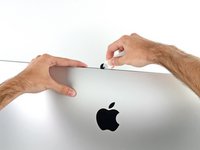
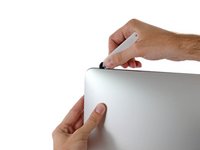
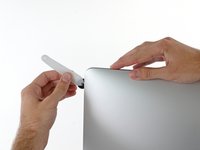
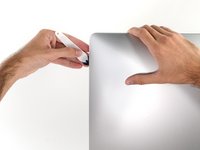
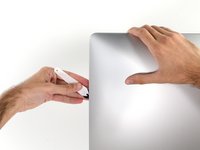
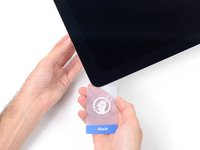
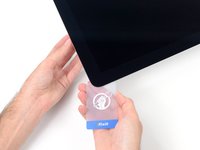
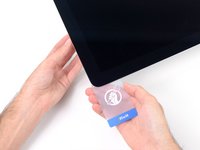
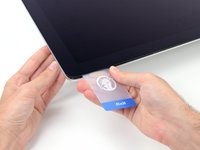
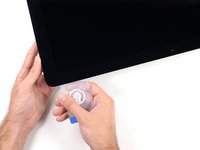
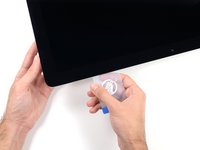
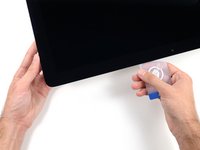
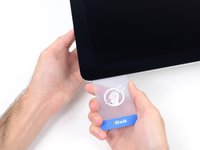
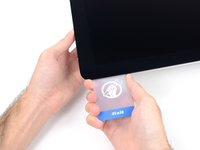
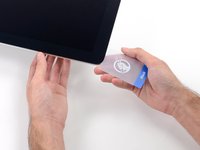
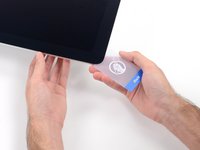
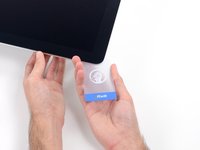
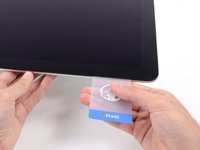
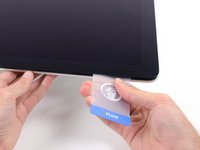
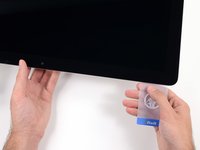
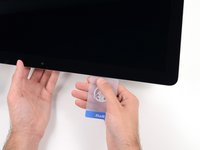
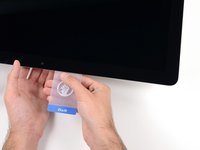
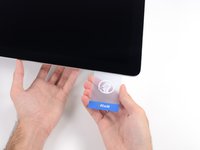
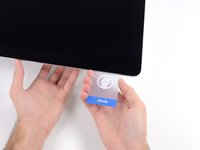
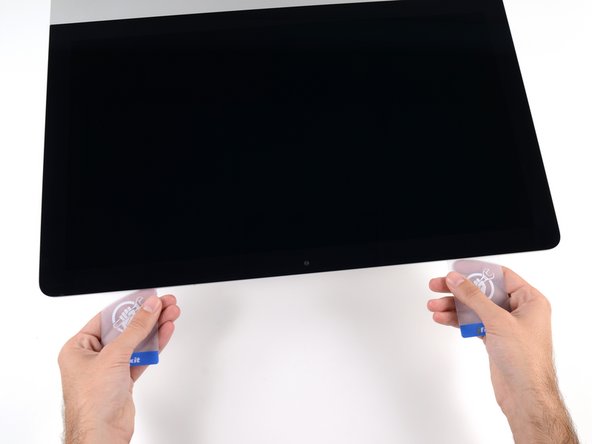
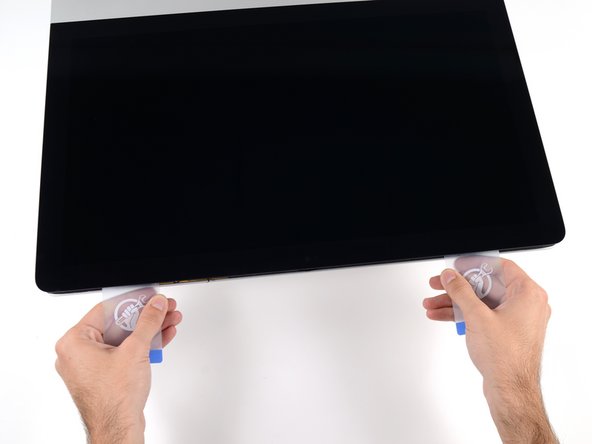
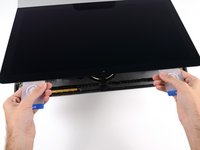
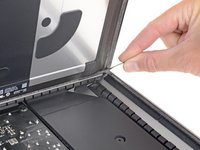
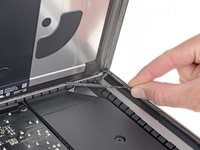
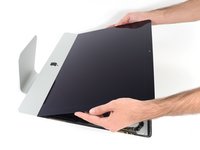
Starting from the top right corner of the iMac, wedge a plastic card between the display and frame.
-
-
-
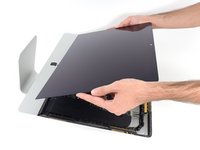
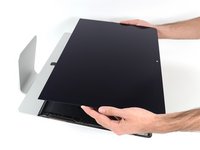
Hold the display with one hand while using your other hand to unplug the display power cable.
-
-
-
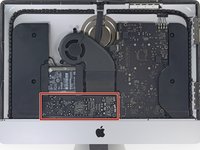
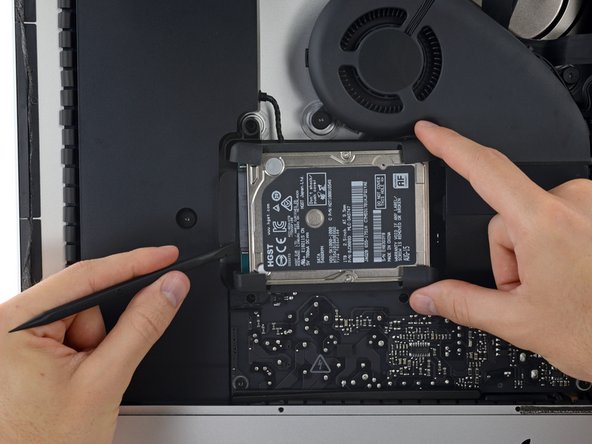
Remove the following T10 Torx screws securing the hard drive brackets to the iMac:
-
Two 21 mm screws
-
One 9 mm screw
-
One 27 mm screw
-
-
-
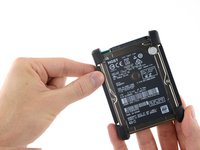
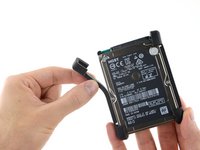
Lift the hard drive from the edge nearest the logic board and pull it slightly out of its recess.
-
-
-
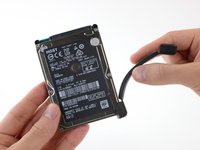
Peel the rubber bumper off one side of the hard drive.
-
Repeat for the other side.
-
To reassemble your device, follow these instructions in reverse and use our Adhesive Strips Guide to reattach the display glass.
To reassemble your device, follow these instructions in reverse and use our Adhesive Strips Guide to reattach the display glass.
İptal et: Bu kılavuzu tamamlamadım.
75 farklı kişi bu kılavuzu tamamladı.
11 Yorum
Well done and thank you for this very precise description to access the hard drive. After that, reconnecting the hard drive or SSD is difficult because the very short SATA connector wires do not allow it to be presented well in the axis of the drive connector and it is impossible to hold it firmly with your fingers. Space is very small.
Totally! I ended up hooking my angled tweezers behind the connector to push it into the drive. Alignment was still a bit tricky.
Cy L -
Thank you SO MUCH for this guide. I bought my iMac used from someone who was upgrading to a newer SSD model, and once I got it home and reset, I was understood all too well why he upgraded. So I ordered the kit here and followed these directions. With my iPad propped up next to the iMac on my table, I was able to follow it right through. As others have commented, the drive cable is very short, but I held back the rubber bumpers until I got it connected, and then everything else went smoothly. Now my iMac is like a new machine (minus the newer Thunderbolt ports and other newer amenities). Thanks again!
I was just looking at the dismal trade in options for all my old apple products, and just assumed Id be buying a new computer every 2-3 yrs at retail whenever apple decided mine was out of date, but after stumbling on this site i love the mission, and am actually excited to try some of these articles on my old products and maybe learn a few things. Thank you for all this work its awesome and appreciated.


