Giriş
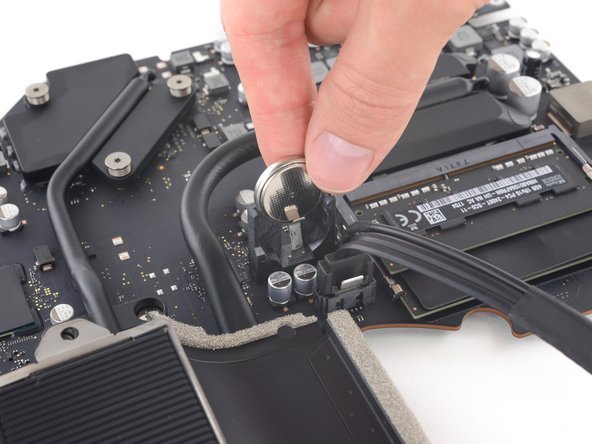
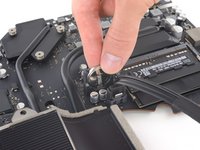
Follow this guide to replace the PRAM battery in a 21.5" Retina 4K 2019 iMac. The PRAM battery is located on the back side of the logic board, so replacing it requires first removing the logic board.
Some images in this guide use an older iMac, which has minor visual differences. These differences do not affect the repair procedure.
This guide requires you to handle a power supply that contains large capacitors. Unplug the iMac and hold the power button down for at least 10 seconds to help discharge the capacitors. Handle the board by the edges and do not touch surface components.
Neye ihtiyacın var
-
Bu adımda kullanılan alet:iMac Intel 21.5" Cardboard Service Wedge$4.99
-
With the hinge free to move, the iMac will be unbalanced and hard to work on. Place an iMac service wedge, in the stand to stabilize the iMac.
-
-
-
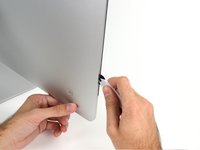
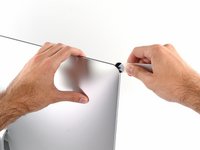
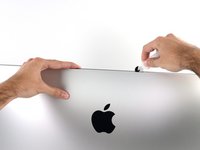
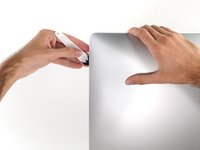
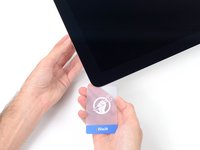
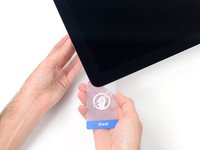
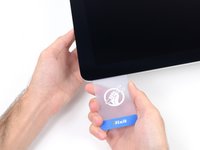
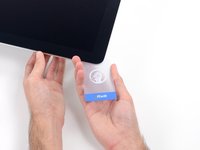
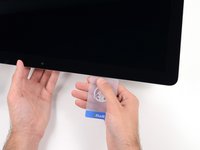
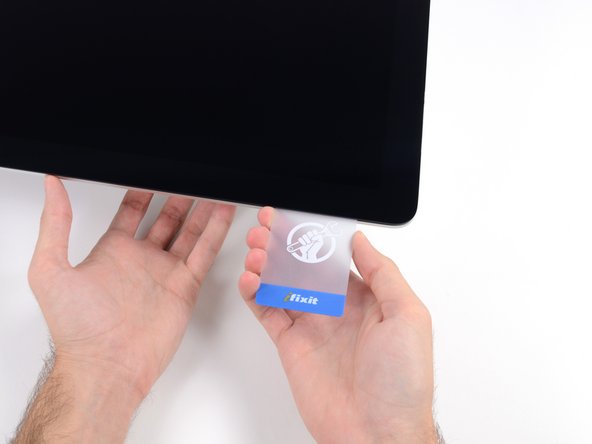
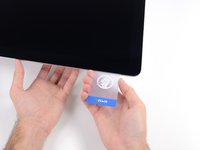
Starting on the left side of the display, near the power button, insert the iMac Opening Tool into the gap between the glass panel and the rear enclosure.
-
-
-
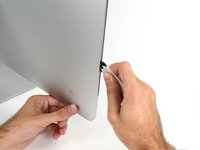
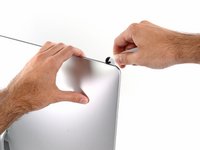
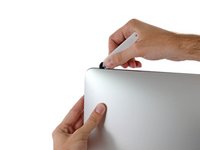
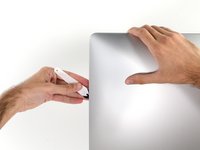
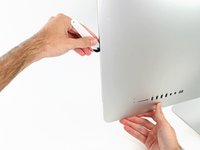
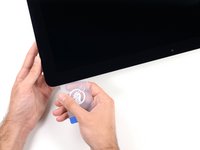
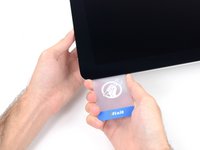
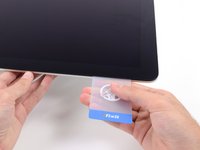
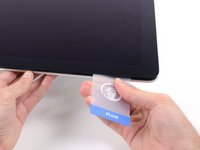
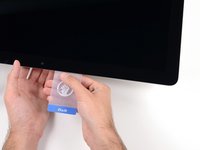
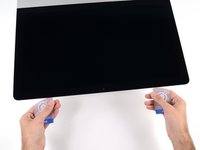
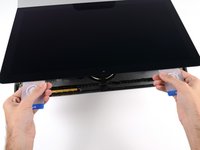
Use the tool like a pizza cutter—roll it along the gap, cutting the foam adhesive in between the frame and display.
-
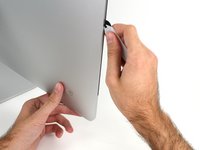
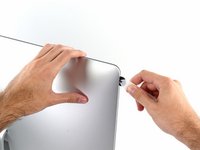
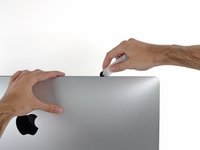
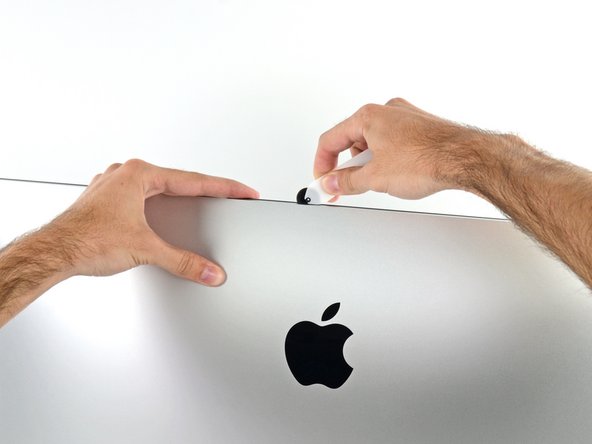
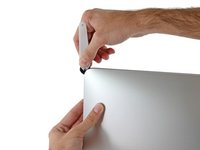
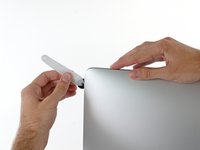
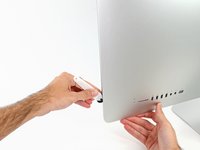
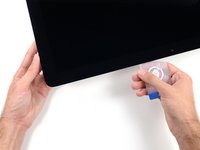
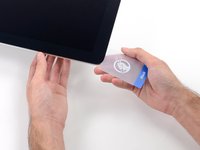
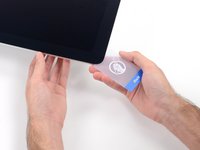
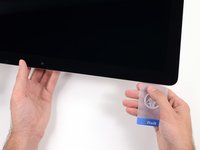
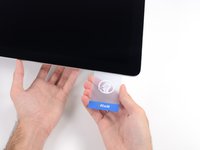
Run the tool up along the left side of the display.
-
-
-
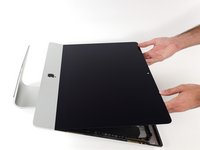
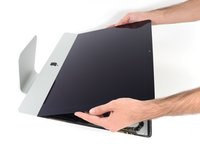
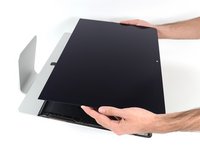
Hold the display with one hand while using your other hand to unplug the display power cable.
-
-
-
-
Remove the following five Phillips screws holding the lower support bracket in place:
-
Four 3.2 mm screws
-
One 1.7 mm screw
-
-
-
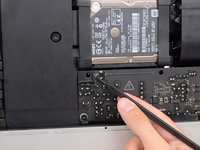
Remove the following T10 Torx screws securing the hard drive brackets to the iMac:
-
Two 21 mm screws
-
One 9 mm screw
-
One 27 mm screw
-
-
-
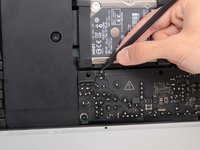
Use the tip of a spudger to push each side of the power button cable connector and gently walk it out of its socket.
-
-
-
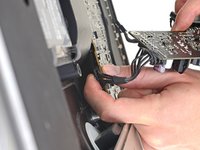
To disconnect the cable, squeeze the release clip on the back side of the connector, behind the logic board, and pull the connector straight out.
-
-
-
Use the flat end of a spudger to press the release clip on the side of the AC inlet cable connector inward.
-
While pressing on the release clip with the spudger, grasp the AC inlet cable, and pull the connector straight out of its socket.
-
-
-
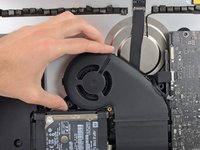
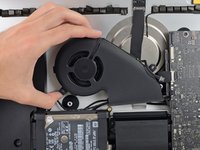
Gently pull the fan cable connector straight out of its socket on the logic board.
-
-
-
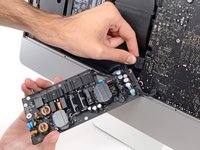
Lift the hard drive from the edge nearest the logic board and pull it slightly out of its recess.
-
-
-
Remove the 7.3 mm T8 Torx screw securing the hard drive tray to the rear enclosure.
-
-
-
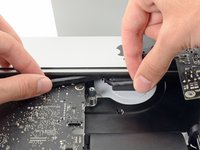
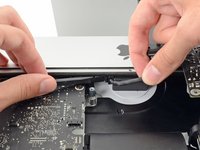
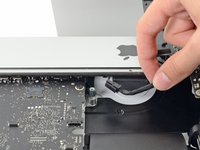
Gently pull the left speaker cable straight out of its socket on the logic board.
-
-
-
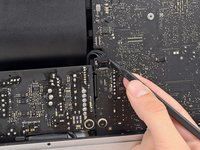
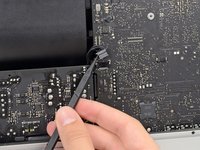
Use the tip of a spudger to flip open the retaining flap on the microphone ribbon cable ZIF socket.
-
Use tweezers to gently pull the microphone ribbon cable straight out of its socket.
-
-
-
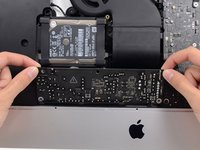
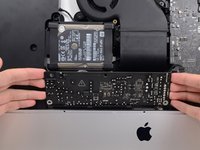
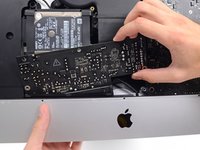
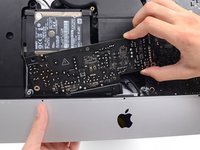
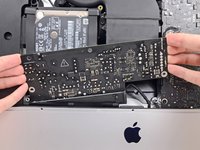
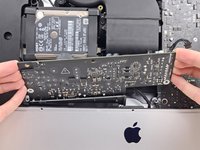
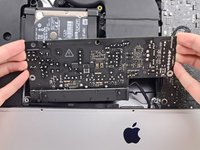
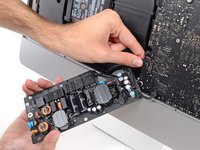
Remove the four 7.3 mm T8 Torx screws securing the logic board to the rear enclosure.
-


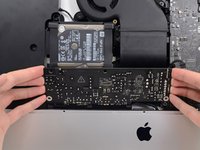


Compare your new replacement part to the original part—you may need to transfer remaining components or remove adhesive backings from the new part before installing.
To reassemble your device, follow the above steps in reverse order.
Take your e-waste to an R2 or e-Stewards certified recycler.
Repair didn’t go as planned? Check out our Answers community for troubleshooting help.
İptal et: Bu kılavuzu tamamlamadım.
Bir başkası bu kılavuzu tamamladı.

2Kılavuz Yorumları
The Apple Repair Guide, 073-00161-A, shows a BR2032 battery but my iMAC was fitted with a BR1632 battery. As the BR1632 is smaller you can't fit a BR2032, so probably best to check before ordering the battery. The BR series aren't easy to find in the UK but RS stock them.