Giriş
Replace a broken or noisy fan in your iMac.
Before beginning any work on your iMac: Unplug the computer and press and hold the power button for ten seconds to discharge the power supply's capacitors.
Be very careful not to touch the capacitor leads or any exposed solder joints on the back of the power supply.
Neye ihtiyacın var
Videoya Genel Bakış
-
Bu adımda kullanılan alet:iMac Intel 27" Cardboard Service Wedge$4.99
-
With the hinge free to move, the iMac will be unbalanced and hard to work on. Repairs can be completed with the iMac laying down, but are faster and easier with an iMac service wedge.
-
If you are using the iFixit cardboard service wedge, follow these assembly directions to put it together.
-
-
Bu adımda kullanılan alet:Plastic Cards$2.99
-
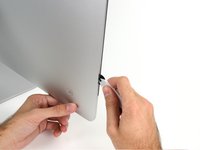
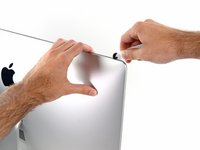
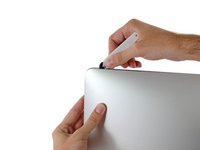
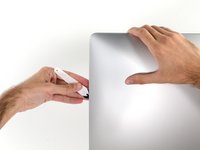
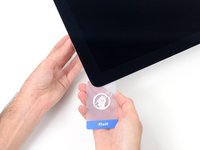
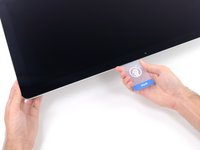
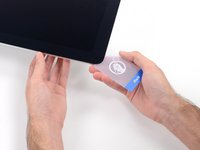
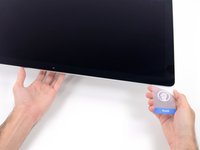
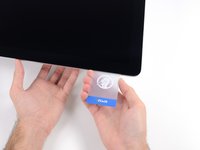
Set the iMac face-up on a table.
-
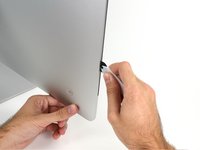
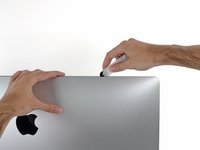
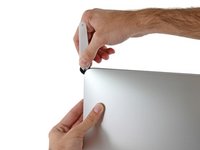
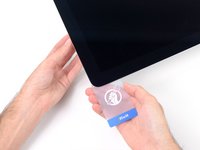
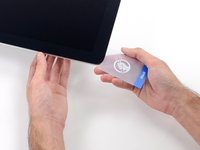
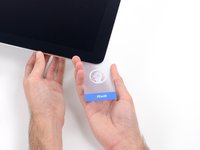
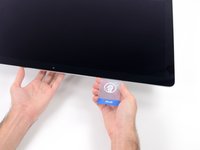
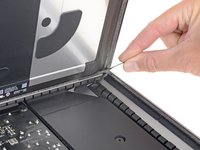
Starting from the top right corner of the iMac, insert a plastic card between the display and frame.
-
-
-
-
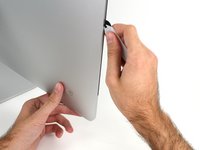
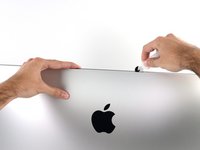
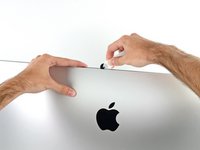
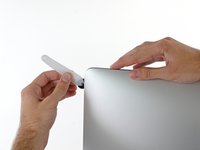
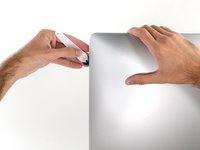
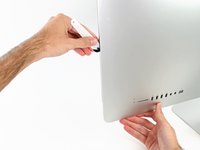
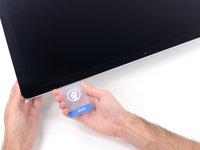
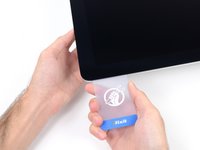
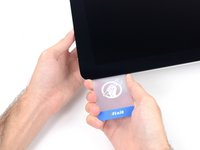
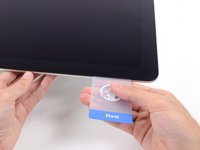
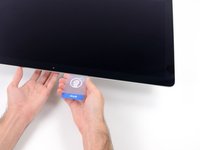
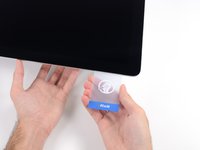
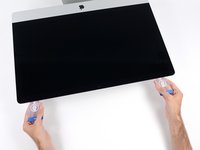
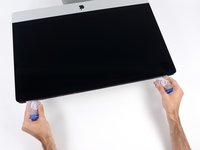
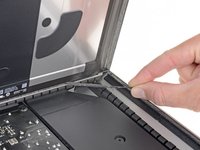
With the cards inserted as shown near the corners, gently twist the cards to increase the gap between display and case.
-
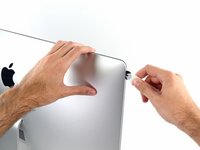
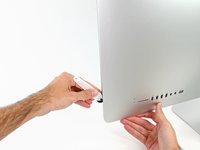
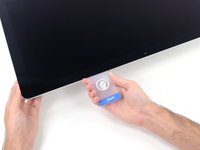
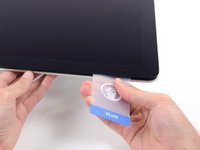
If there are any sections that seem to stick and won't separate, stop twisting and use one of the cards to cut the adhesive in the problem area.
-
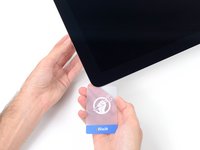
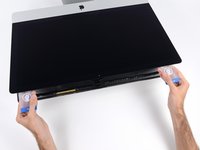
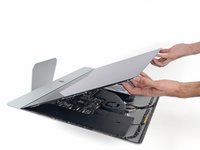
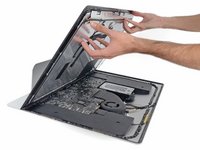
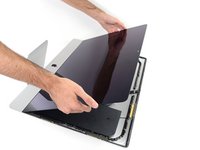
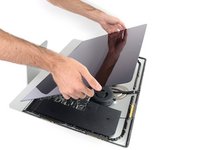
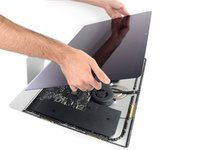
Begin to lift the top of the display up from the frame.
-
-
-
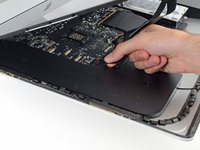
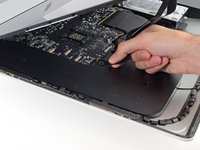
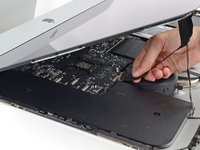
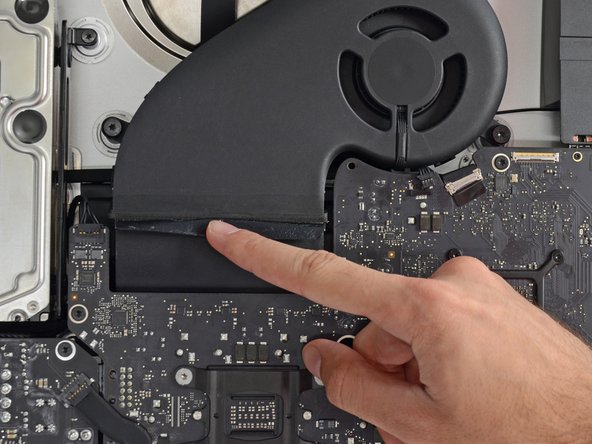
If there is a wire or cable underneath adhesive tape, always pull the tape off first.
-
If the cable is glued to the chassis, use a heated iOpener or a hair dryer to soften the adhesive first. You can then slide an opening pick underneath the cable to loosen it. Never pull directly on the delicate connectors.
-
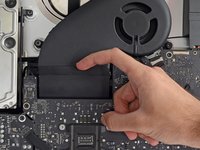
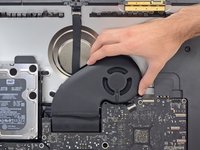
Slide an opening pick underneath the foam cushion pieces to separate them from the display, and gently pull them off. You may need some double sided tape to re-attach them to the new display.
-
-
-
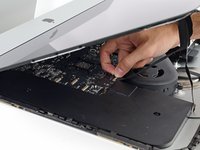
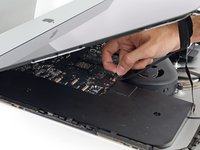
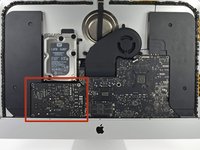
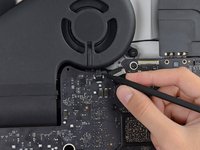
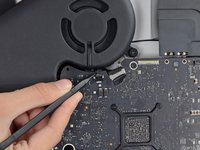
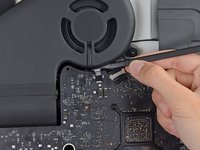
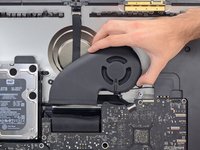
Use the tip of a spudger to disconnect the fan cable's connector from its socket on the logic board.
-


To reassemble your device, follow these instructions in reverse and use our Adhesive Strips Guide to reattach the display glass.
Take your e-waste to an R2 or e-Stewards certified recycler.
Repair didn’t go as planned? Try some basic troubleshooting, or ask our Answers community for help.
To reassemble your device, follow these instructions in reverse and use our Adhesive Strips Guide to reattach the display glass.
Take your e-waste to an R2 or e-Stewards certified recycler.
Repair didn’t go as planned? Try some basic troubleshooting, or ask our Answers community for help.
İptal et: Bu kılavuzu tamamlamadım.
14 farklı kişi bu kılavuzu tamamladı.

7Kılavuz Yorumları
- Consider carefully vacuuming the dust out of the fan base before installing the new fan.
- Make extra sure not to drop the T10 screws into the iMac when you put them back.
- Make sure to remove the adhesive tape from both the iMac and the screen before putting new adhesive tape on.
- You'll need to reset PRAM when you turn the iMac back on.
Was able to purchase the fan from http://allpartsmac.com/