Giriş
Removing the display requires cutting adhesive with a specialized iMac opening tool. After you've completed your repair, you'll need to follow our Adhesive Strip Guide to scrape off the old adhesive and replace it with new double-stick adhesive strips.
Neye ihtiyacın var
-
Bu adımda kullanılan alet:iMac Intel 27" Cardboard Service Wedge$4.99
-
With the hinge free to move, the iMac will be unbalanced and hard to work on. Repairs can be completed with the iMac laying down, but are faster and easier with an iMac service wedge.
-
If you are using the iFixit cardboard service wedge, follow these assembly directions to put it together.
-
-
-
Bu adımda kullanılan alet:Plastic Cards$2.99
-
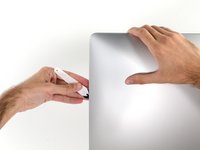
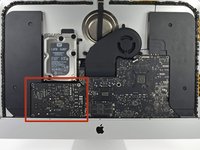
Set the iMac face-up on a table.
-
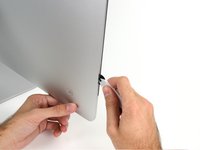
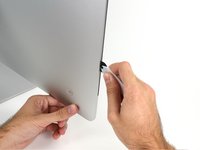
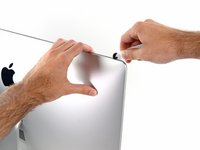
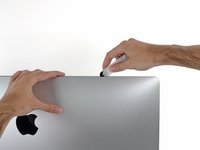
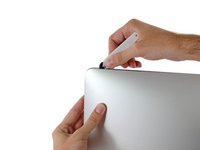
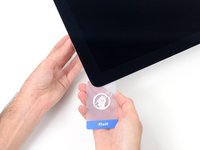
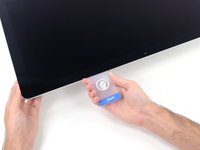
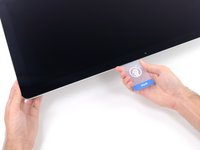
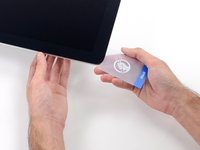
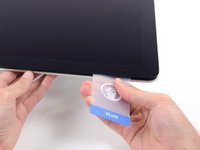
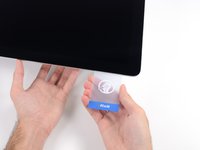
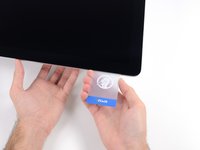
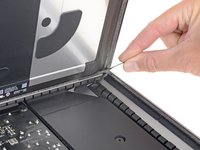
Starting from the top right corner of the iMac, insert a plastic card between the display and frame.
-
-
-
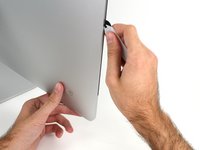
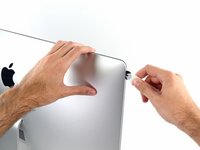
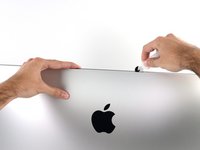
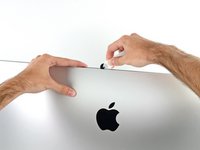
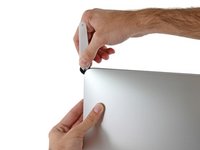
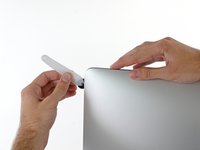
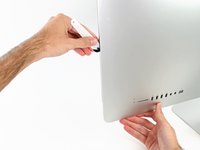
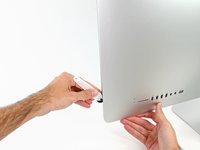
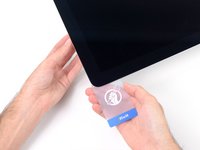
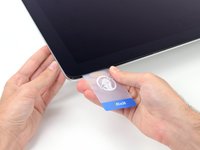
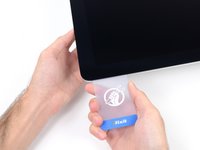
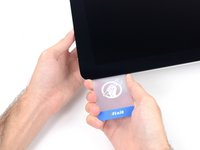
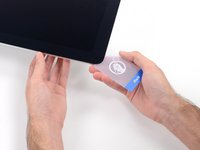
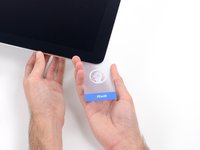
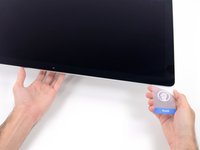
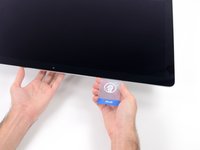
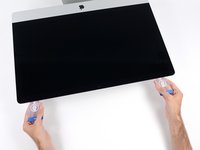
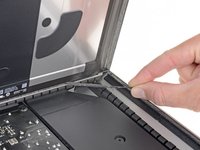
With the cards inserted as shown near the corners, gently twist the cards to increase the gap between display and case.
-
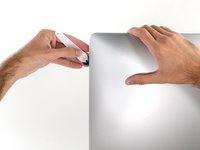
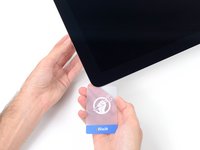
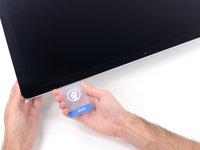
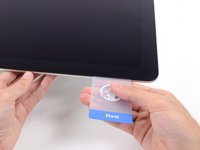
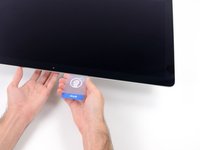
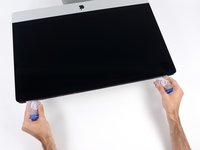
If there are any sections that seem to stick and won't separate, stop twisting and use one of the cards to cut the adhesive in the problem area.
-
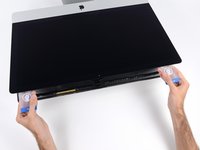
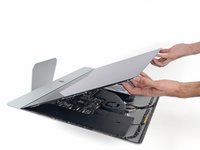
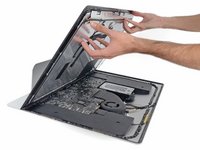
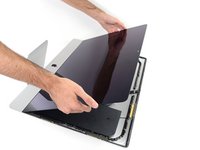
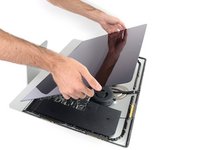
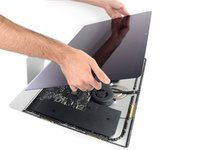
Begin to lift the top of the display up from the frame.
-
-
-
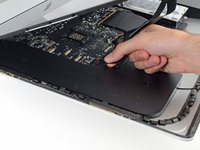
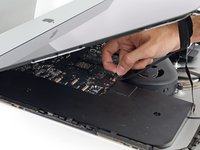
If there is a wire or cable underneath adhesive tape, always pull the tape off first.
-
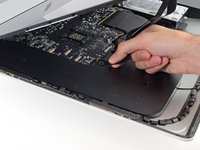
If the cable is glued to the chassis, use a heated iOpener or a hair dryer to soften the adhesive first. You can then slide an opening pick underneath the cable to loosen it. Never pull directly on the delicate connectors.
-
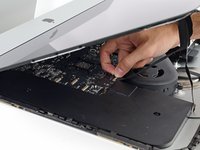
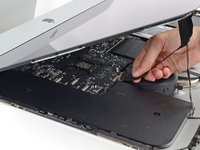
Slide an opening pick underneath the foam cushion pieces to separate them from the display, and gently pull them off. You may need some double sided tape to re-attach them to the new display.
-


To reassemble your device, follow these instructions in reverse and use our Adhesive Strips Guide to reattach the display glass.
Take your e-waste to an R2 or e-Stewards certified recycler.
Repair didn’t go as planned? Try some basic troubleshooting, or ask our Answers community for help.
İptal et: Bu kılavuzu tamamlamadım.
44 farklı kişi bu kılavuzu tamamladı.

12Kılavuz Yorumları
I'd like to note, that it is in no way necessary to save the wedge for when the screen is removed. In fact, the wedge is used when removing the LCD, because the rear housing may tilt when removing it, and the wedge counters this.
So, for your own sake, DO NOT lay down the iMac, but in stead, leave it standing upright, with the wedge in place, when removing the display, and let it stay there until you're done with servicing your iMac.
Also, from step 18 through 22, the iMac needs to be standing upright, NOT lying down, as you can easily damage the glass when lifting it like that.
Since there is not antenna wire to cut around the frame, I used a razor blade and and stopped at the camera and it worked like a charm. Where the guide used the card on the bottom edge for the final cut, I used a razor blade also and it only took one cut verses going back and forth with a card.
When I used a tool, the adhesive kept sticking together again as the guide mentions. The razor cut the adhesive down the center itself, so it was one easy pass and on sticky adhesive.
If you take a small chip out of the glass on the edge or crack, just get cell phone protector and cut it to size. You can also go to home depot and they have a glass specific crazy glue that you can first put in the crack or chip (do not put on the casing part. I cleaned with crazy glue first). Use a razor to get the glue into the crack, let dry and then clean off and put on the screen protector. I used rubbing alcohol first to clean the glass and chip area.
Not a perfect solution, but better than $700+ for a display.
When you cutting the edge you can also put some books under the display part to keep it level and easy to go around as you cut. If you cut the bottom all the way with the razor, you will have a clean cut and you can pull it towards you while the unit is as described in the guide steps 18-22. I do not like the idea of standing up the unit as there is more pressure on the bottom edge of the glass from the displaly