Giriş
Use this guide to remove the logic board and strip it of all its peripherals: SSD, AirPort, heat sink and CPU, and RAM.
Before beginning any work on your iMac: Unplug the computer and press and hold the power button for ten seconds to discharge the power supply's capacitors.
Be very careful not to touch the capacitor leads or any exposed solder joints on the back of the power supply. Only handle the board by the edges.
Neye ihtiyacın var
-
Bu adımda kullanılan alet:iMac Intel 27" Cardboard Service Wedge$4.99
-
With the hinge free to move, the iMac will be unbalanced and hard to work on. Repairs can be completed with the iMac laying down, but are faster and easier with an iMac service wedge.
-
If you are using the iFixit cardboard service wedge, follow these assembly directions to put it together.
-
-
Bu adımda kullanılan alet:Plastic Cards$2.99
-
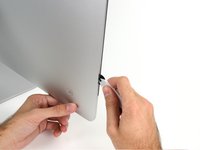
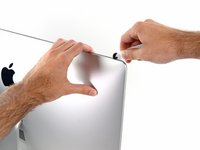
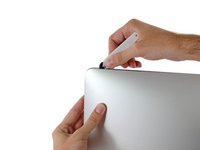
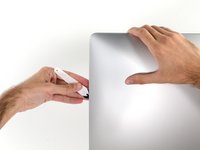
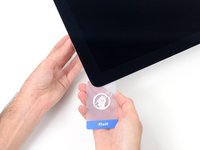
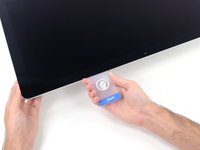
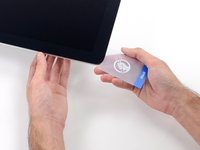
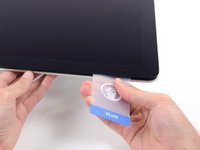
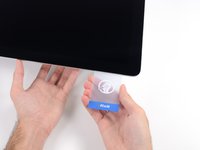
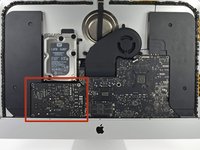
Set the iMac face-up on a table.
-
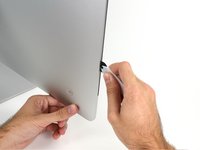
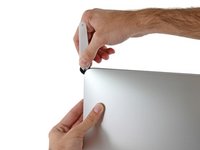
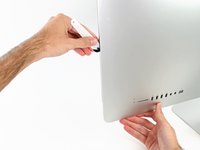
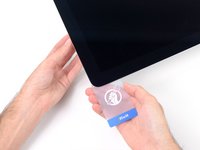
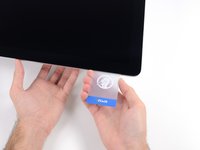
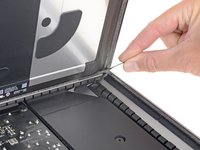
Starting from the top right corner of the iMac, insert a plastic card between the display and frame.
-
-
-
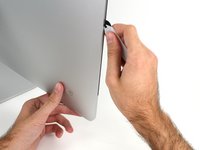
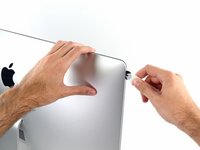
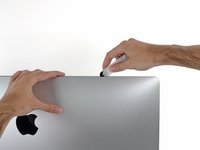
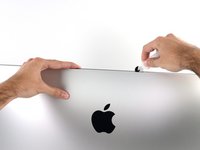
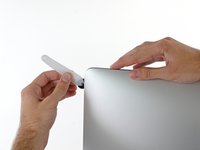
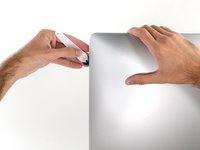
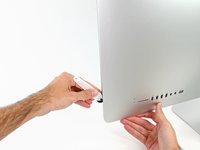
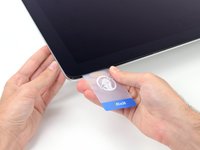
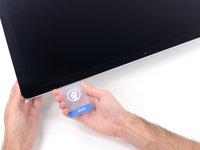
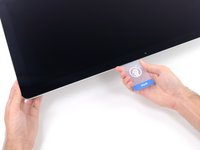
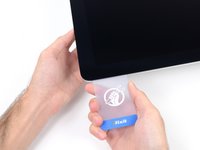
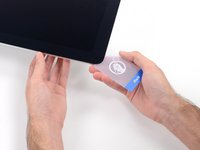
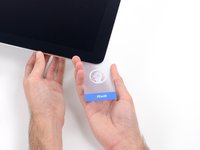
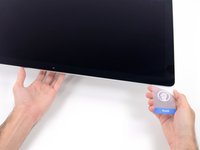
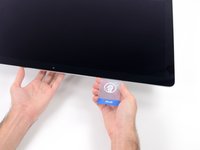
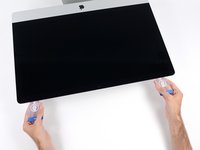
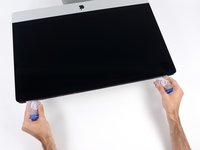
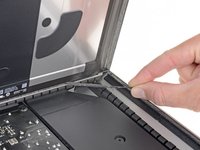
With the cards inserted as shown near the corners, gently twist the cards to increase the gap between display and case.
-
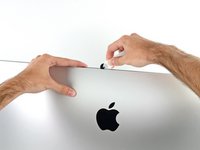
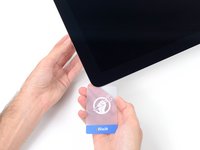
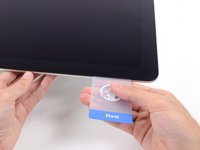
If there are any sections that seem to stick and won't separate, stop twisting and use one of the cards to cut the adhesive in the problem area.
-
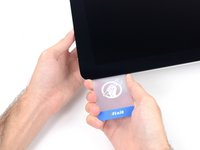
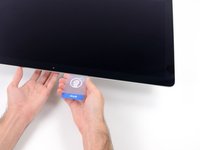
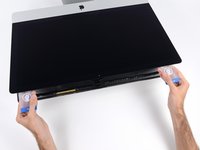
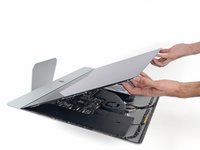
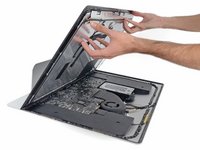
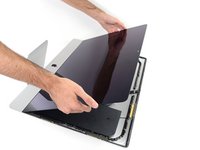
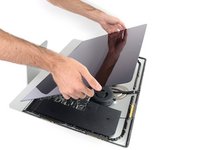
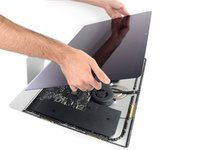
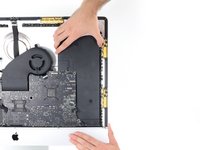
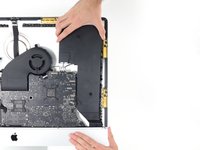
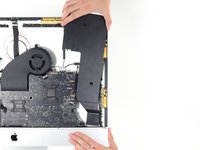
Begin to lift the top of the display up from the frame.
-
-
-
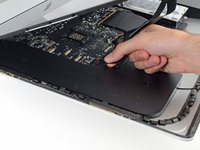
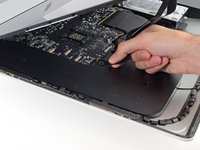
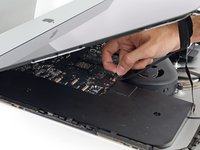
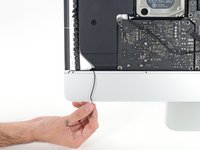
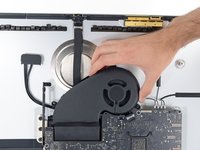
If there is a wire or cable underneath adhesive tape, always pull the tape off first.
-
If the cable is glued to the chassis, use a heated iOpener or a hair dryer to soften the adhesive first. You can then slide an opening pick underneath the cable to loosen it. Never pull directly on the delicate connectors.
-
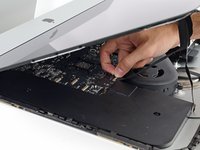
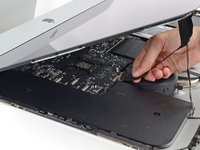
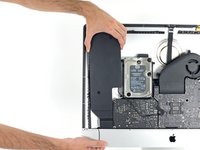
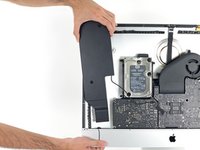
Slide an opening pick underneath the foam cushion pieces to separate them from the display, and gently pull them off. You may need some double sided tape to re-attach them to the new display.
-
-
-
-
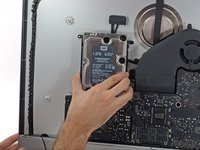
Use a Phillips screwdriver to remove the nine 3.2 mm screws securing the support bracket.
-
You may need to peel up the display adhesive lining the bottom edge of the iMac enclosure to access the screws.
-
-
-
Remove the lower support bracket (a.k.a. "chin strap") from the iMac enclosure.
-
Position the bracket diagonally.
-
Secure the rightmost screw enough to hold the bracket in place; keep it loose for now so the bracket can pivot.
-
Swing the left side of the bracket down until it sits horizontally in its original position.
-
Starting with the leftmost screw, install and tighten the remaining screws.
-
-
-
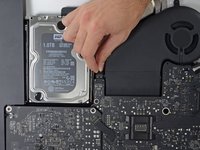
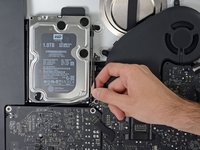
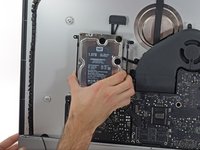
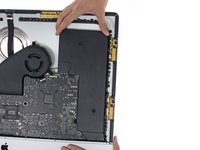
Pull straight up on the SATA data/power cable to disconnect it from the drive.
-
-
-
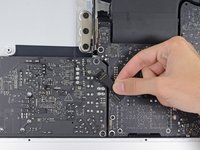
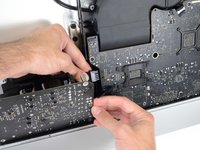
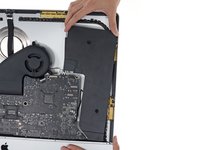
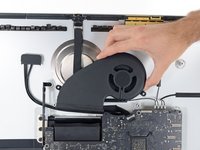
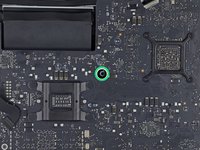
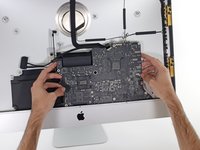
Disconnect the power supply control cable from the power supply.
-
-
-
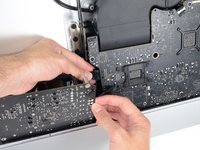
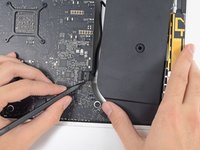
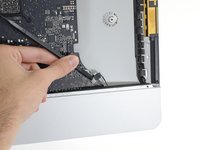
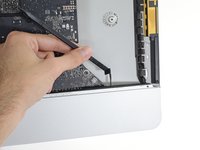
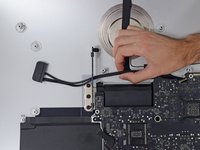
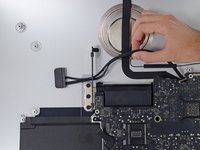
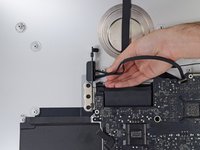
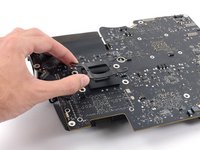
Use the tip of a spudger to disconnect the fan cable's connector from its socket on the logic board.
-
-
-
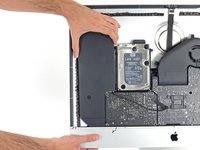
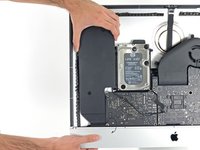
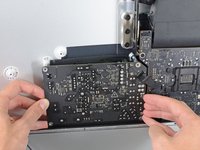
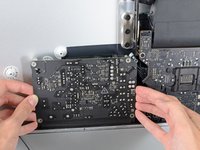
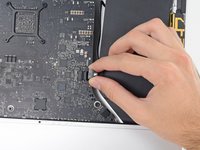
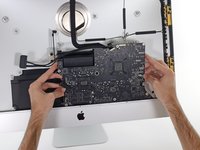
Use the flat end of a spudger to disconnect each of the four antenna connectors from the AirPort/Bluetooth card.
-
Leftmost
-
Top
-
Upper right
-
Lower right
-
-
-
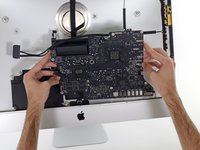
Pull up on the SATA power cable connector to disconnect it.
-
Unplug the SATA data cable connector by depressing its locking tab and pulling straight up on the connector.
-
Remove the SATA cable from the logic board assembly to get it out of the way and prevent it from being damaged.
-
-
-
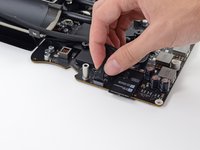
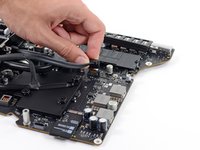
Use your thumbs or index fingers to unlock the tray by pushing the tabs outward, away from the RAM.
-
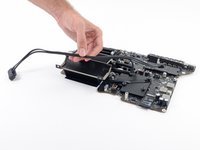
Pull the tabs out and up, swinging the RAM tray up to a near-vertical position.
-
-
-
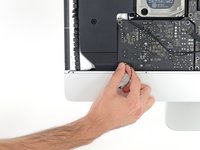
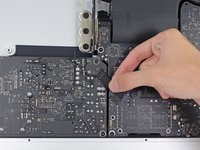
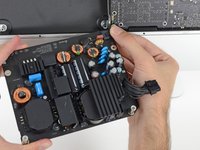
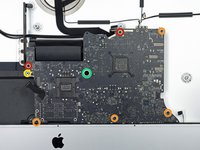
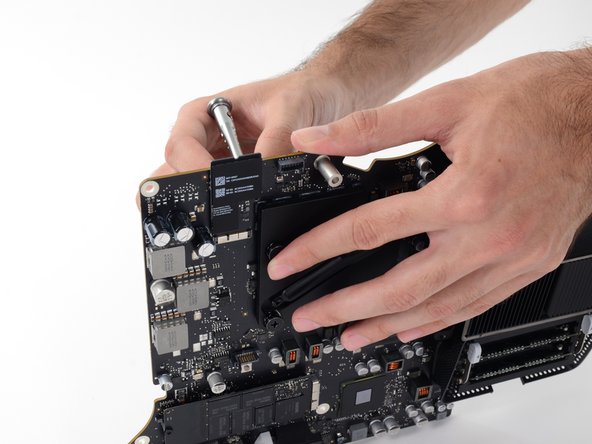
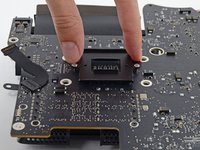
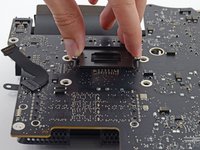
Remove two 3.7 mm T5 screws from the back of the logic board.
-
-
-
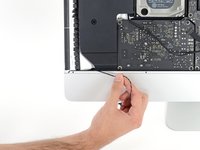
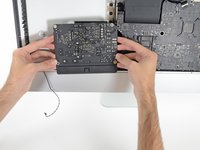
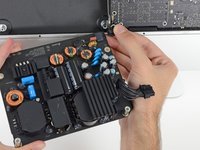
Remove the power supply cable from its connector by pulling it parallel to the logic board.
-


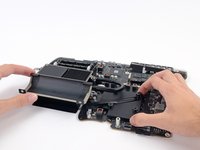
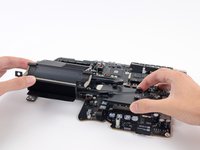
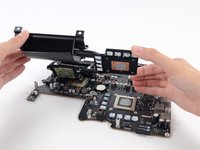


To reassemble your device, follow these instructions in reverse and use our Adhesive Strips Guide to reattach the display glass.
Take your e-waste to an R2 or e-Stewards certified recycler.
Repair didn’t go as planned? Try some basic troubleshooting, or ask our Answers community for help.
İptal et: Bu kılavuzu tamamlamadım.
32 farklı kişi bu kılavuzu tamamladı.

6Kılavuz Yorumları
The logic board in my iMac 27" 13, 2 (2546) late 2012 needs to be replaced. Will the logic board from the 27" 14,2 (2639) late 2013 match and fit inside the 27" 13,2 late 2012 housing?
I've looked all over and have yet to find a straight answer. Thanks in advance!!!
I somehow think this tweet should be linked here https://twitter.com/kirillz/status/12171...
What specific screws and at what locations to remove the logic board, PSU, RAM, etc. as a single piece? Trying to keep as much intact and undisturbed as possible. To remove these parts as a whole, which parts must be disconnected for removal and then reconnected? Or does every step describe a component removal so that an underlying component is accessible for removal? Thanks!