Giriş
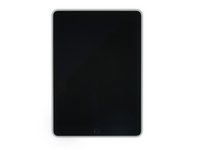
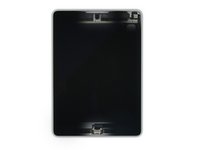
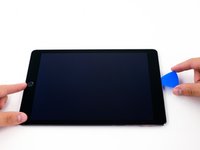
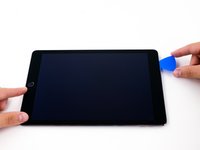
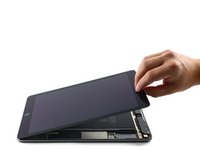
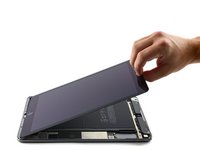
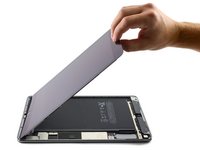
Remove the front panel assembly from an iPad Air 2 Wi-Fi model to access any internal component for repair or replacement.
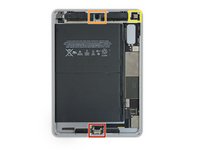
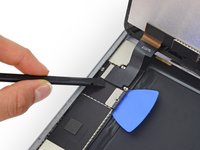
Be very careful when you isolate the battery using a battery blocker. The battery contacts are easily damaged, resulting in irreversible damage to the logic board. If you choose to complete the guide without isolating the battery, avoid using metal tools except when completely necessary (like when removing screws) to prevent shorting the battery and damaging sensitive circuit components.
Neye ihtiyacın var
-
-
Fill a pot or pan with enough water to fully submerge an iOpener.
-
Heat the water to a boil. Turn off the heat.
-
Place an iOpener into the hot water for 2-3 minutes. Make sure the iOpener is fully submerged in the water.
-
Use tongs to extract the heated iOpener from the hot water.
-
Thoroughly dry the iOpener with a towel.
-
Your iOpener is ready for use! If you need to reheat the iOpener, heat the water to a boil, turn off the heat, and place the iOpener in the water for 2-3 minutes.
-
-
-
If your display glass is cracked, keep further breakage contained and prevent bodily harm during your repair by taping the glass.
-
Lay overlapping strips of clear packing tape over the iPad's display until the whole face is covered.
-
Do your best to follow the rest of the guide as described. However, once the glass is broken, it will likely continue to crack as you work, and you may need to use a metal prying tool to scoop the glass out.
-
-
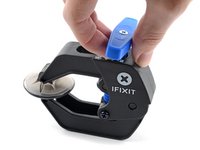
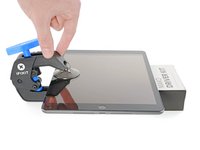
Bu adımda kullanılan alet:Clampy - Anti-Clamp$24.95
-
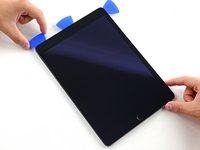
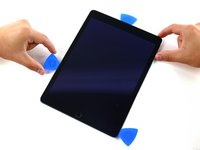
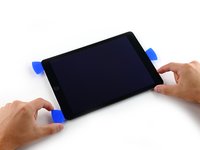
Elevate the iPad enough for the Anti-Clamp's arms to rest above and below the screen.
-
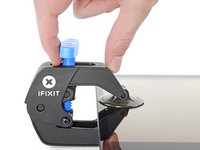
Pull the blue handle towards the hinge to disengage opening mode.
-
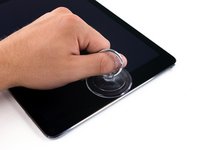
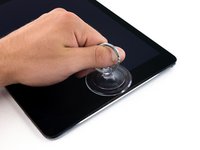
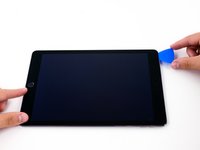
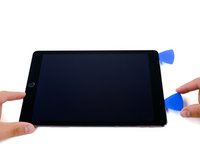
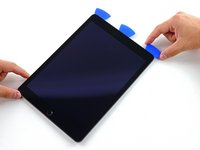
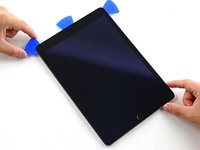
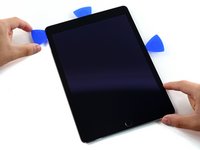
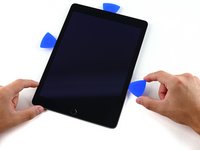
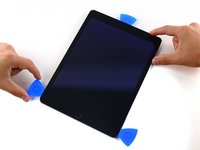
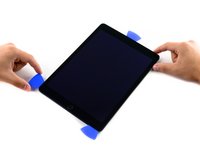
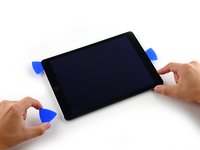
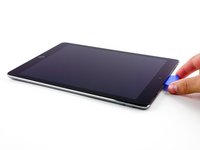
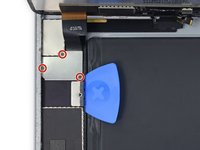
Position the suction cups near the top edge of the iPad—one on the front, and one on the back.
-
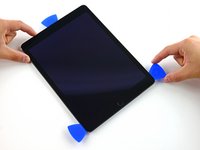
Push down on the cups to apply suction to the desired area.
-
-
-
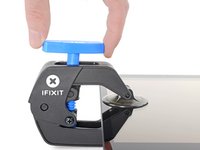
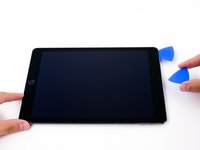
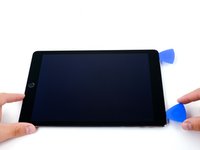
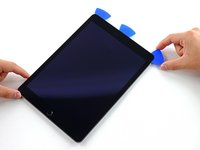
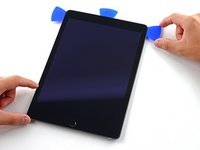
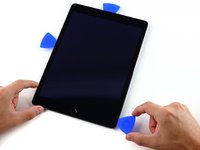
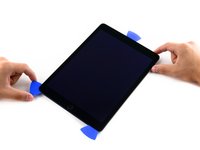
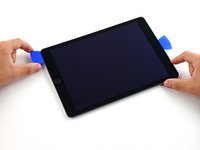
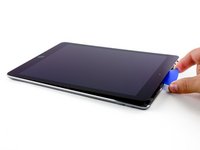
Push the blue handle away from the hinge to engage opening mode.
-
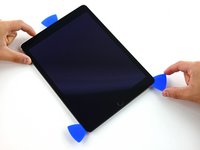
Turn the handle clockwise until you see the cups start to stretch.
-
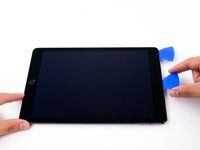
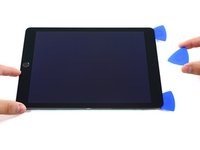
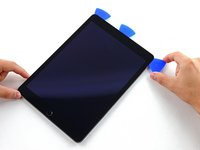
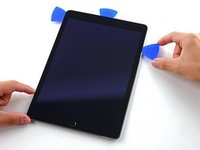
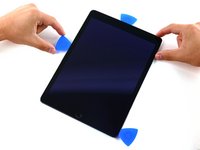
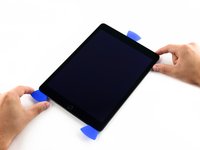
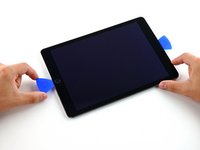
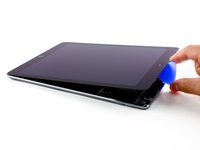
Wait one minute to give the adhesive a chance to release and present an opening gap.
-
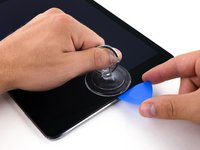
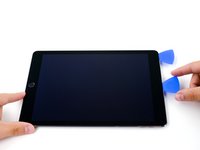
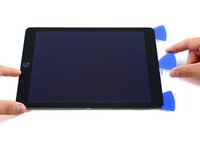
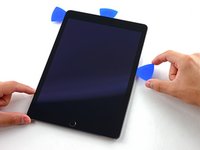
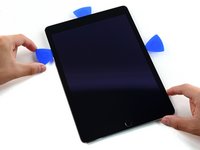
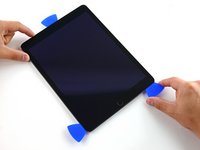
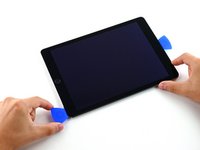
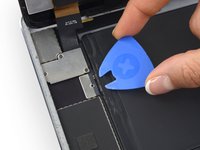
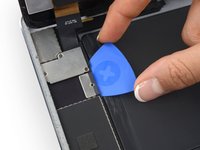
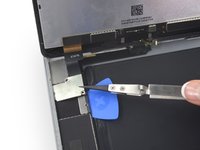
Insert an opening pick under the screen when the Anti-Clamp creates a large enough gap.
-
Skip the next two steps.
-
-
-
-
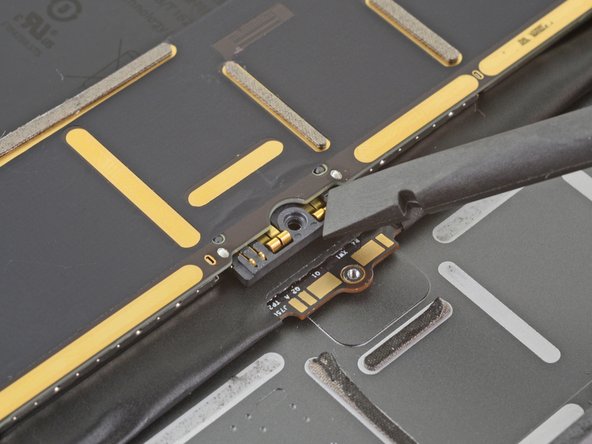
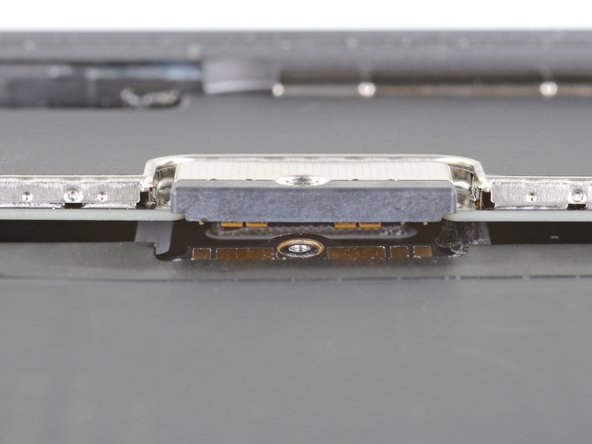
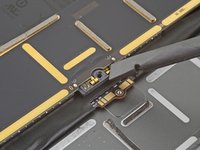
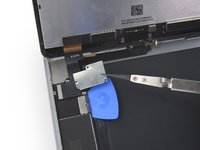
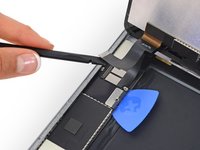
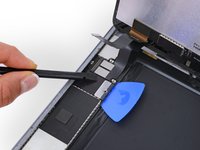
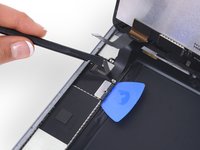
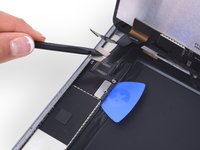
Slide a battery isolation pick underneath the battery connector area of the logic board, and leave it in place while you work.
-
Alternatively, make a battery blocker using a playing card and slide it underneath the logic board connector to disconnect the battery.
-


To reassemble your device, follow these instructions in reverse order.
To reassemble your device, follow these instructions in reverse order.
İptal et: Bu kılavuzu tamamlamadım.
5 farklı kişi bu kılavuzu tamamladı.

2Kılavuz Yorumları
Per separare il display con i plettri avete descritto 18 passaggi, ok, così anche i bambini capiscono.
Per isolare la batteria, cosa molta importante, avete descritto solo 2 passaggi in modo poco chiaro: non si capisce se il plettro è un plettro predisposto, se bisogna tagliarne uno e come si infila al di sotto del connettore senza fare danni.
Buongiorno!
Abbiamo un plettro predisposto: Battery Blocker
Poi grazie per l’osservazione! Hai ragione, le spiegazioni per isolare la batterie non erano esaustive, perciò la guida originale in inglese è stata adattata. La traduzione non era più attuale. L’abbiamo aggiornata. Nostro sito è un wiki che viene migliorato e completato continuamente. Così anche gli utenti hanno la possibilità di modificare direttamente le guide e di aiutarci a tradurle.
Buona riparazione!