Giriş
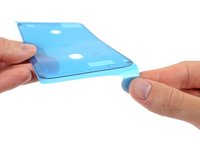
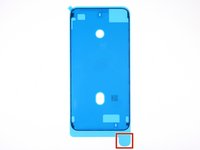
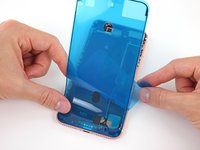
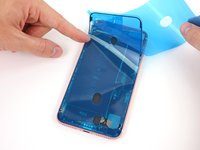
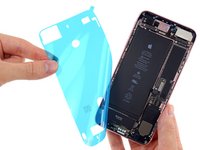
Use this guide to correctly apply replacement adhesive under your iPhone's display after a repair. Replacing the adhesive can help maintain your iPhone's water resistance. The pre-cut adhesive strips are very delicate and are easily damaged if not applied correctly, so you may want to have a spare on hand if following this guide for the first time.
Be sure you purchase adhesive that matches the color of your display to maintain the original look of the phone.
This procedure applies to iPhone models 6s and newer (earlier models don't use adhesive).
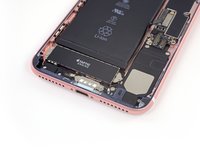
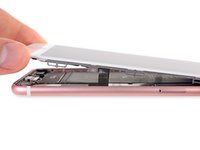
Before you begin, you should have already removed your iPhone's display assembly and set it aside. If not, return to your specific iPhones repair guide and follow it until you're ready to reinstall the display assembly.
Neye ihtiyacın var
Videoya Genel Bakış
-
Bu adımda kullanılan alet:Tweezers$4.99
-
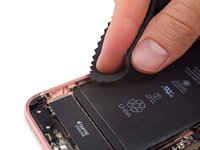
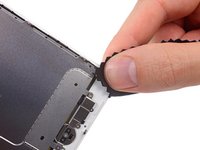
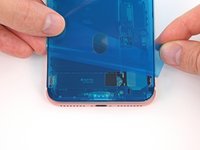
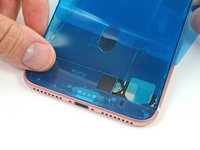
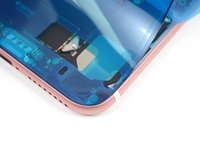
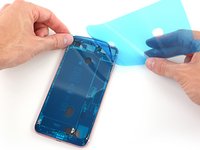
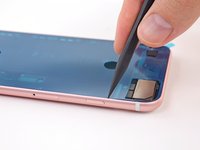
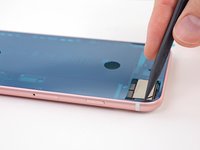
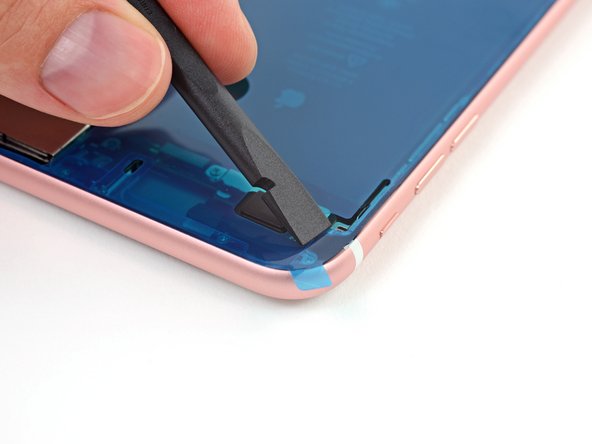
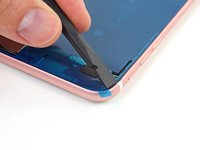
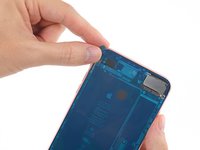
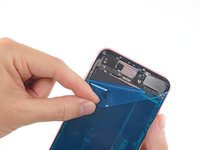
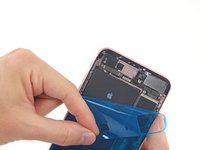
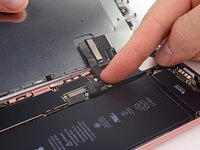
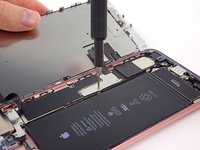
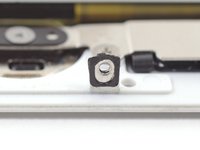
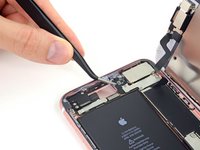
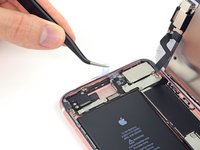
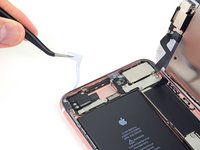
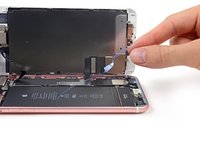
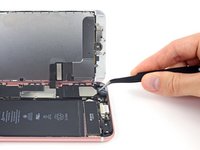
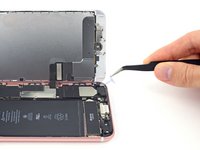
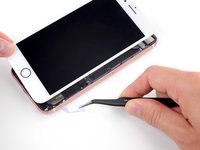
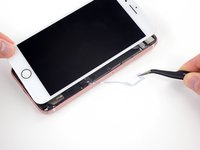
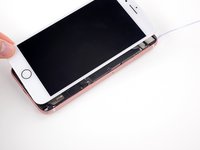
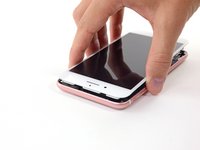
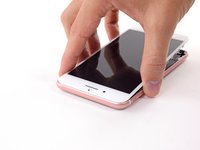
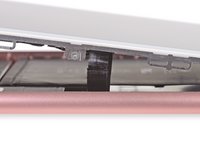
Begin by removing all the old display adhesive around the perimeter of your iPhone's case.
-
-
-
-
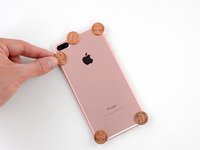
You can use coins of any denomination, so long as they are as thick or slightly thicker than the camera bump.
-
Place a coin at each corner of your iPhone, and place two coins on either side of the camera bump.
-
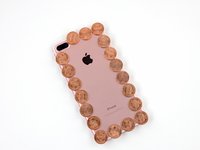
Place additional coins around the entire perimeter of your iPhone.
-
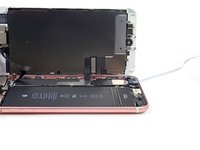
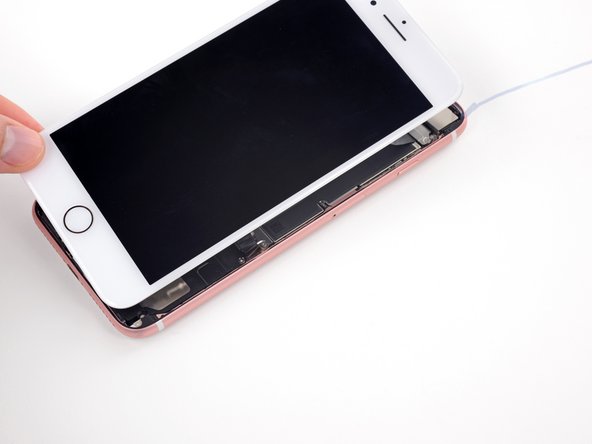
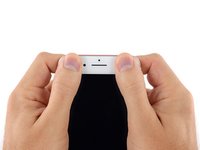
Using a hair dryer or heat gun, evenly heat the side edges all the way around the iPhone until they are slightly too hot to touch. The heat will help the adhesive form a more complete bond. Don't overheat the iPhone, or you may cause the battery to ignite or damage other heat-sensitive components, like the display.
-


İptal et: Bu kılavuzu tamamlamadım.
1063 farklı kişi bu kılavuzu tamamladı.


47 Yorum
I just bought few iPhone 7 adhesives from my supplier, and I noticed that the adhesive is not really fitting on the frame.
The iFixit shop pictures show us the iPhone 7 Plus adhesive for black color and the iPhone 7 adhesive for white color.
The iPhone 7 Plus seems to be more precise and correct than the iPhone 7 one : the iPhone 7 Plus one respect the screw hole at upper left corner for example, but the iPhone 7 one doesn’t, it has extra curves (same as iPhone 6s lower left corner) and it doesn’t take up the full width of the frame edge.
Can anyone show us the shape of an original adhesive from a brand new iPhone 7 to compare ?
This was the trickiest part of my screen replacement. Slim double sided adhesives always intimidate me because you only get one chance to line it up. I succeeded on my first attempt by following this guide and taking my time to line up the first edge as best as I could. The sides are the hardest part as they are very thin and I almost failed getting them lined up. Luckily I hadn’t pressed them down and was able to correct my alignment. Good preperation of the phone by removing the old adhesive completely and cleaning the area is my number one recommendation.
Adhesive makes everything harder. I chose to replace the adheasive on my 6s plus during a battery replacement, and it was easily the hardest part. No fault of Ifixit or this guide… the instructions above are spot on. But the cleaning of the adheasive takes forever, easily tripled my total repair time. And its really, really nerve racking to place the new adheasive. I do stuff like that all the time, but this was nuts. The strips are so tiny and delicate! Be really, really careful and take your time. This earns its “moderate” difficulty and then some.
wow that was hard to get in place. clean the edges well and use isopropyl alcohol. also practice a lot before removing the cover protection.
am working on this now