Giriş
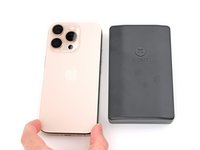
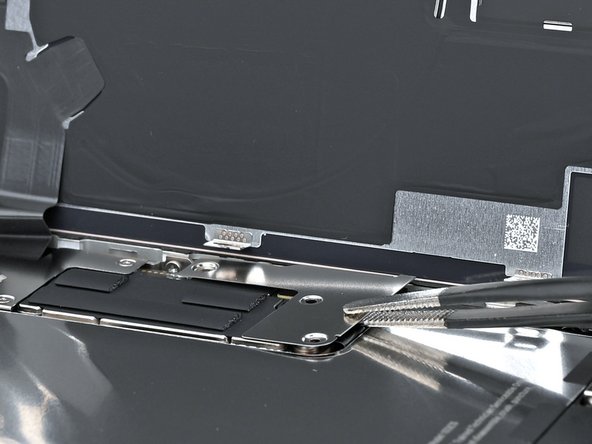
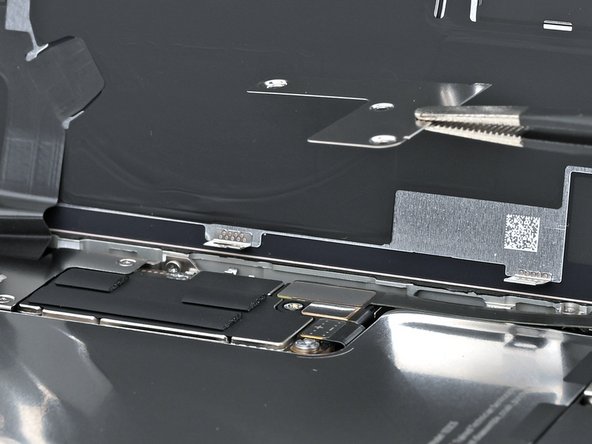
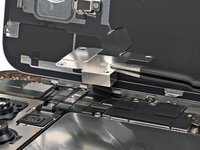
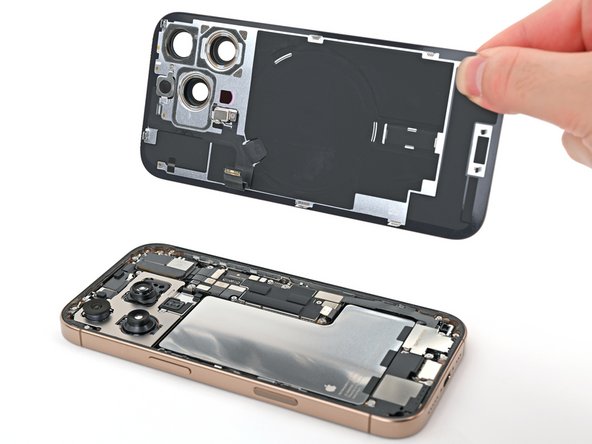
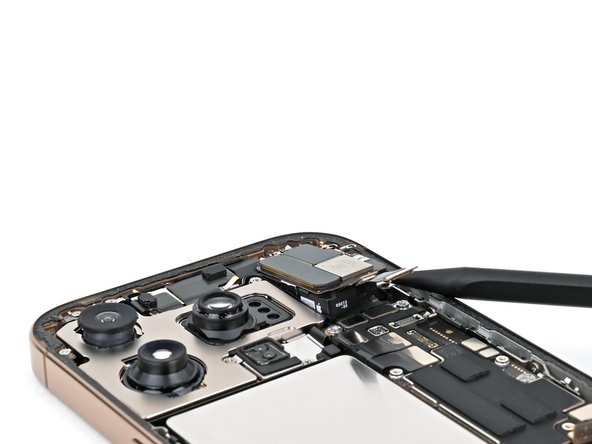
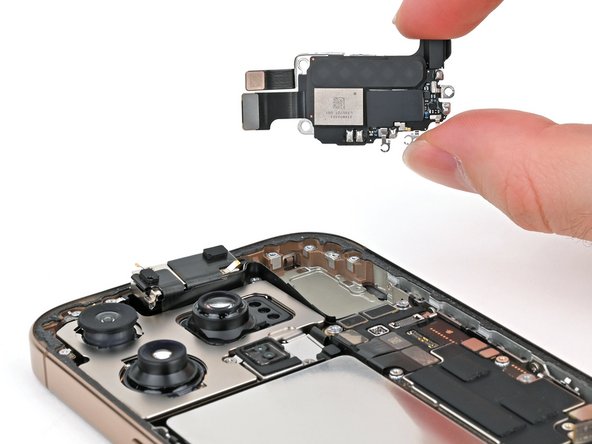
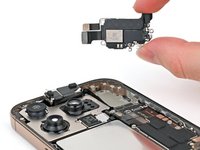
Follow this guide to replace the earpiece speaker in your iPhone 16 Pro.
You may need to replace your earpiece speaker if the sound coming through your iPhone's top speaker, especially during phone calls, is faint or crackling.
You'll need replacement back glass adhesive to complete this repair. If your phone includes a 5G mmWave antenna (USA models only), you'll need replacement adhesive or thin, double-sided tape for it as well if your earpiece speaker doesn't include it.
Neye ihtiyacın var
-
-
Unplug any cables from your phone.
-
Hold the power and either volume buttons and slide to power off your phone.
-
-
-
If your screen or back glass is badly cracked, lay overlapping strips of packing tape over the glass to protect yourself and make disassembly easier.
-
-
-
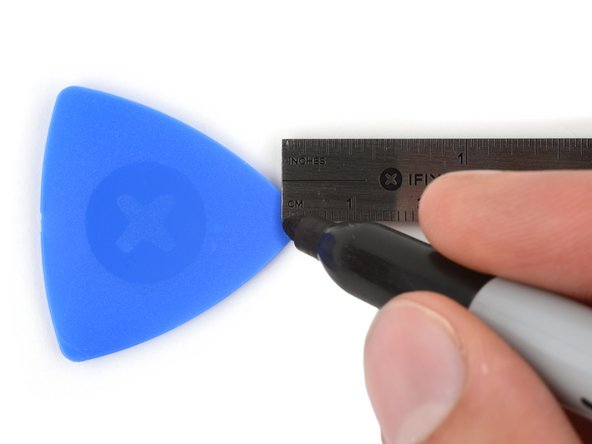
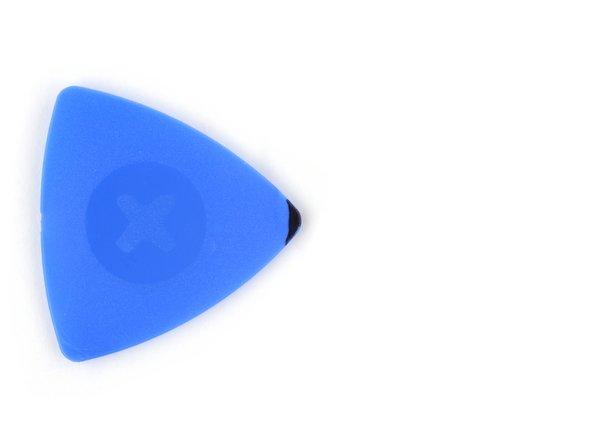
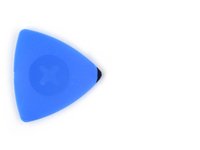
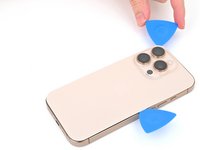
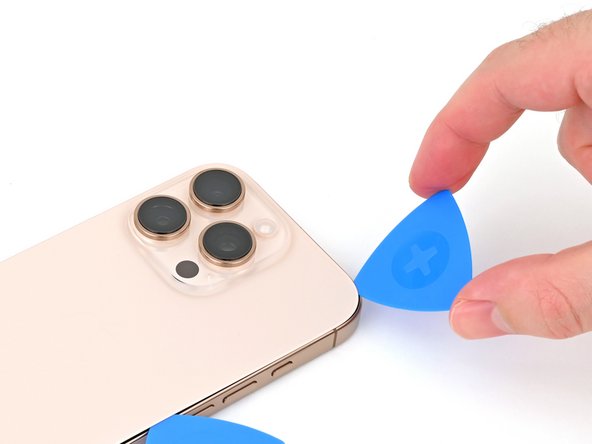
Measure 3 mm from the tip and mark the opening pick with a permanent marker.
-
-
-
Use a P2 pentalobe screwdriver to remove the two 7.4 mm‑long screws on either side of the USB-C port.
-
-
-
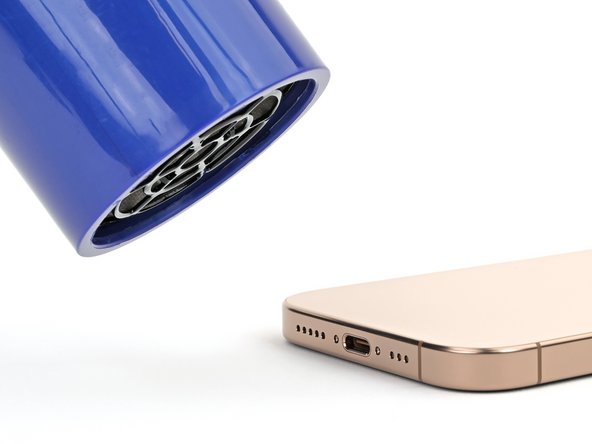
Apply a heated iOpener to the bottom edge of the back glass for two minutes.
-
-
-
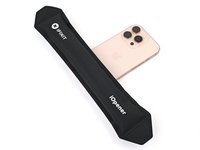
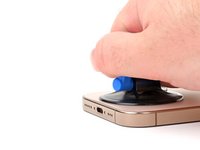
Apply a suction handle to the bottom edge of the back glass, above the USB-C port.
-
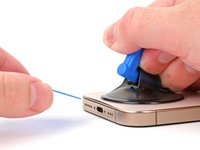
Pull up on the handle with a strong, steady force to create a gap between the back glass and the frame.
-
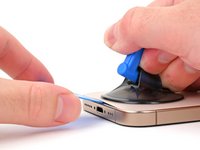
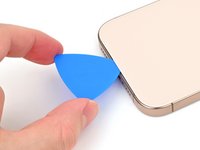
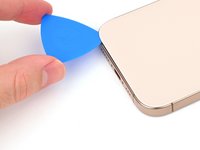
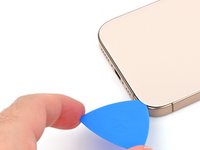
Insert the tip of an opening pick into the gap.
-
-
-
There's a delicate cable connecting the back glass to the phone, right next to the volume up button. Don't insert your pick here to avoid slicing the cable.
-
There are multiple spring contacts around the perimeter of the phone. Be extra careful not to insert your pick deeper than suggested in each step to avoid bending these contacts.
-
-
-
Slide your pick back and forth along the bottom edge to separate the adhesive.
-
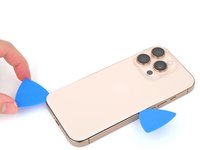
Leave your pick inserted in the bottom right corner to prevent the adhesive from resealing.
-
-
-
Apply a heated iOpener to the right edge of the back glass for two minutes.
-
-
-
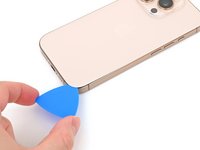
Slide your pick around the bottom right corner and halfway up the right edge, or until you feel a hard stop at a clip securing the back glass.
-
Leave this pick inserted to prevent the adhesive from resealing.
-
-
-
-
Apply a heated iOpener to the left edge of the back glass for two minutes.
-
-
-
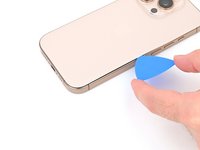
Insert a second opening pick at the bottom edge.
-
Slide the second pick around the bottom left corner and along the left edge of the screen to separate the adhesive and release the metal clips.
-
Leave this pick inserted at the top left corner to prevent the adhesive from resealing.
-
-
-
Apply a heated iOpener to the top edge of the back glass, angled to include the volume buttons, for two minutes.
-
-
-
Slide your opening pick across the top edge and around the top right corner to the volume up button to separate the adhesive.
-
-
-
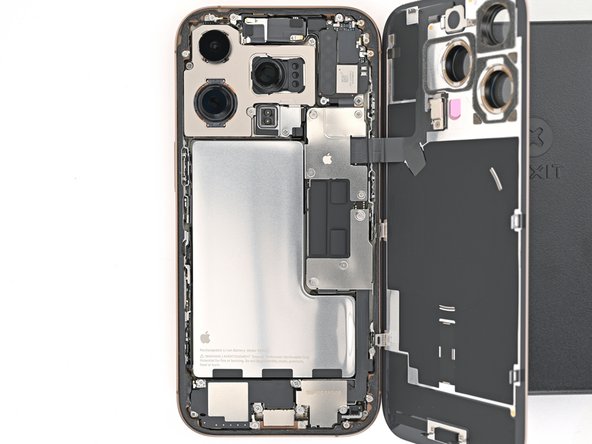
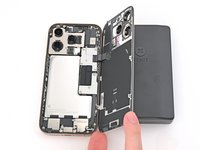
Gently swing open the back glass towards the volume buttons.
-
Support the back glass with a clean, sturdy object like a small box to avoid straining the cable.
-
Remove the opening picks.
-
-
-
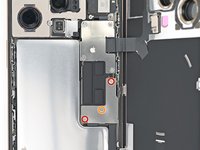
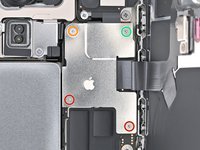
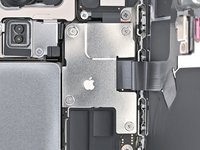
Use a tri-point Y000 screwdriver to remove the three screws securing the lower connector cover:
-
Two 1.2 mm‑long screws
-
One 1.0 mm‑long screw
-
-
-
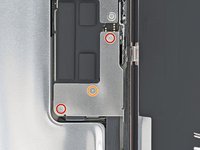
Use a tri-point Y000 screwdriver to remove the four screws securing the upper connector cover:
-
Two 1.0 mm‑long screws
-
One 1.2 mm‑long screw
-
One 1.6 mm‑long screw
-
-
-
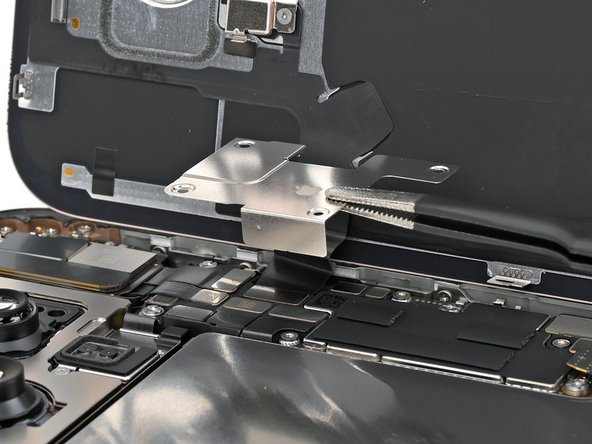
Lift the back glass off the frame and remove it.
-
This is a good point to test your repair before sealing up your phone. Temporarily reconnect the battery and back glass (before replacing the adhesive), power on your phone, and make sure it works as expected. Power it back down, disconnect the battery, and continue reassembly.
-
Use this guide to reapply adhesive and install your back glass.
-
-
-
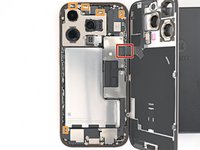
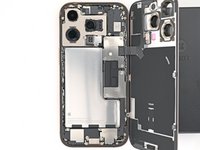
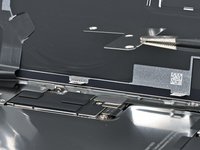
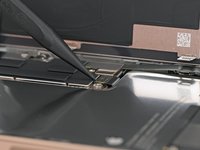
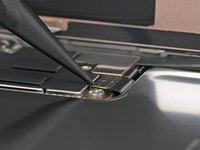
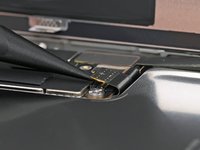
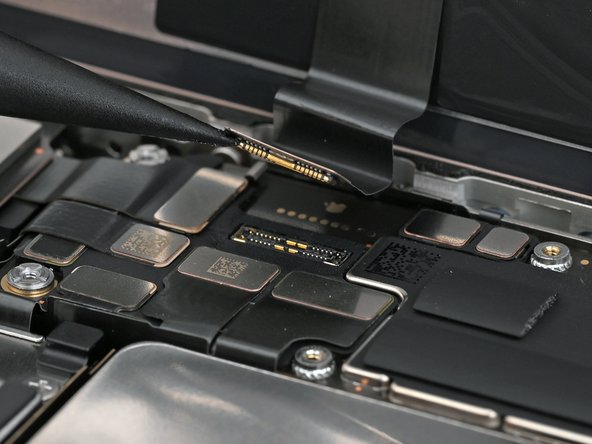
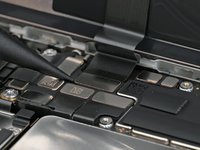
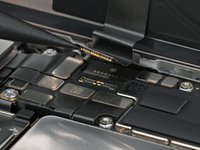
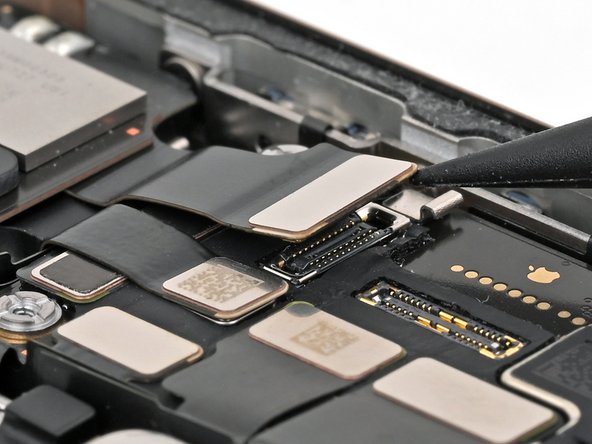
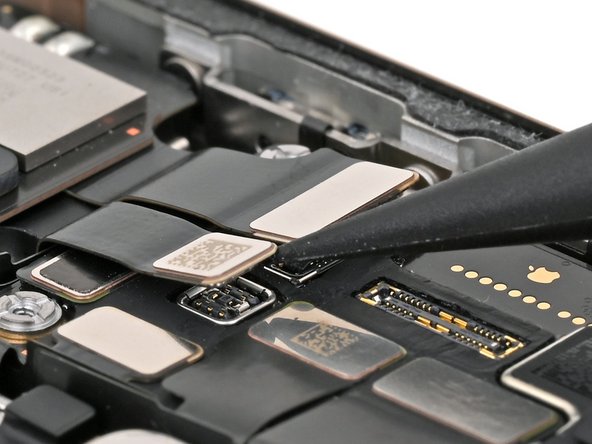
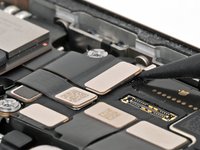
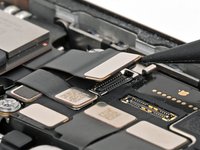
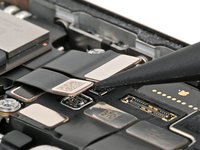
Use the point of a spudger to pry up and disconnect the earpiece speaker and 5G mmWave antenna press connectors, located on the top right corner of the logic board.
-
-
-
Use a Phillips screwdriver to remove the six screws securing the earpiece speaker:
-
Three 1.2 mm‑long screws
-
Two 1.8 mm‑long screws
-
One 1.7 mm‑long screw
-
-
-
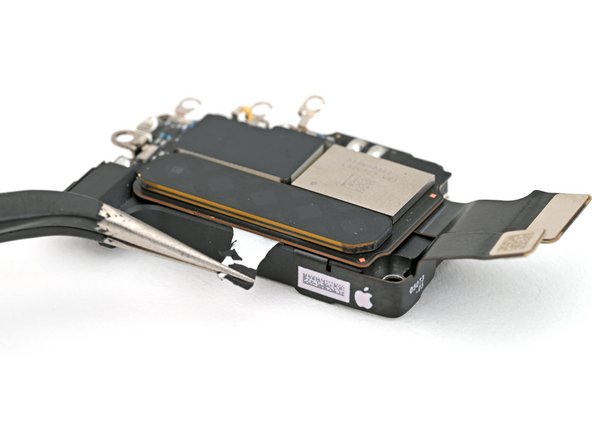
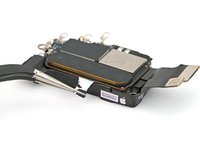
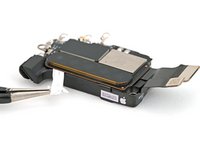
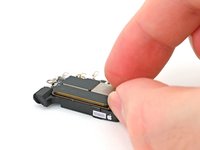
Use your tweezers to grab the stretch release adhesive pull tab, located on the edge of the 5G mmWave antenna.
-
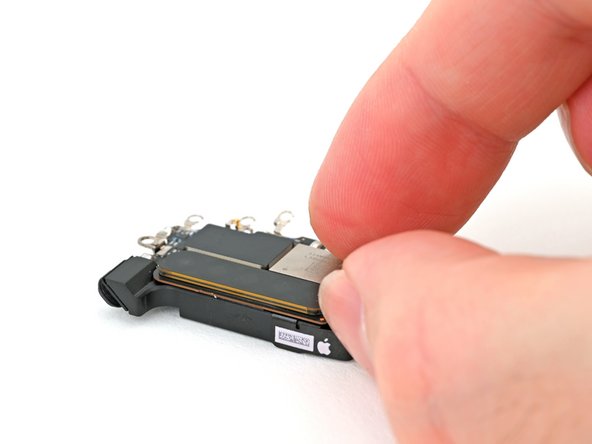
Use your tweezers to pull the stretch release adhesive strip out slowly and steadily at a low angle. Give it plenty of time to stretch and un-stick from under the antenna.
-
If the adhesive strip breaks off, try to retrieve it with your tweezers and continue pulling.
-
-
Bu adımda kullanılan alet:Tesa 61395 Tape$2.99
-
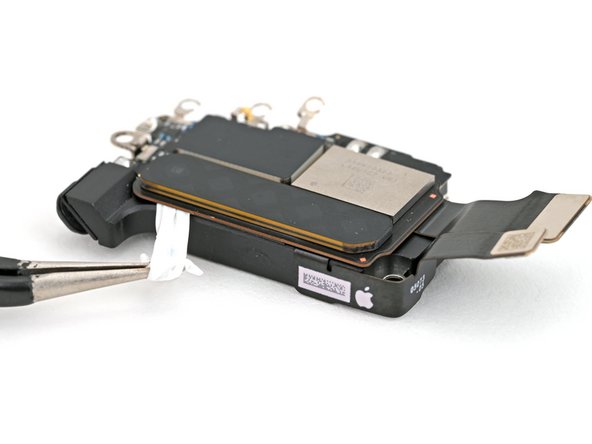
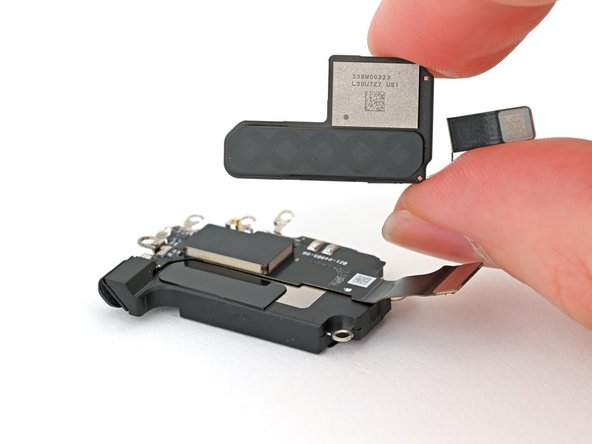
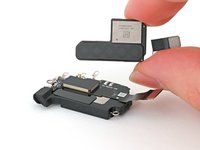
Lift the 5G mmWave antenna off the earpiece speaker and remove it.
-
Use tweezers or a spudger to remove the old adhesive from the top of the earpiece speaker and back of the antenna.
-
If your replacement part doesn't include new adhesive, use a 4 mm x 16 mm strip and pre-cut square of thin, double-sided tape to secure the antenna to the earpiece speaker.
-
Press the antenna onto the earpiece speaker to adhere it.
-
-
-
Only the earpiece speaker remains for replacement.
-
To reassemble your iPhone, follow these instructions in reverse order.
Take your e-waste to an R2 or e-Stewards certified recycler.
Repair didn’t go as planned? Try some basic troubleshooting, or ask our iPhone 16 Pro Answers Community for help.
To reassemble your iPhone, follow these instructions in reverse order.
Take your e-waste to an R2 or e-Stewards certified recycler.
Repair didn’t go as planned? Try some basic troubleshooting, or ask our iPhone 16 Pro Answers Community for help.


