Giriş
Prerequisite guide to remove the front camera assembly in an iPhone 16 Pro.
Neye ihtiyacın var
-
-
Unplug any cables from the phone.
-
Hold the power and either volume buttons and slide to power off the phone.
-
-
-
If the screen or back glass is badly cracked, lay overlapping strips of packing tape over the glass to protect yourself and make disassembly easier.
-
-
-
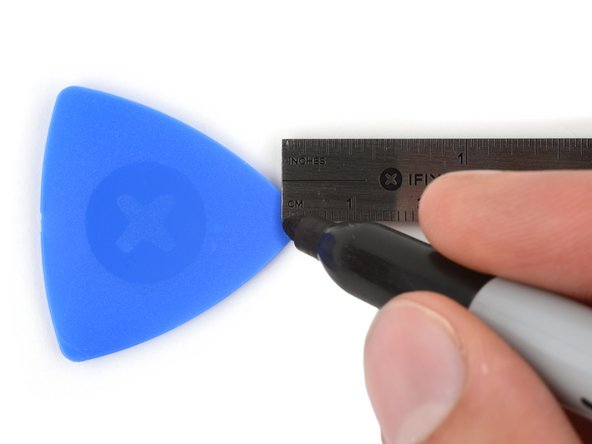
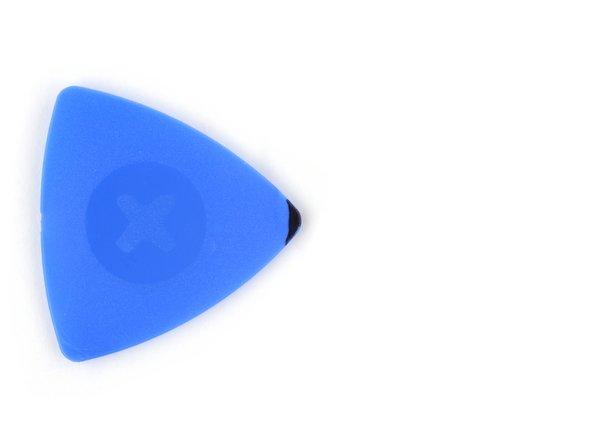
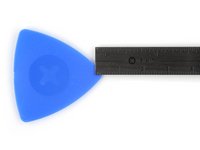
Measure 3 mm from the tip and mark the opening pick with a permanent marker.
-
-
-
-
Use a P2 pentalobe screwdriver to remove the two 7.4 mm‑long screws on either side of the USB-C port.
-
-
-
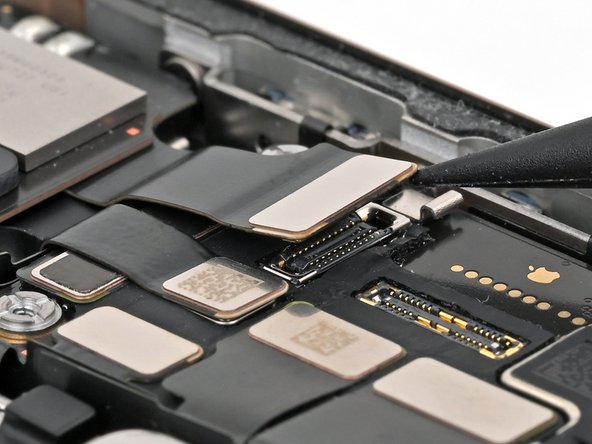
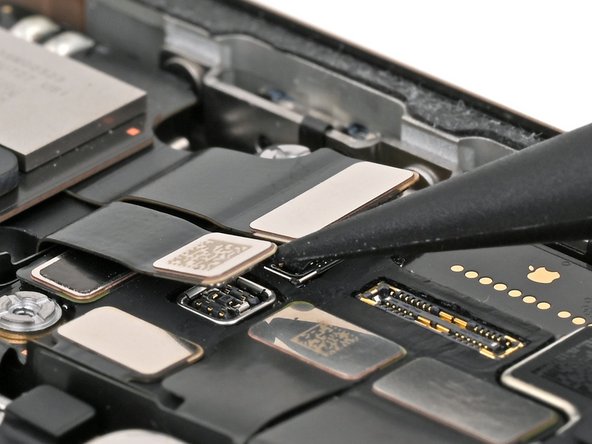
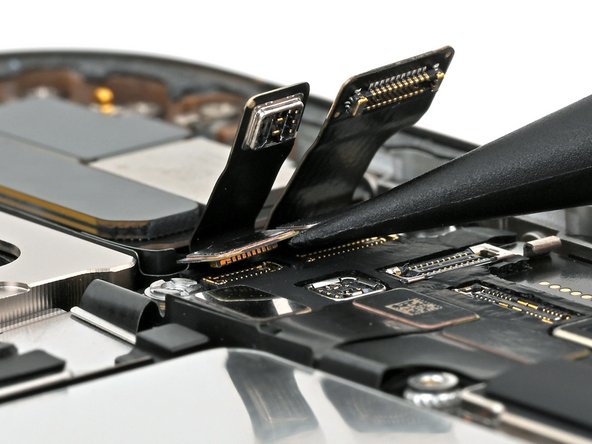
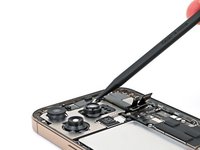
Use the point of a spudger to pry up and disconnect the earpiece speaker and 5G mmWave antenna press connectors, located on the top right corner of the logic board.
-
-
-
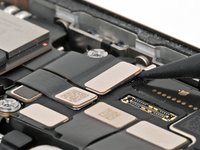
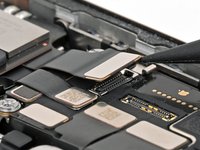
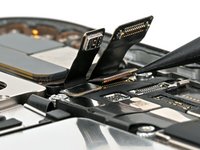
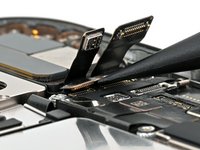
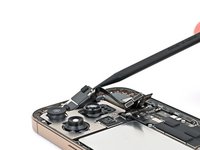
Use the point of a spudger to pry up and disconnect the two front camera assembly press connectors underneath the previous two.
-
-
-
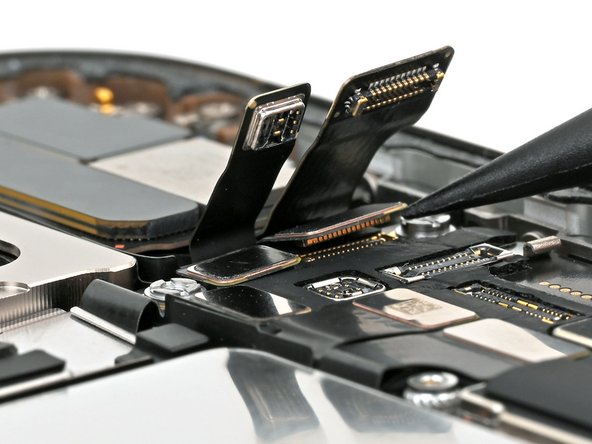
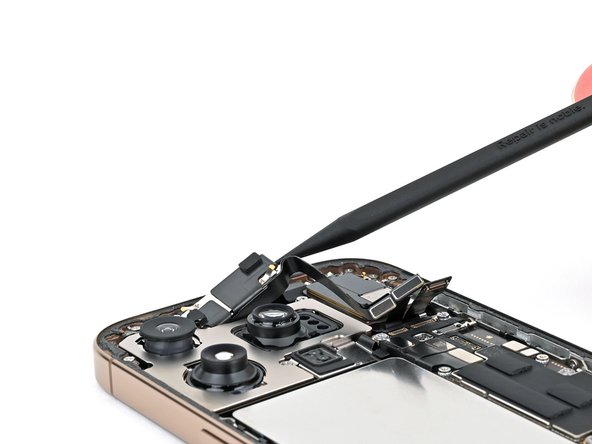
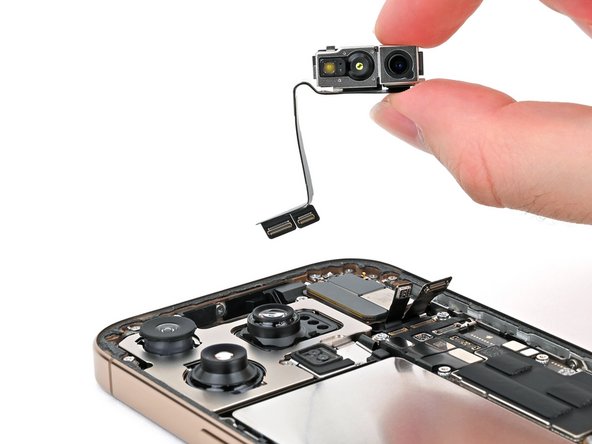
Use a spudger or your fingers to pick up the front camera assembly and remove it from the phone.
-


To reassemble your iPhone, follow this guide in reverse order.
After your repair, calibrate a genuine replacement front camera assembly using Apple's Repair Assistant. Navigate to Settings → General → About → Parts & Service History, tap Restart & Finish Repair, and follow the onscreen prompts.
Take your e-waste to an R2 or e-Stewards certified recycler.
Repair didn’t go as planned? Try some basic troubleshooting, or ask our iPhone 16 Pro Answers Community for help.

