Giriş
Use this guide to replace the front-facing camera and sensor assembly.
Neye ihtiyacın var
-
-
Power off your iPhone before beginning disassembly.
-
Remove the two 3.6 mm P2 Pentalobe screws next to the Lightning connector.
-
-
Bu adımda kullanılan alet:Clampy - Anti-Clamp$24.95
-
Pull the blue handle backwards to unlock the Anti-Clamp's arms.
-
Slide the arms over either the left or right edge of your iPhone.
-
Position the suction cups near the bottom edge of the iPhone just above the home button—one on the front, and one on the back.
-
Squeeze the cups together to apply suction to the desired area.
-
-
-
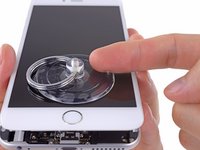
Use a single suction cup to lift the front panel:
-
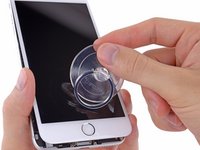
Press a suction cup onto the screen, just above the home button.
-
-
-
While holding the iPhone down with one hand, pull up on the suction cup to slightly separate the front panel assembly from the rear case.
-
Using a plastic opening tool, begin to gently pry the rear case down, away from the display assembly, while continuing to pull up with the suction cup.
-
-
-
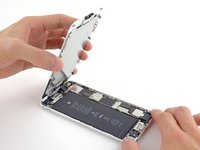
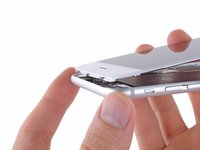
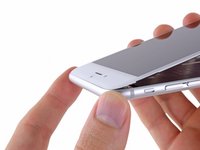
Pull the home button end of the front panel assembly away from the rear case, using the top of the phone as a hinge.
-
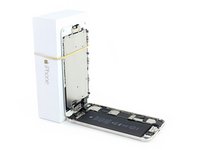
Open the display to about a 90º angle, and lean it against something to keep it propped up while you're working on the phone.
-
Add a rubber band to keep the display securely in place while you work. This prevents undue strain on the display cables.
-
-
-
-
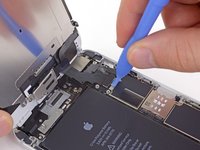
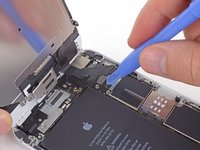
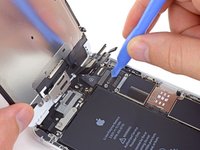
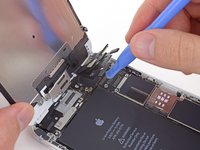
Remove the following Phillips screws securing the upper component bracket:
-
One 1.5 mm screw
-
Two 2.3 mm screws
-
-
-
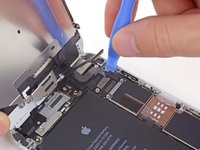
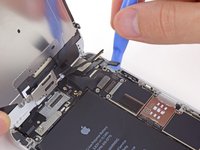
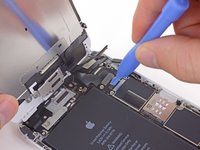
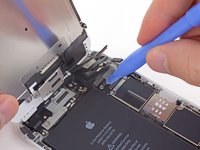
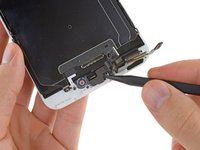
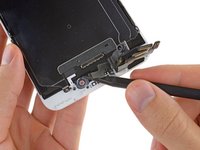
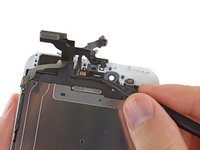
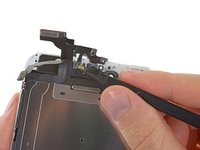
Use the tip of a spudger to gently pry up the sensor cable assembly from its recess in the display assembly.
-
To reassemble your device, follow these instructions in reverse order.
To reassemble your device, follow these instructions in reverse order.
İptal et: Bu kılavuzu tamamlamadım.
126 farklı kişi bu kılavuzu tamamladı.
13Kılavuz Yorumları
My front microphone had completely stopped working exactly a week out of warranty. I replaced the front assembly with a new one from Fixit and afterwards it still did not work. Then I realized the microphone did pick up very soft sound if I shouted directly into it. I eventually repeated the entire disassembly and found a very thin yellow film glued to the microphone grill which had been muffling 97% of the sound. After peeling this off my microphone is working perfectly! I did not notice this on the microphone the first time and assume it was the backing for the self adhesive. Make sure you remove this - it is not obvious to spot!
Fantastic instructions! fixed my problem first time. Just be patient and try not to touch anything to roughly. Thanks for the tip from a previous comment saying to remove the yellow piece of film over the microphone. This saved me a lot of hassle. Thanks
Glad to have siri, dictation, sound in videos and hansfree calls back :)
Is the picture quality the same


