Ana içeriğe geç

Reemplazo del panel frontal iPad 4G

Uyarı: Ön koşul olan bir kılavuzu düzenliyorsunuz. Yapacağınız herhangi bir değişiklik bu adımın yer aldığı bütün 153 kılavuzları etkileyecektir.

Adım 21 çevriliyor

İngilizce
İspanyolca
Adım 21
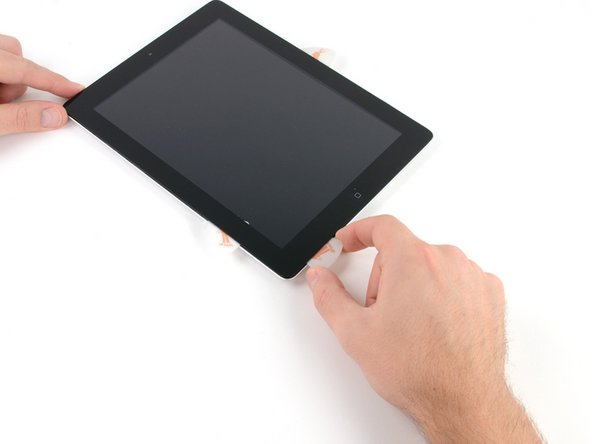
Removing iPad 3 4G Front Panel: adım 0, 2 resimden 1. Removing iPad 3 4G Front Panel: adım 0, 2 resimden 2.
  • Using the opening pick that is still underneath the bottom edge of the iPad, release the adhesive along the bottom left corner.

  • The bottom of the digitizer cable is only ~1" (25 mm) from the bottom of the iPad. Work carefully and slowly, making sure to not sever this cable.

Con la púa de apertura que todavía está debajo del borde inferior del iPad, suelta el adhesivo en la esquina inferior izquierda.

La parte inferior del cable del digitalizador está a sólo 25 mm de la parte inferior del iPad.Trabajar con cuidado y poco a poco, asegurándose de no cortar este cable.

Katkılarınız, açık kaynak Creative Commons lisansı altında lisanslanmaktadır.