Ana içeriğe geç

Reemplazo del panel frontal iPad 4G

Uyarı: Ön koşul olan bir kılavuzu düzenliyorsunuz. Yapacağınız herhangi bir değişiklik bu adımın yer aldığı bütün 153 kılavuzları etkileyecektir.

Adım 22 çevriliyor

İngilizce
İspanyolca
Adım 22
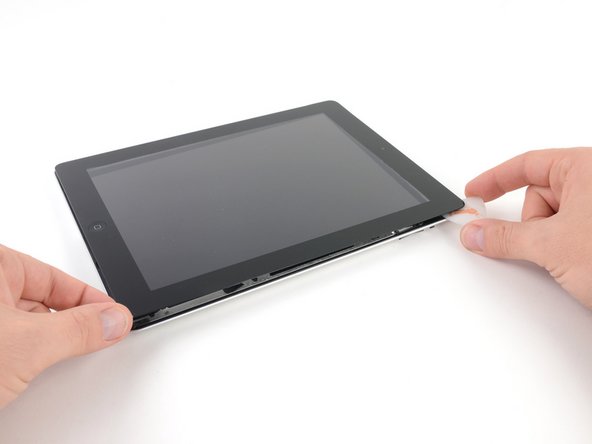
Removing iPad 3 4G Front Panel: adım 0, 2 resimden 1. Removing iPad 3 4G Front Panel: adım 0, 2 resimden 2.
  • Using one of the opening picks, pry up the bottom right corner of the iPad and grab it with your fingers.

  • Some of the adhesive along the perimeter of the iPad may have stuck back down again. If this is the case, slide a pick underneath the edge of the iPad where the front glass is still stuck and "cut" the adhesive.

Usando uno de los picos de apertura, levante la esquina inferior derecha del iPad y agárrelo con los dedos.

Algo del adhesivo a lo largo del perímetro del iPad puede haber caído de nuevo. Si éste es el caso, deslice una selección debajo del borde del iPad donde el vidrio delantero todavía se pega y "corte" el pegamento.

Katkılarınız, açık kaynak Creative Commons lisansı altında lisanslanmaktadır.