Uyarı: Ön koşul olan bir kılavuzu düzenliyorsunuz. Yapacağınız herhangi bir değişiklik bu adımın yer aldığı bütün 3 kılavuzları etkileyecektir.
Adım 8 çevriliyor
Adım 8


-
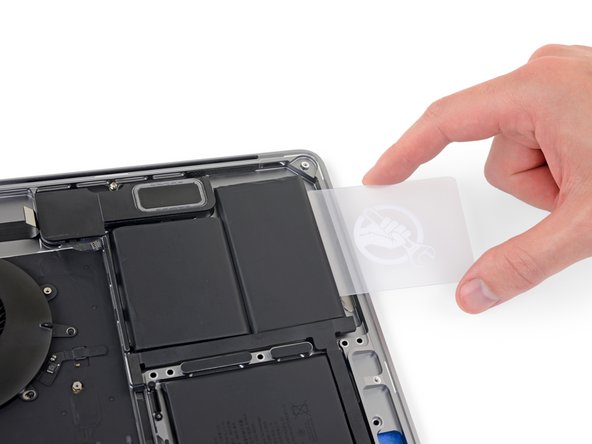
After a couple minutes, insert one corner of a plastic card underneath the battery, starting from the lower edge of the bottom, right-most cell.
-
Wiggle the card from side to side and slide it all the way underneath both battery cells.
-
Lift the cells to fully separate the adhesive, but don't try to remove them from your MacBook yet.
-
Leave the plastic card temporarily underneath the cells to prevent the adhesive from re-bonding as you proceed to the next step.
| - | [* black] After a couple minutes, insert one corner of a plastic card underneath the battery, starting from the lower edge of the bottom, right-most cell. |
|---|---|
| + | [* black] After a couple minutes, insert one corner of a [product|IF145-101|plastic card] underneath the battery, starting from the lower edge of the bottom, right-most cell. |
| [* icon_caution] This shouldn't require much force. If you have trouble, apply more adhesive remover and give it 2-3 additional minutes to penetrate. | |
| [* icon_caution] Try not to deform the battery. A damaged or punctured battery can leak dangerous chemicals and/or catch fire. | |
| [* black] Wiggle the card from side to side and slide it all the way underneath both battery cells. | |
| [* black] Lift the cells to fully separate the adhesive, but don't try to remove them from your MacBook yet. | |
| [* black] Leave the plastic card temporarily underneath the cells to prevent the adhesive from re-bonding as you proceed to the next step. |
Katkılarınız, açık kaynak Creative Commons lisansı altında lisanslanmaktadır.