Uyarı: Ön koşul olan bir kılavuzu düzenliyorsunuz. Yapacağınız herhangi bir değişiklik bu adımın yer aldığı bütün 3 kılavuzları etkileyecektir.
Adım 14 çevriliyor
Adım 14


-
Lift and remove the battery.
-
Peel off any large strips of adhesive using tweezers or gloved fingers.
-
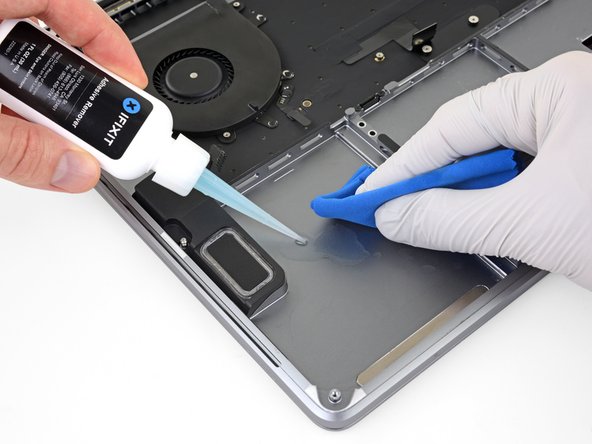
Scrape away any remaining chunks of adhesive with a plastic tool, and clean the underlying areas with adhesive remover or isopropyl alcohol. Wipe in one direction (not back and forth) until the chassis is clean and ready for your new battery.
| [* black] Lift and remove the battery. | |
| [* icon_reminder] Before installing a new battery, remove all remaining adhesive from the MacBook Pro's case. | |
| - | [* black] Peel off any large strips of adhesive using tweezers or gloved fingers. |
| + | [* black] Peel off any large strips of adhesive using [product|IF145-020|tweezers] or gloved fingers. |
| [* black] Scrape away any remaining chunks of adhesive with a plastic tool, and clean the underlying areas with adhesive remover or isopropyl alcohol. Wipe in one direction (not back and forth) until the chassis is clean and ready for your new battery. | |
| [* icon_note] This can take quite a bit of work, so be patient. |
Katkılarınız, açık kaynak Creative Commons lisansı altında lisanslanmaktadır.