Adım 9 çevriliyor
Adım 9


Re assemble
-
Push the board back into the case. Make sure the back USB and micro SD card flaps are attached. Check you can open the flaps when the board is pushed in.
-
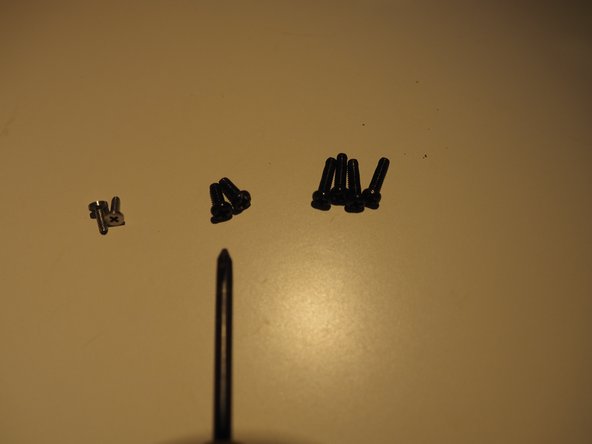
The smallest single black screw goes in the back
-
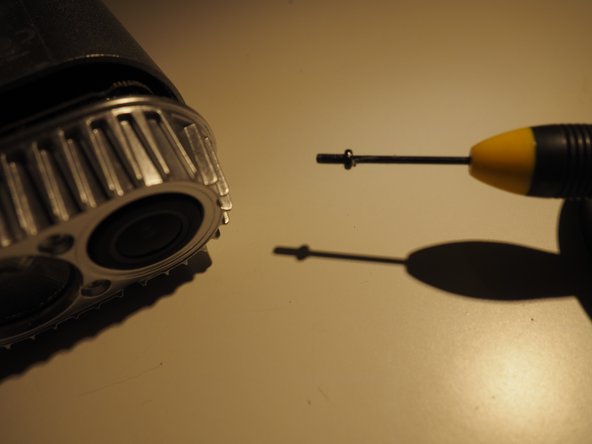
The two small black screws hold the battery in. I used a bit of blue tack to hold onto the screwdriver.
-
One screw is tight to get in. I used a small flat bladed screwdriver held at an angle
Katkılarınız, açık kaynak Creative Commons lisansı altında lisanslanmaktadır.