Ana içeriğe geç

Sustitución de las Tiras Adhesivas del iMac Intel 27" 2012-2019

Uyarı: Ön koşul olan bir kılavuzu düzenliyorsunuz. Yapacağınız herhangi bir değişiklik bu adımın yer aldığı bütün 4 kılavuzları etkileyecektir.

Adım 17 çevriliyor

İngilizce
İspanyolca
Adım 17
iMac Intel 27" 2012-2019 Adhesive Strips Replacement: adım 0, 3 resimden 1. iMac Intel 27" 2012-2019 Adhesive Strips Replacement: adım 0, 3 resimden 2. iMac Intel 27" 2012-2019 Adhesive Strips Replacement: adım 0, 3 resimden 3.
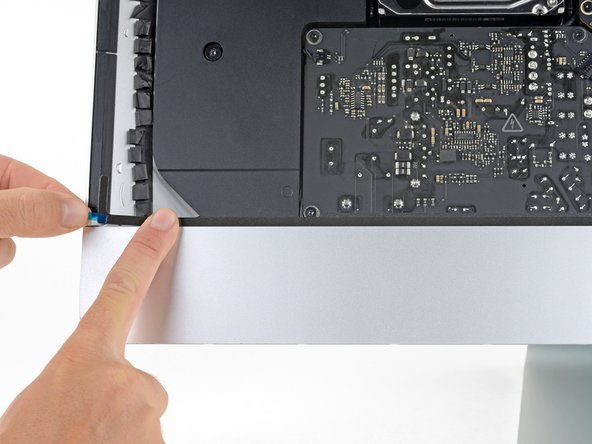
  • Repeat the previous steps for the bottom left adhesive strip (strip 26), aligning and placing it along the bottom left edge of the iMac.

  • The strip should be positioned such that the L-bend sits next to the left vertical adhesive. The L-bend should not overlap the left vertical adhesive.

  • Once you've applied all the adhesive strips, the iMac should look as shown in the second photo.

Repite los pasos anteriores para la tira adhesiva inferior izquierda (tira 26), alineándola y colocándola a lo largo del borde inferior izquierdo del iMac.

La tira debe colocarse de manera que la curva en L quede junto al adhesivo vertical izquierdo. La curva en L no debe superponerse al adhesivo vertical izquierdo

Una vez que hayas aplicado todas las tiras adhesivas, el iMac debería verse como se muestra en la segunda foto.

Katkılarınız, açık kaynak Creative Commons lisansı altında lisanslanmaktadır.