Ana içeriğe geç

CR-10S PRO Y Axis Linear Rail Kit Installation

İngilizce
Japonca
Adım 7
CR-10S PRO Y Axis Linear Rail Kit Installation, Y Carriage Plate install: adım 0, 3 resimden 1. CR-10S PRO Y Axis Linear Rail Kit Installation, Y Carriage Plate install: adım 0, 3 resimden 2. CR-10S PRO Y Axis Linear Rail Kit Installation, Y Carriage Plate install: adım 0, 3 resimden 3.
Y Carriage Plate install
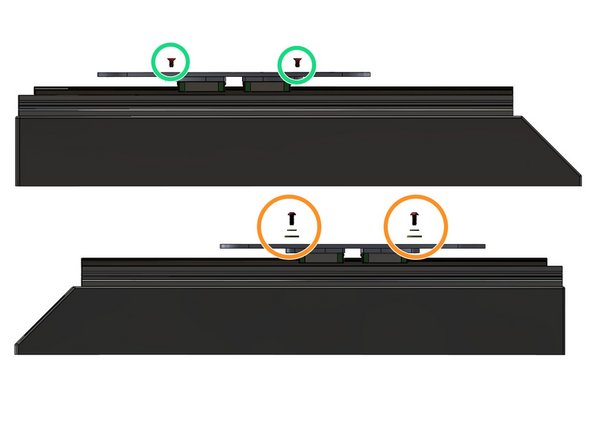
  • Belt mounting holes goes on the right side of the priter

  • Left side screws

  • Some early kits are drilled and taped for M5 Screws. The M4x8 FHCS is substituted for a M5x10 FHCS and the M4x10 BHCS substituted for M5x10 BHCS.

  • 2x M4x8 FHCS

  • Right screw stack order

  • M4x10 BHCS - M4 washer - M4 Large OD washer

  • Tightened the left side screws first

Çeviri buraya girin

Çeviri buraya girin

Çeviri buraya girin

Çeviri buraya girin

Çeviri buraya girin

Çeviri buraya girin

Çeviri buraya girin

Katkılarınız, açık kaynak Creative Commons lisansı altında lisanslanmaktadır.