Ana içeriğe geç

Right Joy-Con Teardown

Adım 23 çevriliyor

İngilizce
Fransızca
Adım 23
Right Joy-Con Teardown: adım 0, 3 resimden 1. Right Joy-Con Teardown: adım 0, 3 resimden 2. Right Joy-Con Teardown: adım 0, 3 resimden 3.
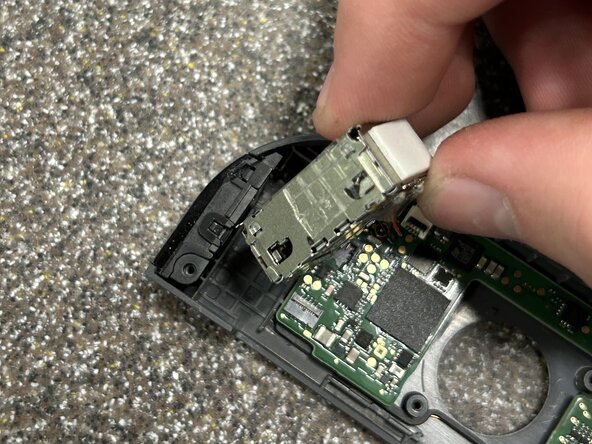
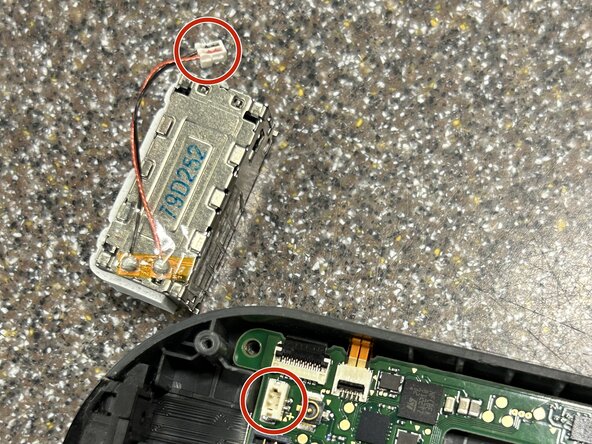
  • Remove the rumble pack by prying up on the corner next to where the rail once was with a spudger. Once out of its socket, use tweezers to pull the cable connector out of the socket. It is inserted quite firmly so be careful not to hurt the cable and use your fingernails if needed

  • There is some mild adhesive holding down the rumble pack so take care not to damage the rumble pack. Additionally, do not remove it fast enough to hurt one of its connecting cables if it suddenly breaks free

Çeviri buraya girin

Çeviri buraya girin

Katkılarınız, açık kaynak Creative Commons lisansı altında lisanslanmaktadır.