Ana içeriğe geç

Gateway SA1 Screen Replacement

İngilizce
Japonca
Adım 4
Gateway SA1 Screen Replacement: adım 0, 3 resimden 1. Gateway SA1 Screen Replacement: adım 0, 3 resimden 2. Gateway SA1 Screen Replacement: adım 0, 3 resimden 3.
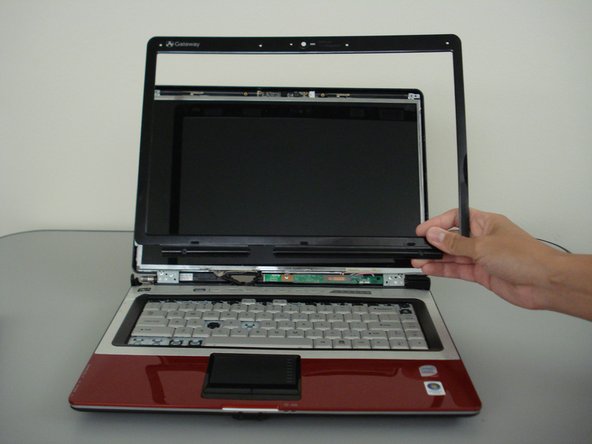
  • Remove the front bezel by prying it off with the wedged end of the spudger.

  • Verify that your spudger does not touch the LCD.

  • The screen inverter is now exposed below the LCD.

Çeviri buraya girin

Çeviri buraya girin

Çeviri buraya girin

Katkılarınız, açık kaynak Creative Commons lisansı altında lisanslanmaktadır.