Uyarı: Ön koşul olan bir kılavuzu düzenliyorsunuz. Yapacağınız herhangi bir değişiklik bu adımın yer aldığı bütün 4 kılavuzları etkileyecektir.
Adım 3 çevriliyor
Adım 3


-
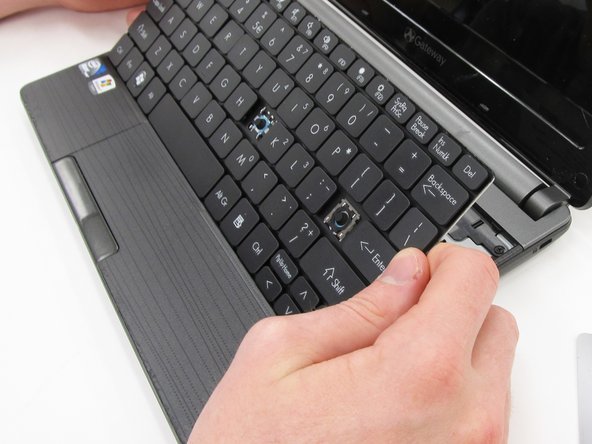
Begin to slide the plastic card under the top edge of the keyboard. You will hear popping sounds and the keyboard will eventually be released.
-
Carefully pry the keyboard from the main frame, starting at the top section.
| - | [* black] Begin to slide the plastic card under the top edge of the keyboard. You will hear popping sounds and the keyboard will eventually be released. |
|---|---|
| + | [* black] Begin to slide the [product|IF145-101|plastic card] under the top edge of the keyboard. You will hear popping sounds and the keyboard will eventually be released. |
| [* black] Carefully pry the keyboard from the main frame, starting at the top section. | |
| [* icon_note] Look at the intel sticker in this step and the next to orient your computer with the pictures. |
Katkılarınız, açık kaynak Creative Commons lisansı altında lisanslanmaktadır.