Ana içeriğe geç

iPhone 6s Lightning Connector Einheit austauschen

Adım 9 çevriliyor

İngilizce
Almanca
Adım 9
iPhone 6s Lightning Connector Assembly Replacement: adım 0, 3 resimden 1. iPhone 6s Lightning Connector Assembly Replacement: adım 0, 3 resimden 2. iPhone 6s Lightning Connector Assembly Replacement: adım 0, 3 resimden 3.
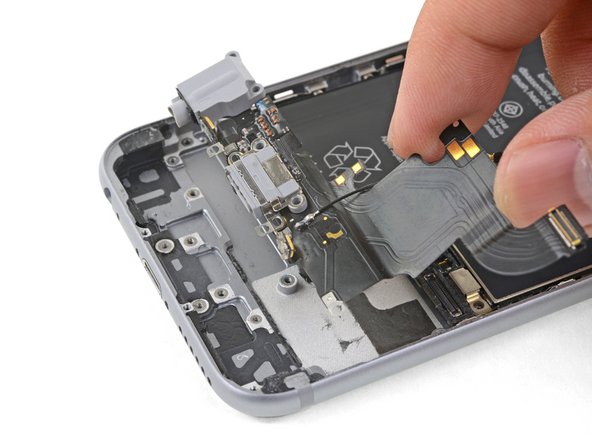
  • Remove the Lightning connector assembly.

  • If your replacement part does not come with a gasket, use tweezers to remove it from the old part and transfer it onto the replacement part.

  • Before installing or replacing the Lightning connector assembly, use a plastic tool to scour any bits of adhesive residue from the rear case behind the cable.

Entferne die Lightning Connector Einheit.

Wenn keine Dichtung mit deinem Ersatzteil mitgeliefert wurde, dann musst du sie mit einer Pinzette vom alten Teil auf das neue Ersatzteil übertragen.

Bevor du die Lightning Connector Einheit wieder einbaust oder austauschst, musst du mit einem Plastikwerkzeug jegliche Kleberreste vom Rückgehäuse hinter dem Kabel abschaben.

Katkılarınız, açık kaynak Creative Commons lisansı altında lisanslanmaktadır.