Ana içeriğe geç

Linksys WRT54G Teardown

İngilizce
Japonca
Adım 3
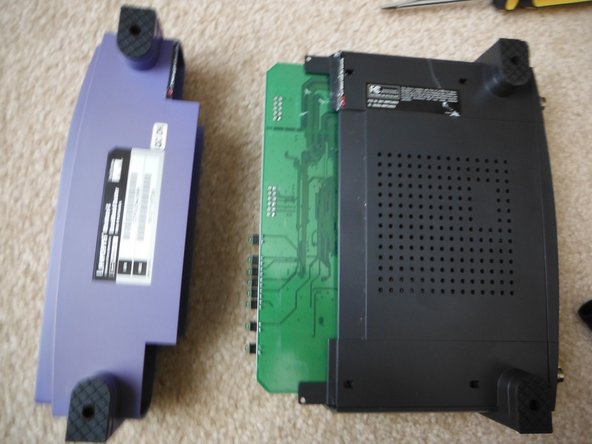
Linksys WRT54G Teardown, Front Panel Removal: adım 0, 3 resimden 1. Linksys WRT54G Teardown, Front Panel Removal: adım 0, 3 resimden 2. Linksys WRT54G Teardown, Front Panel Removal: adım 0, 3 resimden 3.
Front Panel Removal
  • Lets get into the internals! First, flip the unit over and insert a small flat-head screwdriver in between the warranty sticker and the front panel and gently pry it open.

  • Beware! It may take some effort to pry the panel off. Also, be careful not to damage the motherboard, like I did.

  • This will certainly void your warranty from 2002, in case you wanted to know.

Çeviri buraya girin

Çeviri buraya girin

Çeviri buraya girin

Katkılarınız, açık kaynak Creative Commons lisansı altında lisanslanmaktadır.