Uyarı: Ön koşul olan bir kılavuzu düzenliyorsunuz. Yapacağınız herhangi bir değişiklik bu adımın yer aldığı bütün 2 kılavuzları etkileyecektir.
Adım 11 çevriliyor


-
It's time to switch sides. Remove your book or foam block and place it under the opposite side of your MacBook Pro.
-
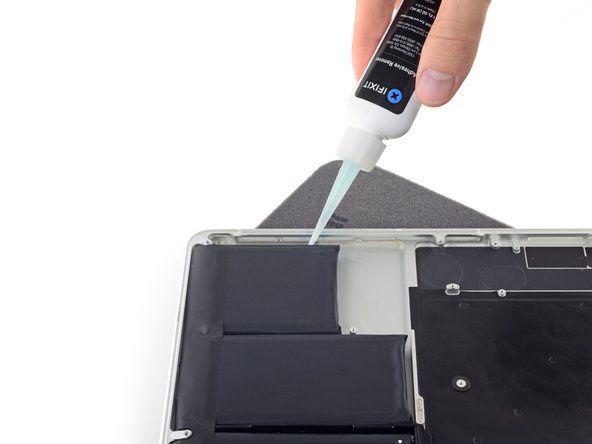
Repeat the procedure from the prior steps to separate the two battery cells on this side:
-
Apply your adhesive remover to the elevated edge of the outer battery cell, and wait 2-3 minutes for it to penetrate.
-
Work one corner of a plastic card underneath the battery cell, and slide the card fully underneath the battery cell to separate it.
-
Do the same for the adjacent cell.
-
Leave your plastic card in place or flip the battery cells over to prevent them from re-adhering during the following steps.
Katkılarınız, açık kaynak Creative Commons lisansı altında lisanslanmaktadır.