Giriş
1. adıma gitI will teach you how to dissemble this Router
Neye ihtiyacın var
Aletler


-
-
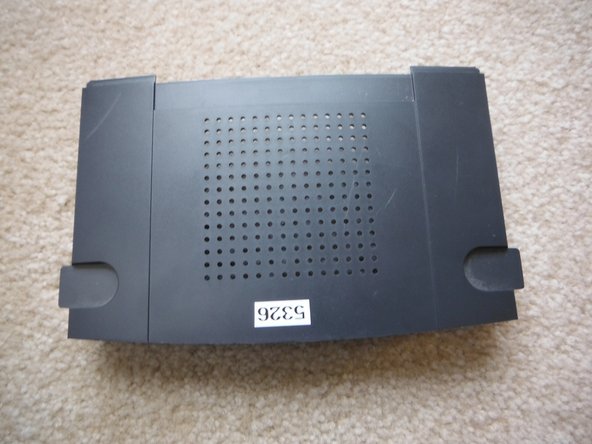
The Linksys WRT54G series is a series of Wi-Fi gateways manufactured by Linksys, a subsidiary of Cisco Systems.
-
-
-
Let's begin with the teardown! First, unscrew the antennas from the back of the router and set them aside.
-
-
-
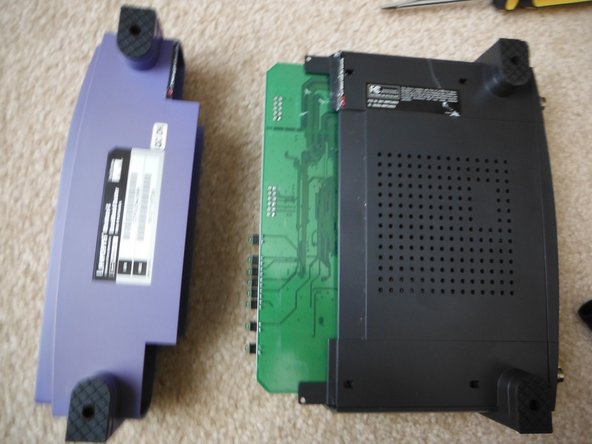
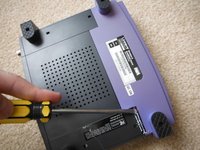
Lets get into the internals! First, flip the unit over and insert a small flat-head screwdriver in between the warranty sticker and the front panel and gently pry it open.
-
-
-
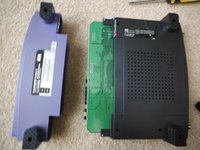
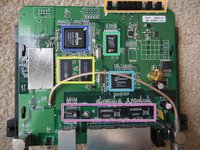
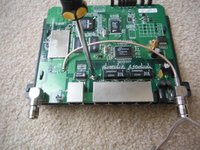
Now, slide the top plastic panel off and put it aside you now have a clear view of the motherboard.
-
Intel TE28F320 Flash Memory
-
Broadcom BCM4712KPB (I think it’s a modem chip)
-
Admtek ADM6996L Ethernet Controller
-
Activity LEDs
-
Issi 42S16400-6T Random Access Memory (unsure how much)
-
An assortment of other chips I couldn't find.
-
-
-
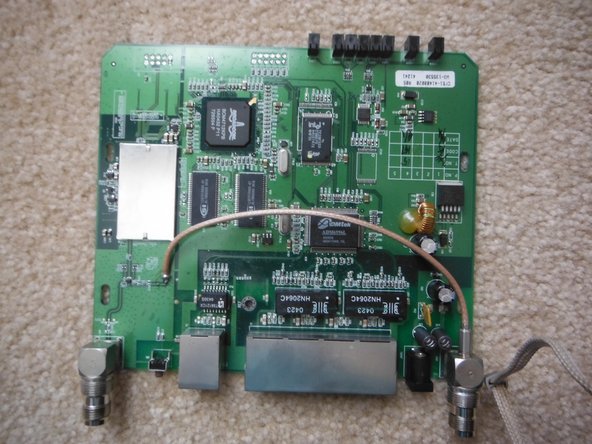
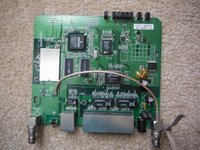
Time to remove the motherboard! Unscrew the single Phillips screw, slide the motherboard and then lift it out.
-
Single Phillips screw
-
Plastic slips holding the motherboard in place.
-
-
-
You're done! Thanks for sticking with me for my first teardown!
OK I followed the disassemble guide as suggested ..... now the bit with
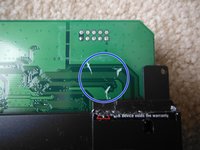
Step 3 Front Panel Removal I did it exactly and yeah I scratch the motherboard too!!!
But after more more looking when it was apart I found that there where screws in the front feet that held it on
Hmm, mine came apart with ease after a bit of prying. About the scratched Motherboard, in hindsight I should have used a plastic spudger. I have another one of these and will look into the thing with the feet and update if needed. Thanks!
Under the ruber feet on the blue plastic, there are two screws. You can insert a small screw driver into the hold on the feet, and lift it out. Then unscrew the screws instead of prying it.
You’re the second person to tell me this. I never saw any sort of screws like that. I have like 2 more of them so I’ll look into adding a step if necessary. Thanks for letting me know.
-


Ekip

2 Yorum
Thanks bud !!
Happened to get one of these from goodwill recently and wanted to take it apart to take a look. This was really helpful for doing that, deeply appreciate these teardown posts.