Giriş
1. adıma gitThe MakerBot Digitizer was a 2013 desktop 3D scanner aimed at the consumer and prosumer markets, providing an easy-to-use solution for creating digital models of real-world objects for 3D printing. In 2024, LiDAR technology is more readily available. Using photogrammetry and a turntable, one can achieve fantastic results with a mere phone. I cannibalized my Digitizer for its frame and stepper, using a Raspberry Pico W to control the Moons' stepper motor. This is how I took my Digitizer apart.
Neye ihtiyacın var


-
-
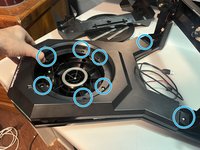
There are four black T15 screws that hold the front panel on.
-
Do not confuse these with the two laser adjustment screws.
-
The ones you need to loosen are perpendicular with the frame; not angled.
-
Once the screws are loosened, the front panel simply pulls off.
-
-
-
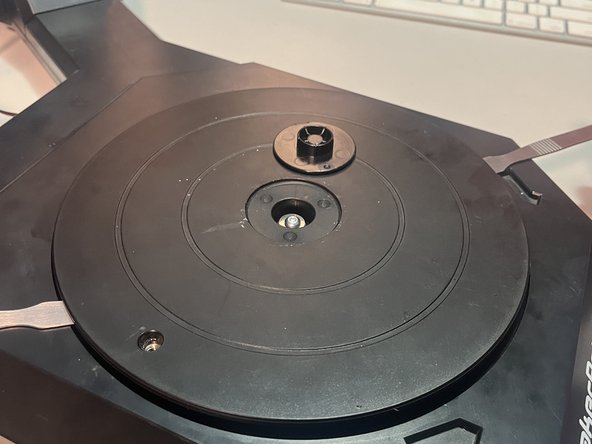
Pop the cap out with a flat pry tool.
-
Loosen the T15 screw. You don't need to remove it.
-
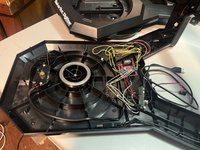
Pry on both sides of the turntable so that it comes up and out.
-
To reinstall it, make sure the motor-facing side goes in first, to make good contact with the stepper motor gear teeth.
-
If the stepper motor-facing side does not get reinstalled first, the table will not sit properly.
-
-
-
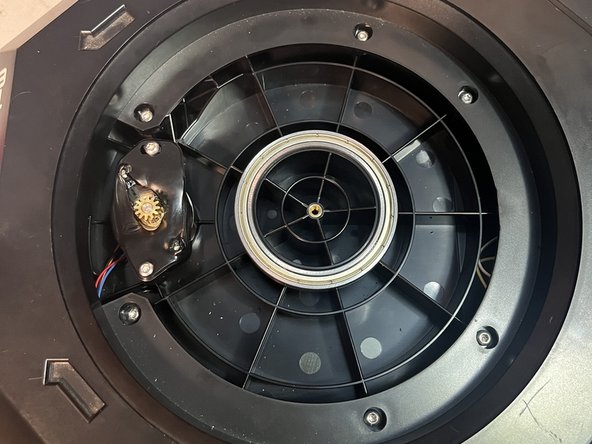
There are eight T15 screws holding the top panel in place.
-
Once these are all loosened, the top panel simply lifts off.
-
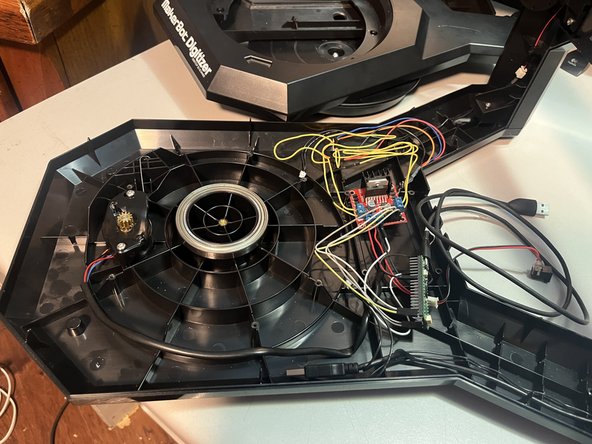
Your electronics will look different than mine. Everything should now be accessible.
-
-
-
Mine is a 'Moons 14HK2401-74N'.
-
The '74N' seems to indicate the voltage required, in this case, 12V.
-