Giriş
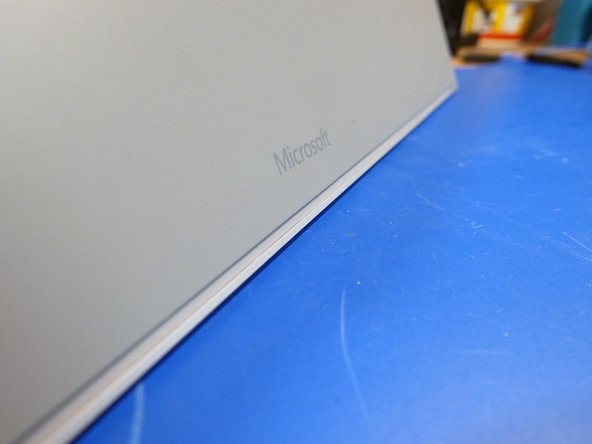
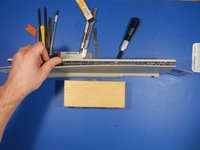
The surface keyboard is one of Microsoft's attempts at bringing a laptop-style keyboard to the desktop space. Originally introduced alongside the Surface Studio, this keyboard has been equally championed and hated by various technology reviewers. This teardown will provide some insight into the keyboard construction and Microsoft's design decisions.
Neye ihtiyacın var
-
-
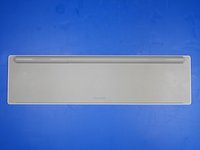
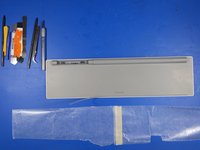
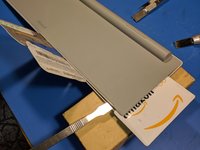
The box is a scaled representation of the product. It's pretty much spot on.
-
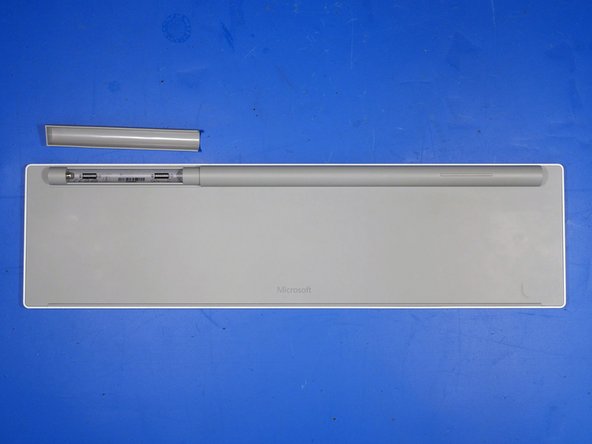
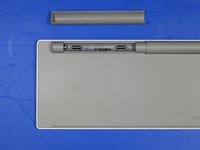
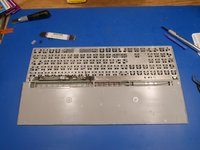
It's a box - no It's a keyboard - no it's a box...
-
-
-
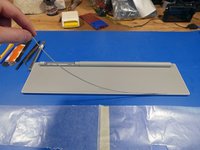
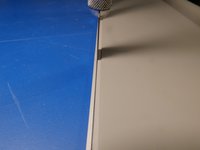
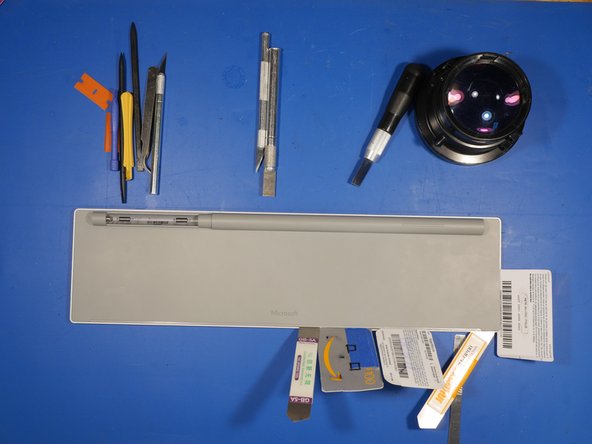
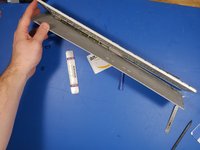
Before I tear apart a product, I like to take the time to analyze the exterior construction and overall build of the item. This gives me a better idea of how the product was assembled and mass produced.
-
The best way to do this is by looking for seams or imperfections in the build construction.
-
Does the part bow or flex when a small stress is applied? Are there any large gaps in the build? Are there any obvious stickers covering fasteners?
-
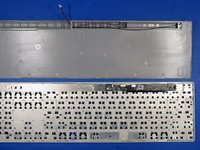
This is how I pictured the keyboard to be constructed in my head. I had a feeling that it was one gigantic glued and snapped together assembly, but I needed to verify that first.
-
-
-
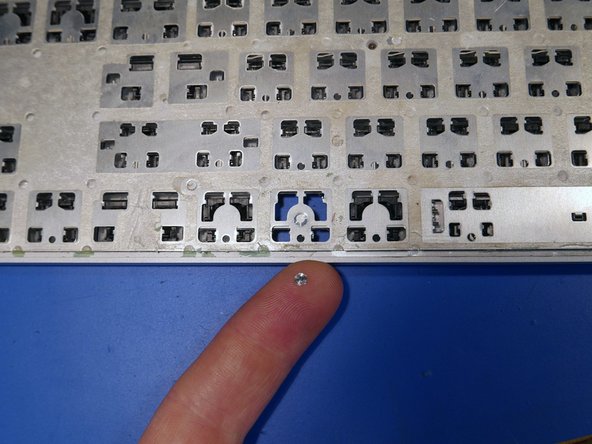
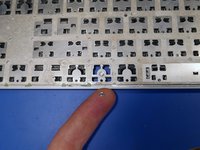
It would be quite underhanded to put screws under the keys. Luckily that is not the case here.
-
To remove a key, wedge a plastic spudger under the key from the top most edge. Apply a bit of downward pressure on the spudger to lift the key. The key should make popping sounds and unlatch from the metal clips underneath the key that hold it to the keyboard frame.
Yes. The keys reattach like most laptop keys. Align the key up as best as possible and then put a little downwards force, from bottom to top of the key. The key than latches into place and you will hear a “clicking sound.”
-
-
-
Bu adımda kullanılan alet:iOpener$17.99
-
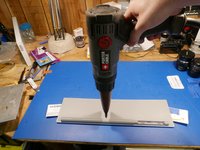
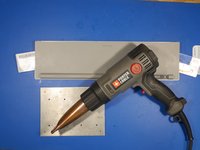
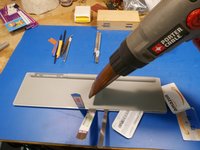
With the amount of double sided tape and glue inside this keyboard, it would be wise to use an iOpener tool or heatgun before beginning to pry open the keyboard.
-
I used a heatgun a bit later into the prying process because I was fearful of melting and deforming the back plastic of the keyboard. Luckily, adjusting the heatgun to its lowest setting activated the glue enough to become pliable.
-
-
Bu adımda kullanılan alet:Plastic Cards$2.99
-
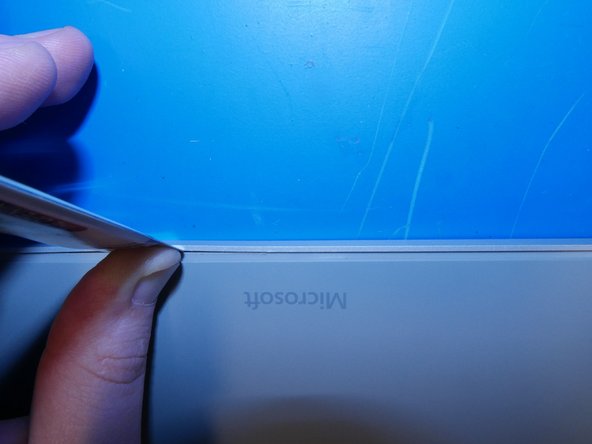
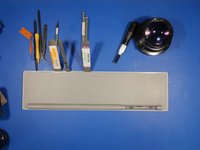
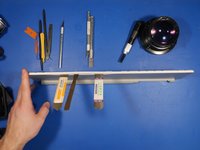
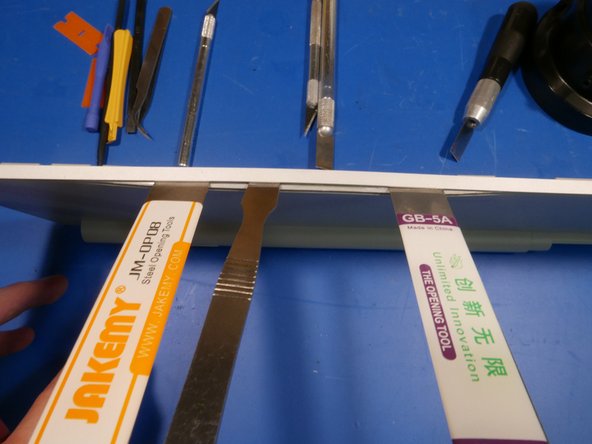
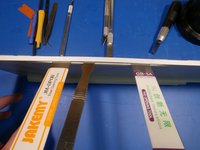
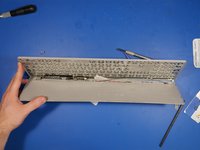
Now for the prying bit. Ready your barrage of prying tools! I used plastic spudgers, metal spudgers, plastic cards, and X-ACTO knifes to get this open.
-
The gap between the aluminum shell and plastic rear plate was so tight I had to use an X-ACTO knife with square-headed No. 18 Blade to widen the gap enough to slide in my metal spudger.
-
-
-
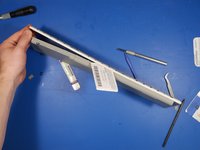
With a few more rounds of heat and prying I was finally getting somewhere.
How long did you need to leave the heat on one spot? I'm trying to open the Surface ergonomic keyboard and the glue still seems rock hard
Hi John. While I used a heatgun to open up this keyboard in this teardown, it’s very easy to deform the plastic permanently if you use too much heat. I had a lot better success in later teardowns with using a 115v medical blanket heater. You can find them at your local drug store like riteaid and walgreens. The heaters are designed to wrap around a body part, like an arm. In this case, you literally just wrap the keyboard and it softens up the glue. After an hour or so, take the keyboard out of the blanket heater and torque it a bit either way. You should hear popping sounds, the sounds of the edges yielding. At this point, take a plastic spudger, insert it near the edge and pry a bit. The keyboard should give in and you should be able to disassemble the keyboard in a very clean manner. I did this with the microsoft modern keyboard and it worked great. It even fit right back together. I will be making a guide soon on the process.
-
-
-
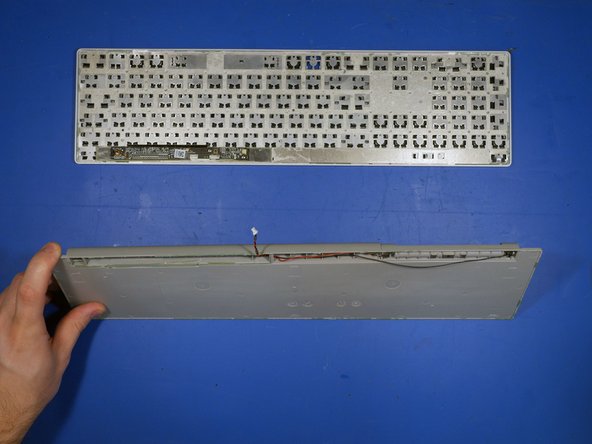
The two main halves started to separate with some persuasion.
-
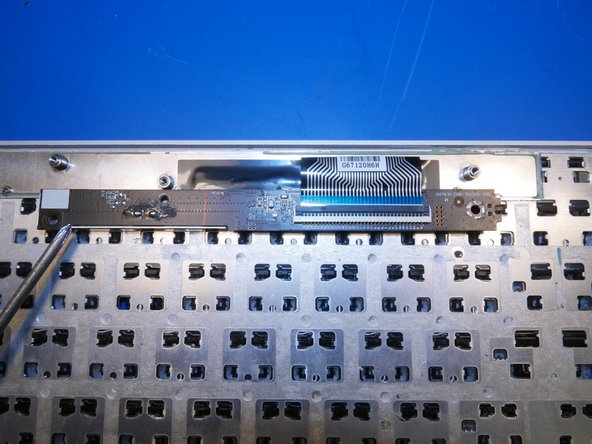
Giftcards really come in handy. They allow for some prying action without damaging sandwiched parts. If I used a metal spudger for this step, I could have risked tearing the one ribbon cable inside this keyboard. Save your giftcards!
-
-
-
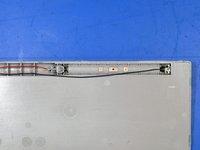
Close-up on the Battery compartment.
-
Neodymium magnets on both terminals and the top of the compartment!
-
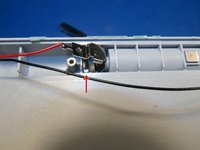
The top magnets actually hold the AAA batteries to the top part of the plastic battery section. The only way to easily remove the batteries from the housing is to forcefully tap the top of the keyboard.
-
-
-
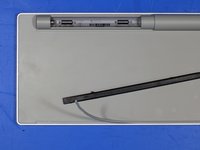
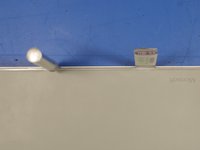
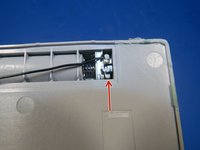
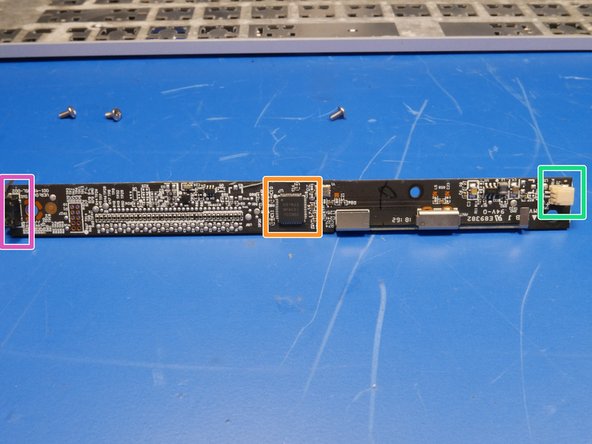
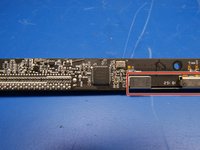
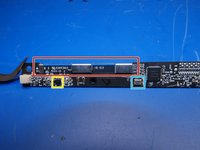
A closer look at the Bluetooth antenna. Even though this looks more like a bracket than an antenna, it has been sized appropriately for the 2.4ghz bandwidth.
-
Real-time clock
-
Microchip Microchip VUA Power IC / Voltage regulator
-
-
-
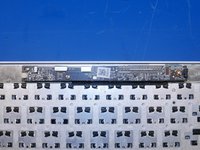
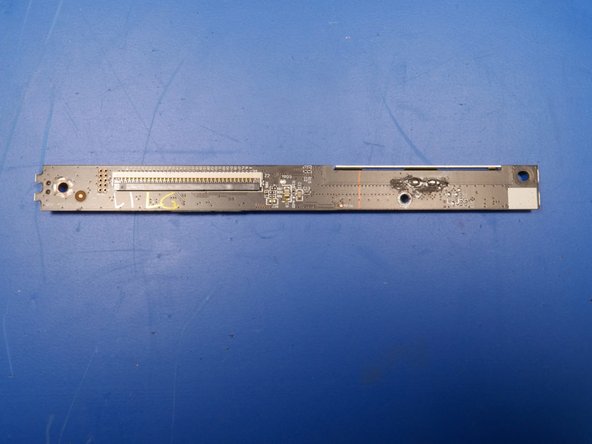
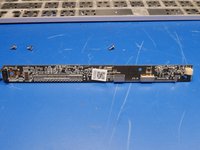
It is rather interesting that Microsoft intentionally left an empty ribbed space in the bottom compartment of the keyboard.
-
The Microsoft Modern Keyboard anyone?
-
-
-
One of the biggest complaints of the surface keyboard is that it doesn't feature a backlight.
-
It is rather sad that Microsoft chose to design a keyboard with several intentional iterations in mind, instead of just producing the best slim keyboard they could.
-
A quick design change such as adding a hole under each key, an optical diffusing layer and a few LEDs would have added a simple and functional backlight.
-
For further investigation into this keyboard, check out my Surface Keyboard Hacking Project
-


İptal et: Bu kılavuzu tamamlamadım.
11 farklı kişi bu kılavuzu tamamladı.

Ekip

17 Yorum
Man, how rude to use glue for a keyboard! I wanted to open my Surface Ergonomic keyboard in hopes it had JTAG or other diagnostic port that would enable me to twiddle with its brain, since macOS does not believe it is a keyboard but rather just a generic bluetooth HID :(
Thank you for sacrificing your keyboard to spare me the pain of discovering the hard way that my keyboard is glued together
No problem! I’m glad you enjoyed the teardown. I sure wish they used screws instead of adhesive. It would make retrofitting a backlight far easier.
If I discover anything interesting from probing that 10 pin unpopulated header I’ll be sure to provide an update.
hey Anthony, i have the same problem with one of the keys (the big “0” on the numerical part). Did you find a solution for fixing the “key tabs that hold the key” that sheared of of mine as well?
Hi Bas! Unfortunately, I did not attempt to repair the broken aluminum key tabs that hold the key in place. However, I can point you in the right direction if you want to get creative and try a DIY fix. Carefully pop another key off your keyboard with something wood or plastic (like a plastic spudger) and analyze the metal locking tab design Microsoft implemented. Find another piece of aluminum of the same thickness and carefully cut out that tab shape. Try adhering your designed tab to the location where the broken aluminum key tab is situated. Epoxy or titanium putty should bond aluminum to aluminum. I would use a toothpick or sewing pin as an adhesive applicator. I think you will have success if you take your time and be patient. Good luck!
Thanks Anthony… i will do my best. I was thinking along that way as well, but also about replacing the key with a fully or partially silicon alternative (using a printed 3D mold). I dont mind seeing the repair. I really enjoyed your Salvage Circuitry website and the disassembly of the keyboard. 0 out of 10 for opening?
how to connect this keyboard without a button. I have it with a broken button. someone will be grateful.
I almost have the same keyboard. The difference is that it has a Fingerprint sensor. I got the Microsoft Modern Keyboard with Fingerprint ID EKZ-00001. Got it from eBay too. I received it without issues but after my daughter spill my coffee on my keyboard, the keys below became sticky, almost to the point that whenever I press the key it goes back up very slowly. I might just get a USB Fingerprint Reader next time and a premium backlit keyboard next time I purchase.
Hi Stephen!
I have ironically disassembled the modern keyboard version as well. Disassembly went a lot smoother with different methods. I will probably upload a guide in a few weeks, but is boils down to this: Wrap keyboard completely in heated pad/blanket for 45min, torque/twist keyboard longitudinally, use plastic and stainless steel pry tools and then it opens right up with very minimal hassle. It even goes back together seamlessly. You wouldn’t even know it’s been disassembled. The key takeaway is use a heated pad/blanket. You cannot use hot air gun because it will melt keys or warp the keyboard. Heated blanket does not damage the keyboard whatsoever. Good luck!
My keyboard was no longer in use for few months. Now I need to use this keyboard, It's showing it's power on light and it’s blinking. It's also discoverable to connect but no keys are working I am not able to pair because it ask to enter a pin and keys are not working neither numpad nor numeric keys. Also, Caps lock light, Numlock lights are not working. Do you have any idea if I tear down to investigate, what should I clean/check? Please respond I really need to use this keyboard for now.
Thanks in advance.
The ASD row of my surface keyboard isn’t working anymore even after i let it dry out for 2 days. It was pouring hard the other day and the ceiling right above the keyboard started leaking and I didn’t know about it. It was probably soak in water for an hour or more.
Any advise on what should i do? Or its time to say goodbye lol. Also just notice that there’s something loose in it when i shook it.
Hi Anthony, great teardown, thanks! As you mentioned in a post above that you would be uploading the Modern Keyboard tear down as well, is that still something you would/will do? Or maybe amend this one, with possible difference? I was also wondering what temperature you set the heating blanket/pad to? Thanks a lot!
Our company has a few of these exact keyboards with keys that have popped out. Can we mail them to you for repair??
Hi Anthony,
Fascinating procedure.
Now here's a random question...I just bought a keyboard like this, and found out it is missing the battery cap/cover piece. Did you ever put this one back together, or is there a chance the piece from this project would be available to purchase?
thanks,
Reuben Huffman
Hi Reuben, I unfortunately no longer have this keyboard. You might have luck finding a broken one on ebay to grab parts from. Good luck.
How do you get it to stay together after cleaning?